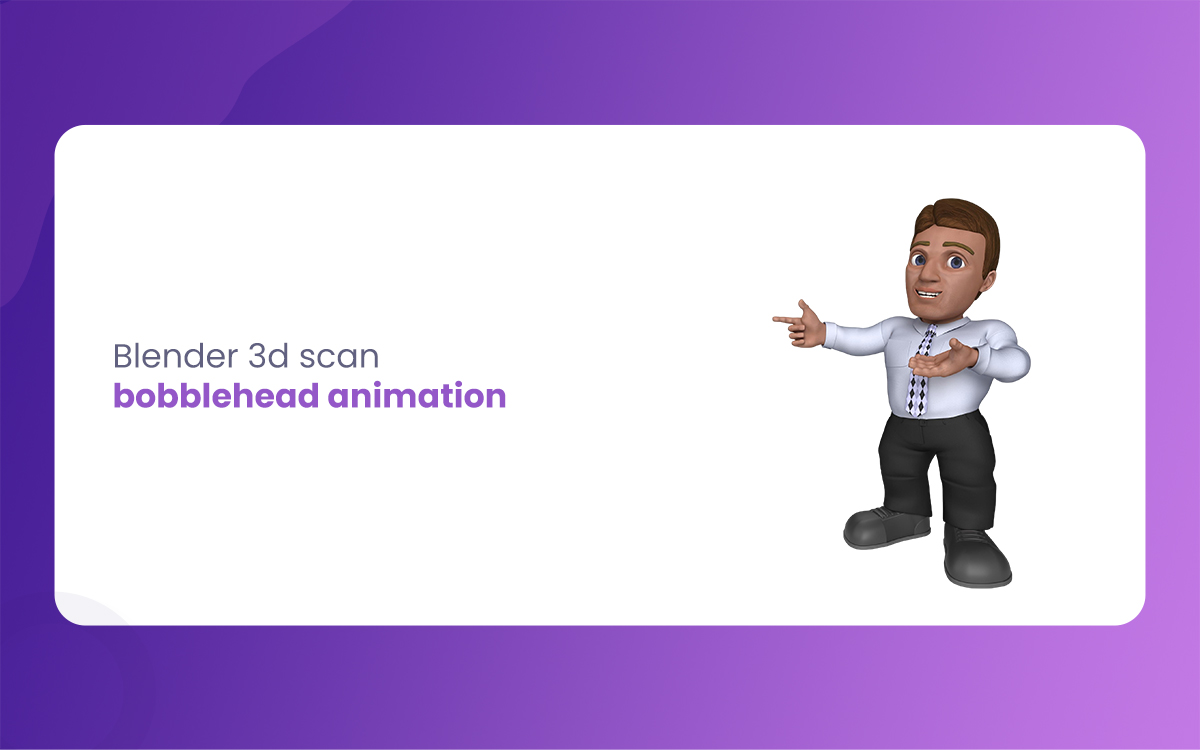
In the ongoing energetic world of 3D modeling and animation, creating personalized Bobblehead Animation has become an exciting intersection of traditional collectibles and modern technology. The Morphic Studio shares the process of transforming 3D scans into charming, animated Bobblehead Animation using Blender.
Follow the Fundamentals
Before diving into the technical aspects, it’s essential to understand what makes a successful bobblehead project. The basic lies in balancing accurate facial features with the exaggerated proportions that give bobbleheads their distinctive charm. A well-designed bobblehead typically features a head-to-body ratio of approximately 1:3, significantly larger than natural proportions.
Required Tools and Software
Tool Category
Required Items
Purpose
Difficulty Magnitude
3D Scanning
Skanect Software
Capturing initial 3D model
Intermediate
-3D Modeling
Blender
Main editing and animation
Advanced
Supporting Software
MeshMixer
Mesh cleanup and refinement
Intermediate
Hardware
3D Scanner/Depth Camera
Model capture
Beginner
3D Printing
Slicing Software (e.g., Cura)
Print preparation
Intermediate
Detailed Workflow Steps
1. Capturing the Perfect 3D Scan
The foundation of your bobblehead project lies in obtaining a high-quality 3D scan. Follow these essential guidelines for optimal results:
Environment Setup
Creating the ideal scanning environment is crucial for capturing detailed features. Ensure your space has:
Consistent, diffused lighting to minimize shadows
A neutral background without reflective surfaces
Adequate room for 360-degree movement around the subject
Scanning Process
When operating your scanning equipment:
Maintain a steady pace while moving around the subject
Capture multiple angles, including slightly raise and lowered positions
Pay special attention to facial features and distinctive characteristics
2. Blender Implementation and Editing
Once you have your initial scan, Blender becomes your primary workspace for transformation and enhancement.
Initial Import and Setup
Begin by establishing your Blender workspace:
Import your STL file through File > Import > STL
Set up multiple viewports for efficient editing
Configure your workspace with commonly used tools readily accessible
Model Modification Techniques
Transform your scan into a bobblehead-ready model:
Utilize Boolean modifiers to separate the head from the body
Implement proper scaling techniques to achieve the characteristic bobblehead proportions
Apply smoothing operations to enhance surface quality while maintaining defining features
3. Creating the Bobblehead Mechanism
The distinctive bobbling motion requires careful attention to mechanical design:
Spring Mechanism Design
Create a cylindrical spring using Blender’s spiral curve modifier
Adjust spring properties for realistic motion:
Coil diameter: 0.5-1.0 cm
Spring height: 2-3 cm
Number of coils: 4-6 turns
Head-Body Connection
Establish a secure connection while maintaining mobility:
Design an internal mounting system
Create alignment guides for proper head positioning
Implement appropriate clearances for smooth movement
4. Animation Implementation
Bringing your bobblehead to life requires thoughtful animation techniques:
Setting Up Animation Parameters
Create a basic armature system for head movement
Establish mass painting for natural motion
Configure physics settings for realistic spring behavior
Motion Testing and Refinement
Test different oscillation patterns
Adjust damping parameters for appropriate movement decay
Fine-tune spring stiffness for optimal bobbling effect
5. Preparing for 3D Printing
The final stage involves preparing your model for physical production:
Model Optimization
Check mesh integrity for watertight geometry
Apply appropriate wall thicknesses for structural stability
Position support structures for complex overhangs
Export Configuration
Select appropriate export settings for your 3D printer
Configure STL export parameters for optimal resolution
Verify scale settings match intended physical dimensions
Bobblehead Animation By The Morphic Studio
Post-Production Considerations
Quality Assurance
After printing, ensure your bobblehead meets these criteria:
Smooth surface finish on visible areas
Proper fit between connecting parts
Consistent bobbling motion
Stable base support
Troubleshooting Common Issues
Address potential problems proactively:
Head too heavy: Adjust internal support structures
Irregular motion: Fine-tune spring parameters
Poor surface quality: Revise slicing settings
Weak connections: Reinforce joint areas
Finally
Creating a personalized Bobblehead Animation through 3D scanning and Blender combines technical expertise with creative design. Success lies in attention to detail throughout each phase, from initial scanning to final production. By following information shares by Morphic Studio expert, you’ll be well-equipped to create unique, high-quality Bobblehead Animation that captures both personality and movement.
Think of that perfection comes with practice and iteration. Don’t be afraid to experiment with different techniques and settings to achieve your desired results. The beauty of statistical creation lies in the ability to refine and adjust until you achieve the perfect balance of authenticity and charm in your Bobblehead Animation design.
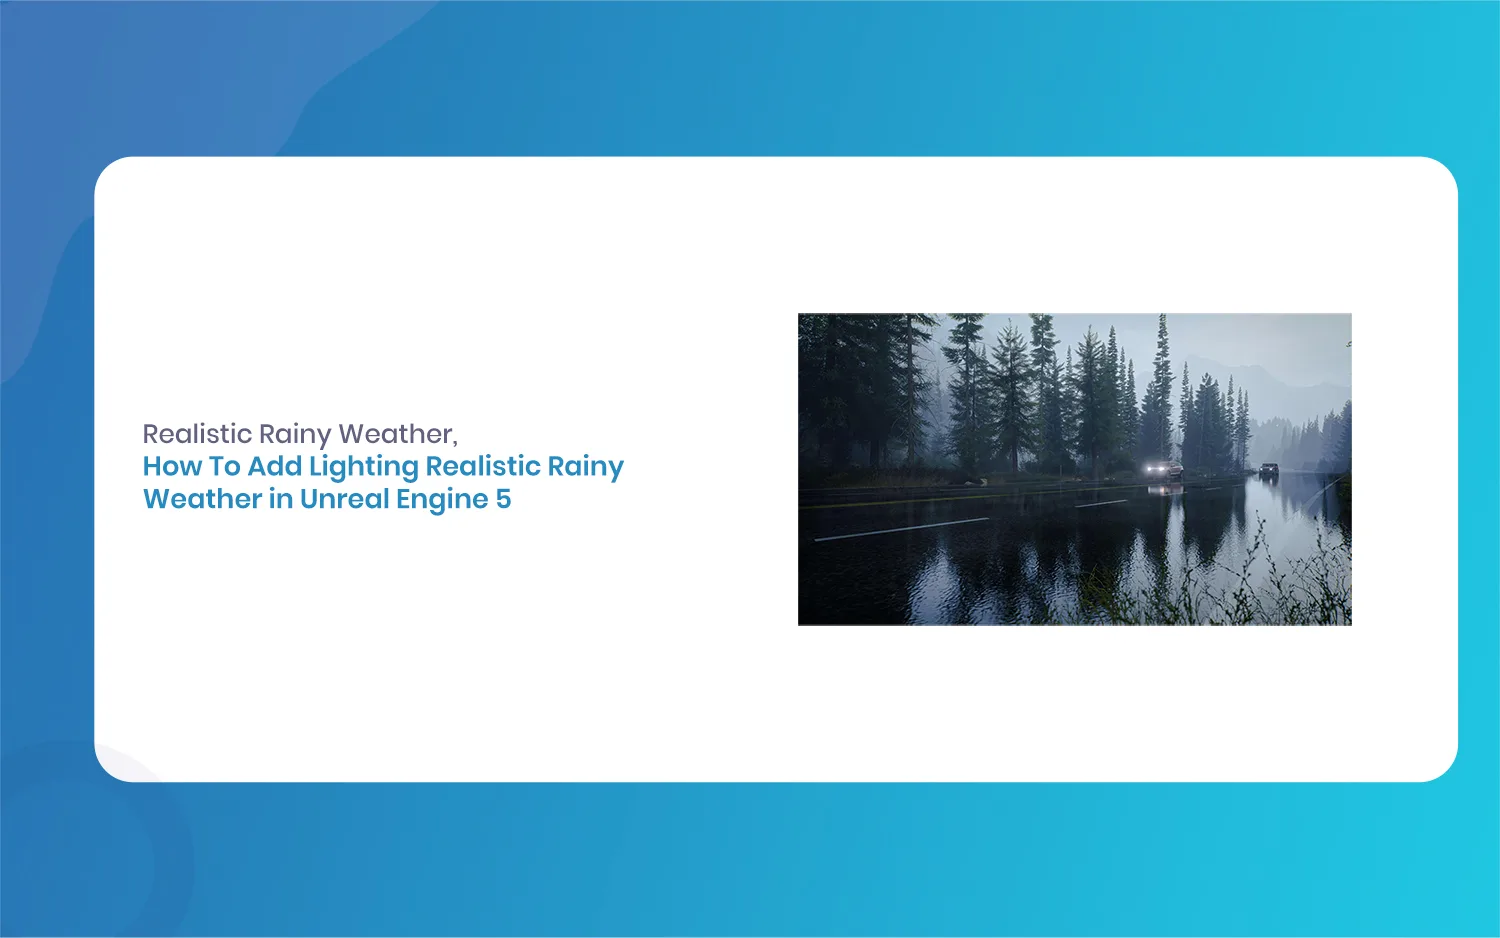
How To Add Lighting Realistic Rainy Weather in Unreal Engine 5 [Tutorial]
Lighting a stormy environment in Unreal Engine 5 is one of the most rewarding challenges for any 3D environment or lighting artist. Many beginners think that adding rain is as simple as spawning a splash particle system and turning down the sun, but the real secret lies in how light interacts with moisture, clouds, and […]
July 18, 2026
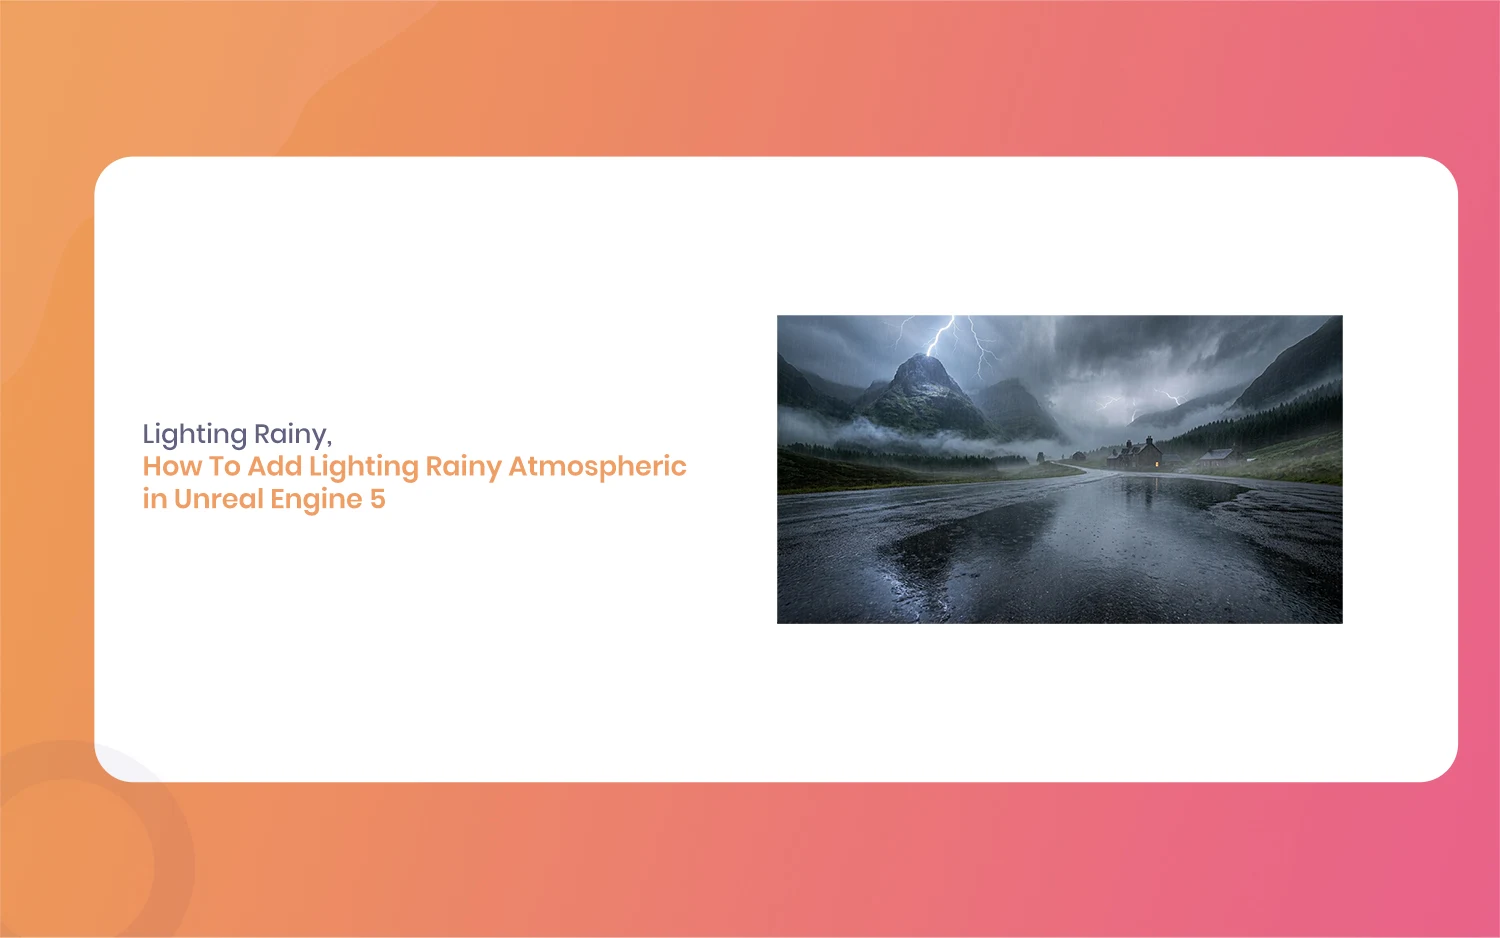
How To Add Lighting Rainy Atmospheric in Unreal Engine 5 [Tutorial]
Hello everyone, and welcome to this new guide. If you are a game developer or a 3D artist, you probably know how important weather is. Creating a moody scene can completely change how a player feels. Today, we are going to look at something very specific. We are going to learn how to add Lighting […]
July 17, 2026
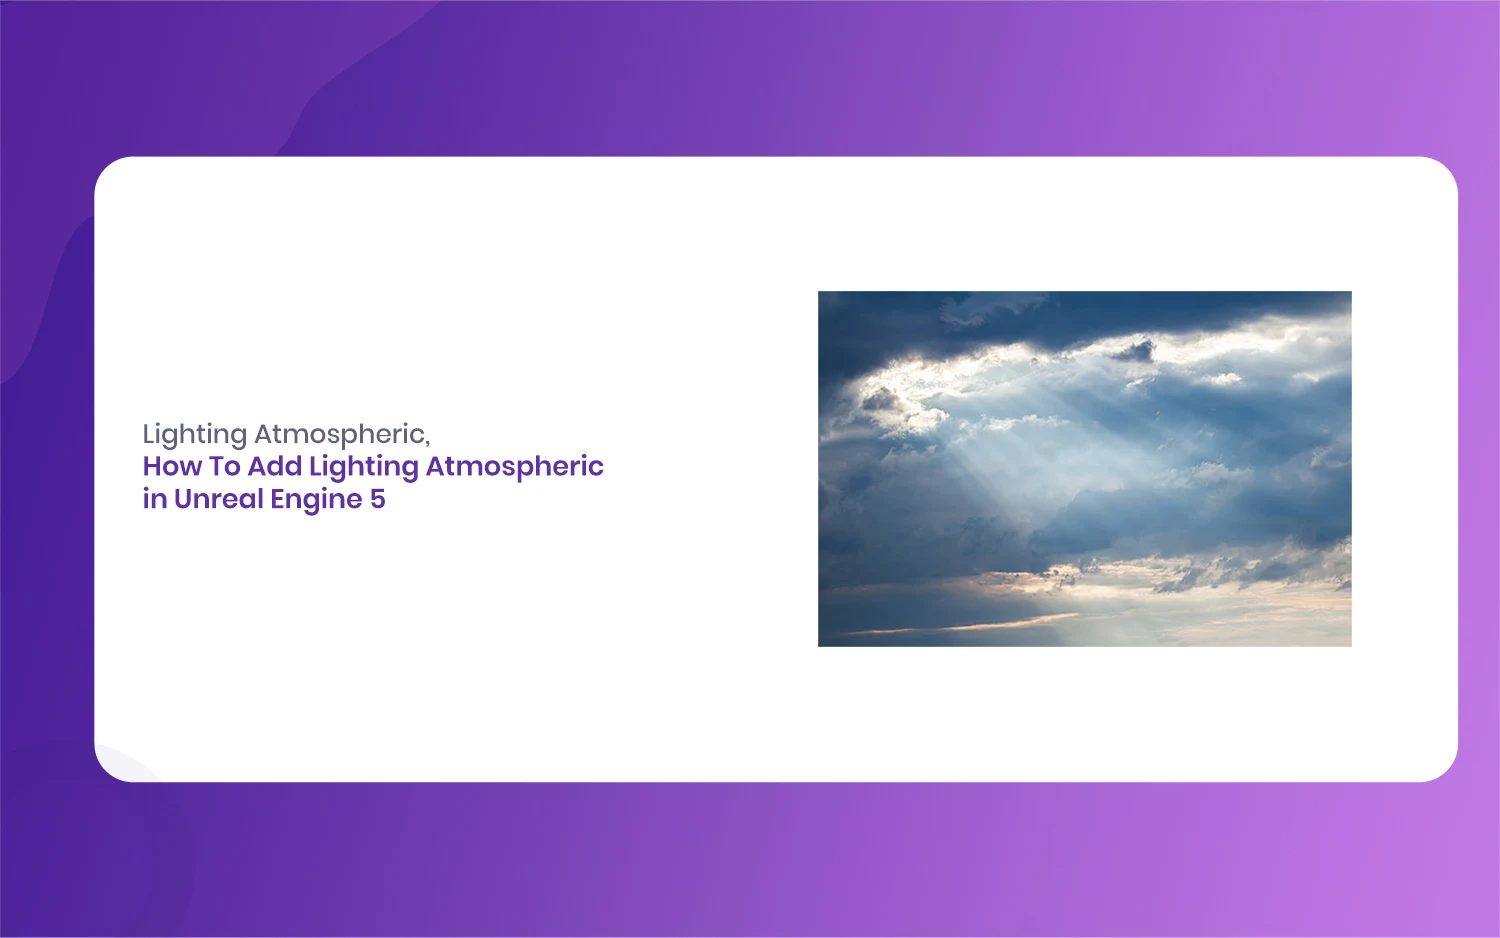
How To Add Lighting Atmospheric in Unreal Engine 5 [Tutorial]
Welcome to the ultimate guide for upgrading your game environments. If you have ever walked through a statistical forest and felt a true sense of wonder, you already know the power of good environment design. Today we are going to talk about a very specific and crucial topic. We will learn exactly how to add […]