Animation Layering in Blender is a powerful technique that transforms your Blender animations into simple sequences and complex, hinted performances. Whether creating a character animation, motion graphics, or any other animated content, following the guidelines for effectively using animation layers will significantly enhance your workflow and creative possibilities.
Introduction: Follow Animation Layering
Animation layering in Blender operates on the same principle as layers in image editing software like Photoshop. Just as you can stack multiple image layers to create a composite, animation layering allows you to stack and blend multiple animation actions to build complex movements. This non-destructive workflow means you can experiment, refine, and iterate without permanently altering your base animations.
Think of it as orchestrating a symphony where each instrument (layer) contributes to the general performance. Your base animation might be the melody, while additional layers add harmony, rhythm, and texture. The beauty lies in how these elements combine to create something greater than the sum of their parts.
Animation Layering in Blender By The Morphic Studio
Core Concepts and Terminology
Before diving into the practical aspects, let’s establish a solid foundation by Follow the basic components of Animation Layering in Blender:
The NLA Editor (Non-Linear Animation)
The NLA Editor is Blender’s central hub for animation layering. This powerful tool allows you to manage multiple animation sequences non-destructively, similar to how video editing software handles clips. Within the NLA Editor, you can:
Stack multiple animation actions
Adjust timing and duration
Blend animations together
Control how layers interact
Actions: The Building Blocks
Actions are collections of basic frames that define specific movements or behaviors. For example, you might have separate actions for:
A walk cycle
An idle animation
A jump sequence
Facial expressions
Hand gestures
Each action is self-contained and can be reused, modified, or combined with other actions.
Animation Layering in Blender By The Morphic Studio
Strips: Action Instances
When an action is placed in the NLA Editor, it becomes a strip. Think of strips as instances of your actions that can be manipulated independently. You can:
Move strips along the timeline
Duplicate them for repeated motions
Scale them to adjust playback speed
Blend them with other strips
Blending Modes: The Magic of Combination
Blending modes determine how strips interact with each other. The primary modes include:
Replace: The strip completely overrides any animation below it
Add: The strip’s values are mathematically added to the layers below
Combine: The strip blends with underlying animations based on its influence value
Multiply: The strip’s values are multiplied with those below
Subtract: The strip’s values are subtracted from underlying layers
Prerequisites and Setup
Before beginning with animation layering, ensure you have:
A basic Follow of Blender’s interface
Familiarity with basic frame animation
A character rig or object ready for animation
The Animation workspace loaded (accessible from the top menu bar)
To prepare your workspace:
Open Blender and load your project
Switch to the Animation workspace using the tab at the top
Locate the NLA Editor (usually in the bottom panel)
Ensure your Timeline and Dope Sheet are visible
Step-by-Step Guide to Animation Layering
Let’s walk through the process of creating layered animations, starting from scratch:
Step 1: Creating Your Base Animation
Your base animation serves as the foundation for all subsequent layers. This should be your primary motion, such as a walk cycle or idle animation.
Select your character or object
Position the timeline cursor at frame 1
Set your initial pose and insert basic frames (press ‘I’ and choose location, rotation, or other properties)
Move to subsequent frames and create basic frames for your animation
Preview your animation by pressing the spacebar
Pro Tip: Keep your base animation clean and focused on one specific action. This makes it easier to layer additional movements later.
Step 2: Organizing and Naming Actions
Proper organization is crucial for efficient workflow:
In the Dope Sheet, switch to Action Editor mode
Click on the action name field and give your animation a descriptive name (e.g., “WalkCycle_Base”)
Create a fake user by clicking the ‘F’ button next to the action name (this prevents the action from being deleted if unused)
Step 3: Pushing Actions to the NLA Editor
To begin layering, you need to convert your action into an NLA strip:
In the Action Editor, locate the “Push Down” button (downward arrow icon)
Click it to send your action to the NLA Editor
Your action now appears as a strip in the NLA timeline
Step 4: Creating Additional Animation Layers
Now let’s add a secondary animation layer:
Create a new action by clicking the ‘X’ next to your action name, then the ‘+’ button
Name this new action (e.g., “ArmWave_Layer”)
Animate only the parts you want to modify (for example, just the arm bones for a wave)
Push this action down to the NLA Editor as well
Step 5: Configuring Layer Blending
With multiple strips in the NLA Editor, it’s time to blend them:
Select the upper strip (your secondary animation)
In the properties panel (press ‘N’ if hidden), locate the “Blend” dropdown
Choose “Combine” for most layering scenarios
Adjust the “Influence” slider to control how strongly this layer affects the final animation
Step 6: Fine-Tuning Your Layers
Refinement is basic to professional-looking animations:
Timing Adjustments: Drag strips horizontally to change when they play
Duration Changes: Scale strips by dragging their edges
Blend In/Out: Use the blend in/out values to create smooth transitions
Strip Modifiers: Add modifiers for additional control (found in the strip properties)
Animation Layering in Blender By The Morphic Studio
Practical Example: Character Animation Workflow
Let’s apply these concepts to a actual scenario – creating a character who walks while waving:
Base Layer: Walk Cycle
Create a 40-frame walk cycle
Focus on leg movement, hip rotation, and basic arm swing
Name it “WalkCycle_Base” and push to NLA
Layer 2: Arm Wave
Create a new action focusing only on the right arm
Animate a friendly wave gesture over 30 frames
Name it “ArmWave_Right” and push to NLA
Layer 3: Head Movement
Create another action for subtle head movement
Add a slight nod or turn over 20 frames
Name it “HeadNod_Subtle” and push to NLA
Combining Everything
Set all strips to “Combine” blend mode
Adjust influence values:
Walk Cycle: 100% (base layer)
Arm Wave: 80% (allows some base arm swing to show through)
Head Nod: 60% (subtle addition)
Offset the head nod to start slightly after the wave begins
Advanced Techniques and Best Practices
As you become comfortable with basic layering, consider these advanced approaches:
Creating Animation Libraries
Build a collection of reusable actions:
Basic locomotion (walk, run, crouch)
Emotional states (happy, sad, angry)
Common gestures (wave, point, thumbs up)
Facial expressions
Using Meta-Strips
Group related strips together for easier management:
Select multiple strips in the NLA Editor
Press Ctrl+G to create a meta-strip
This allows you to move and scale grouped animations as one unit
Action Constraints
Combine animation layers with constraints for energetic results:
Use Copy Rotation constraints with animated influence
Apply IK constraints selectively through layers
Experiment with driver-controlled constraint influences
Animation Layering in Blender By The Morphic Studio
Common Challenges and Solutions
Here’s a complete table addressing frequent issues beginners encounter:
Challenge
Symptoms
Solution
Overlapping Basic frames
Jerky or unpredictable motion
Use different bones/channels for each layer
Influence Confusion
Layers not affecting animation as expected
Check blend modes and influence values
Timing Misrangement
Actions play at wrong times
Adjust strip position and scale in NLA
Lost Actions
Actions disappear when not in use
Always create fake users (F button)
Layer Priority Issues | Wrong layer taking precedence | Check strip order and blend modes | | Performance Slowdown | Viewport lag with many layers | Mute unused strips, optimize scene | | Baking Problems | Final animation doesn’t match preview | Verify all strips are unmuted before baking | | Blend In/Out Confusion | Harsh transitions between animations | Adjust blend in/out values for smooth transitions |
Tips for Efficient Workflow
Maximize your productivity with these professional tips:
1. Naming Conventions
Develop a consistent naming system:
Use prefixes: “BASE_”, “LAYER_”, “MOD_”
Include descriptive terms: “WalkCycle”, “IdleBreathing”
Add version numbers: “JumpAction_v2”
2. Color Coding
Assign colors to strips for visual organization:
Base animations: Blue
Secondary motions: Green
Facial animations: Yellow
Correction layers: Red
3. Basic board Shortcuts
Master these essential NLA shortcuts:
Tab: Enter/exit tweak mode
G: Move strips
S: Scale strips
Shift+D: Duplicate strips
X: Delete strips
M: Mute/unmute strips
4. Non-Destructive Workflow
Always maintain original actions:
Never modify pushed-down actions directly
Use tweak mode for temporary adjustments
Create new actions for permanent changes
Alternative Approaches and Add-ons
While the NLA Editor is Blender’s built-in solution, consider these alternatives:
Animation Layers Add-on
This add-on provides a more intuitive, Maya-like interface:
Layer-based UI similar to image editing software
Real-time preview of individual layers
Advanced blending options
Easier basic frame management
AnimAll Add-on
Useful for animating mesh vertices directly:
Animate individual vertices, edges, or faces
Perfect for shape corrections
Complements traditional bone animation
Basic mesh Add-on
Specializes in mesh deformation animation:
Absolute vertex position control
Useful for complex deformations
Works alongside armature animations
Optimizing Performance
Keep your animations running smoothly:
Scene Optimization
Disable unnecessary modifiers during animation
Use viewport display options appropriately
Hide objects not being animated
Reduce subdivision magnitudes for preview
NLA Optimization
Mute strips not currently being worked on
Use proxy armatures for complex rigs
Bake final animations for better playback
Clear unused actions from the blend file
Troubleshooting Common Issues
When things don’t work as expected:
Animation Not Playing
Check if NLA strips are muted
Verify timeline range matches strip duration
Ensure “Only Include Channels from Active Group” is unchecked
Unexpected Movement
Review blend modes for all strips
Check for overlapping basic frames
Verify constraint influences
Look for hidden shape basics
Performance Problems
Reduce viewport quality settings
Disable real-time subdivision
Use simplified proxy rigs
Clear animation cache
Actual Applications
Animation layering excels in various scenarios:
Character Animation
Combine body mechanics with facial expressions
Add secondary motion like cloth and hair
Layer breathing over other animations
Mix and match gesture libraries
Motion Graphics
Build complex logo animations
Create procedural effects
Layer particle animations
Combine shape transformations
Game Development
Create modular animation sets
Build state machine-compatible animations
Optimize file sizes with reusable actions
Export layered animations for game engines
Future Learning Paths
After mastering basic animation layering:
Advanced Topics to Take a look at
Procedural Animation: Combine layers with drivers and expressions
Motion Capture Integration: Layer cleanup animations over mocap data
Facial Rigging: Create complex facial animation systems
Crowd Simulation: Use layers for variation in crowd animations
Related Skills to Develop
Python scripting for animation automation
Advanced rigging techniques
Motion graphics principles
Character performance theory
Animation Layering in Blender By The Morphic Studio
Finally
Animation layering in Blender opens up a world of creative possibilities, transforming simple animations into rich, hint performances. By mastering the NLA Editor and following how actions, strips, and blending modes work together, you can create professional-quality animations with unprecedented flexibility.
Animation layering is not just a technical skill—it’s an art form that requires practice, experimentation, and creativity. Start with simple combinations, gradually building complexity as you become more comfortable with the workflow. Each project will teach you new techniques and approaches, expanding your animation toolkit.
Whether you’re creating character animations for films, motion graphics for commercials, or game animations for interactive media, the principles of Animation Layering in Blender remain constant. The basis is maintaining an organized, non-destructive workflow that allows endless iteration and refinement.
As you continue to use Blender’s animation tools, remember that the best animations come from following both the technical aspects and the artistic principles of movement. Animation Layering in Blender is your gateway to bringing compelling and lifelike animations to your projects.
Keep experimenting, keep learning, and most importantly, keep animating. The world of Animation Layering in Blender is vast and rewarding, limited only by your imagination and dedication to the craft.
Logo animation company: 10 Jaw-Dropping Styles to Skyrocket Engagement, The Morphic Studio
The statistical world is moving faster than ever before. In the year 2026, having a simple picture for your brand is just not enough to grab the attention of your audience. This is exactly where the magic of movement comes into play. This is why choosing the right creative partner is so incredibly important for […]
July 8, 2026
Advertising agency in Ahmedabad: 10 Brilliant Tactics to Massively Boost Sales, The Morphic Studio
This is exactly where a strong marketing partner comes in. Finding the right Advertising agency in Ahmedabad can totally change the game for your brand. At The Morphic Studio, we understand the local heartbeat o f the city. We know what works, what fails, and how to get your cash register ringing constantly. Let us […]
July 3, 2026
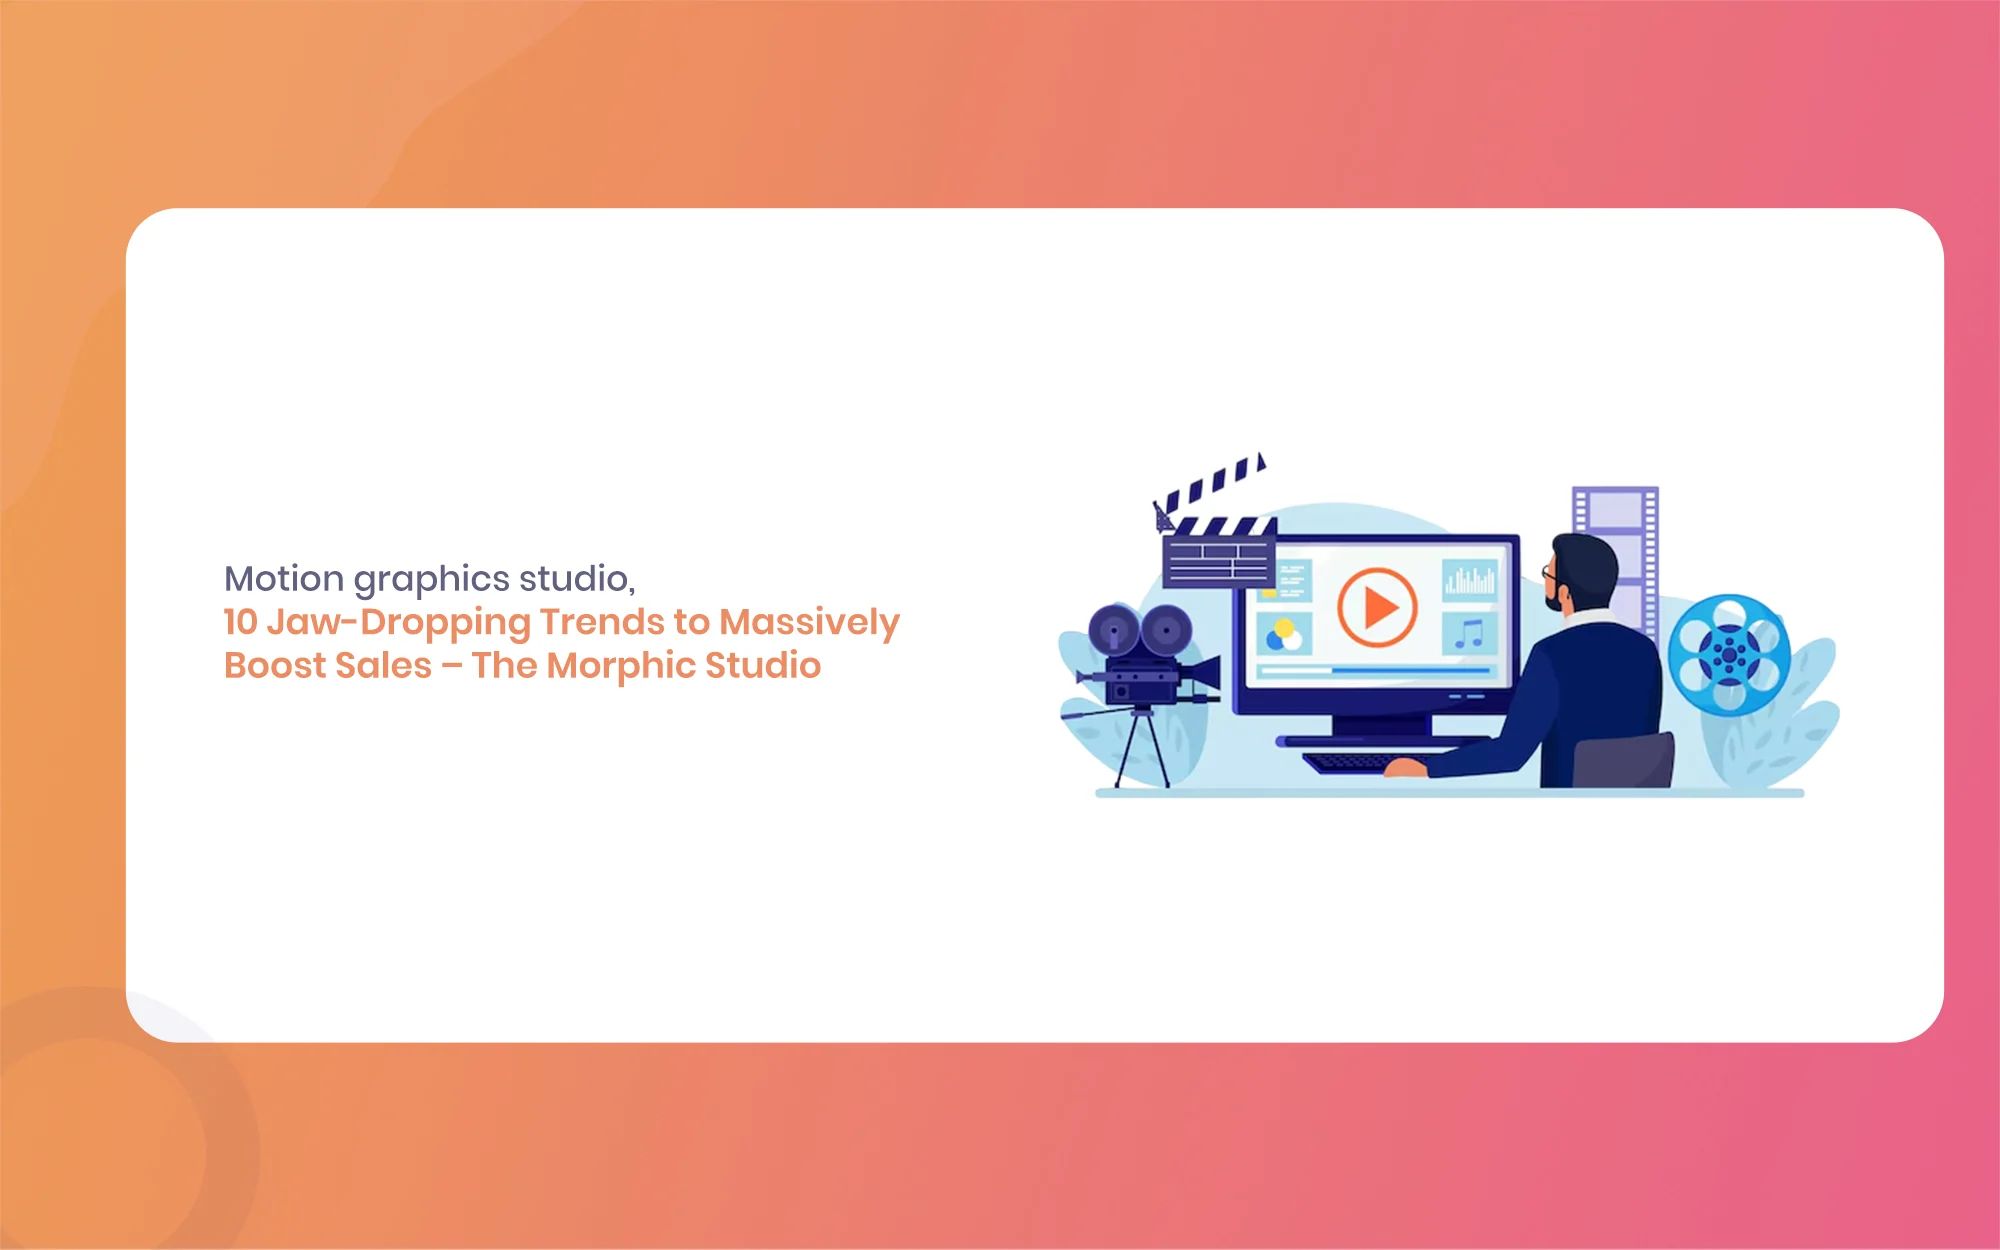
Motion Graphics Studio: 10 Jaw-Dropping Trends to Massively Boost Sales, The Morphic Studio
Hiring a professional team to handle your visual storytelling is no longer a luxury for big brands. It is a strict necessity for anyone who wants to survive networked. The right visuals can explain complex ideas in seconds, making your audience feel connected to your core message. Motion Graphics Studio at The Morphic Studio, we […]