So you want to create emails that people actually open and read? Well, you are in the right place. In this Mail Designer 365 tutorial, I am going to walk you through 7 simple but powerful steps that can completely change how your email campaigns look. Whether you are a small business owner, a freelancer, or just someone who wants nicer emails, this guide is for you. No coding skills needed. Seriously, none.
What is Mail Designer 365 and Why Should You Care?
Mail Designer 365 is a Mac-based email design tool made by the team at equinux. It lets you create beautiful, professional HTML email newsletters without writing a single line of code. You just drag and drop things where you want them. Simple as that.
The tool works with popular email platforms like Mailchimp, Campaign Monitor, ConstantContact, AWeber, SendGrid, and even Shopify. So no matter what sending platform you use, Mail Designer 365 fits right in.
And the good news? The 2026 update (version 5.4, released in February 2026) brought some really useful improvements, like PNG export for desktop and mobile views, smarter Preflight Checks, default text styles, and updated calendar graphics. These updates make the workflow smoother and your designs sharper than ever before.
Why Email Design Still Matters in 2026
You might be thinking, “Does email design really matter that much?” Yes, it does. A lot, actually.
A well-designed email builds trust. It shows your audience that you care. Ugly emails, on the other hand, get ignored or worse, marked as spam. With inboxes getting more crowded every year, standing out visually is not optional anymore, it is kind of essential.
Mail Designer 365 helps you do exactly that, without spending hours trying to figure out complicated design software.
Step 1: Getting Started with Mail Designer 365 the Right Way
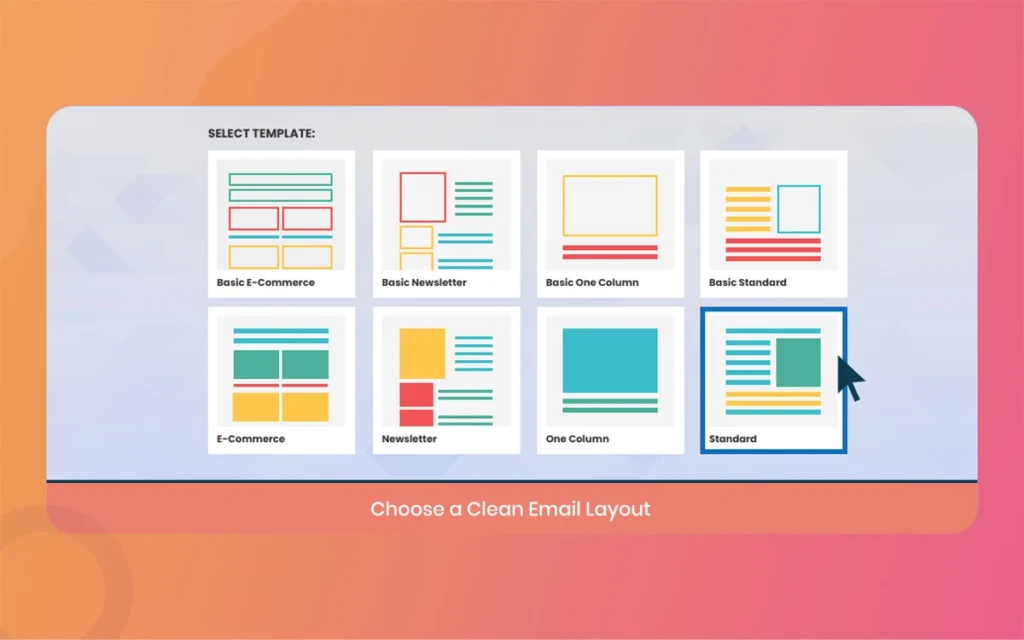
The first step in this Mail Designer 365 tutorial is setting things up properly. When you open the app for the first time, you will be greeted with a bunch of ready-made Design Ideas. These are pre-built email templates that cover almost every use case you can think of, from newsletters and promotions to healthcare, education, and real estate.
First, pick a template that is closest to your goal. Do not try to build from scratch right away, especially if you are new. Second, set your default text styles. This is a newer feature added in the latest update. You can now define your Body and Headline text styles once, and they will be applied automatically to every new layout block you add. This saves you a ton of time and keeps your design consistent throughout.
Third, set your canvas width. The standard email width is around 600 pixels for desktop. Mail Designer 365 handles this for you, but it is good to know so you understand how your design will look.
Mail Designer 365
Step 2: How Mail Designer 365 Makes Layout Design So Easy
Layout is everything in email design. A messy layout confuses readers. A clean one guides them naturally from top to bottom.
Mail Designer 365 uses a column-based layout system. You can add layout blocks and arrange them any way you like. The drag-and-drop interface makes it feel very natural, almost like rearranging sticky notes on a wall.
Here is something cool that was updated recently. When you add a new layout block, it now automatically inherits the background color of the block above it. This might sound like a small thing, but it actually makes your design flow look much smoother without extra effort on your part.
You can stack full-width image blocks, two-column text blocks, call-to-action button blocks, and more. Mix and match until it looks right. There are honestly no strict rules here, just good design sense.
One important thing to think of: keep your layout simple. Readers scan emails, they do not read every word. So use clear sections, enough white space, and a logical top-to-bottom flow.
Mail Designer 365
Step 3: Choosing Fonts and Colors in Mail Designer 365
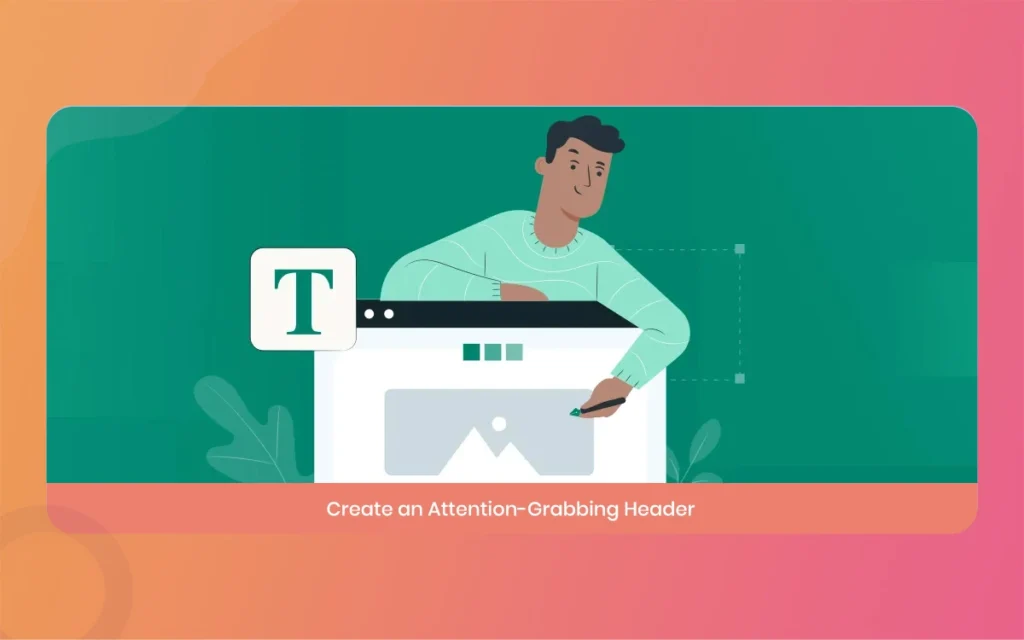
Fonts and colors are where most people either make or break an email design. Let me help you get this right.
Mail Designer 365 gives you access to over 200 license-free web fonts. That is a lot of choices. But here is some honest advice, do not use more than two fonts in one email. One for headlines and one for body text. Anything more starts to look chaotic.
For colors, stick to your brand palette. If you do not have one yet, pick one primary color and one accent color. Use those consistently. Mail Designer 365 makes this easy because you can now set default styles for your body and headline text. Once you define your font, size, and color, those settings carry over to every new block you add. You do not have to set them over and over again.
Some practical points to keep in mind when choosing fonts and colors.
Your headline font should be bold and easy to read at a glance. Your body font should be clean and comfortable to read in longer chunks. Avoid using very light gray text on a white background, it is hard on the eyes. Use high contrast between your text and background. Stick to standard font sizes like 14 to 16px for body text and 22 to 28px for headlines.
Mail Designer 365
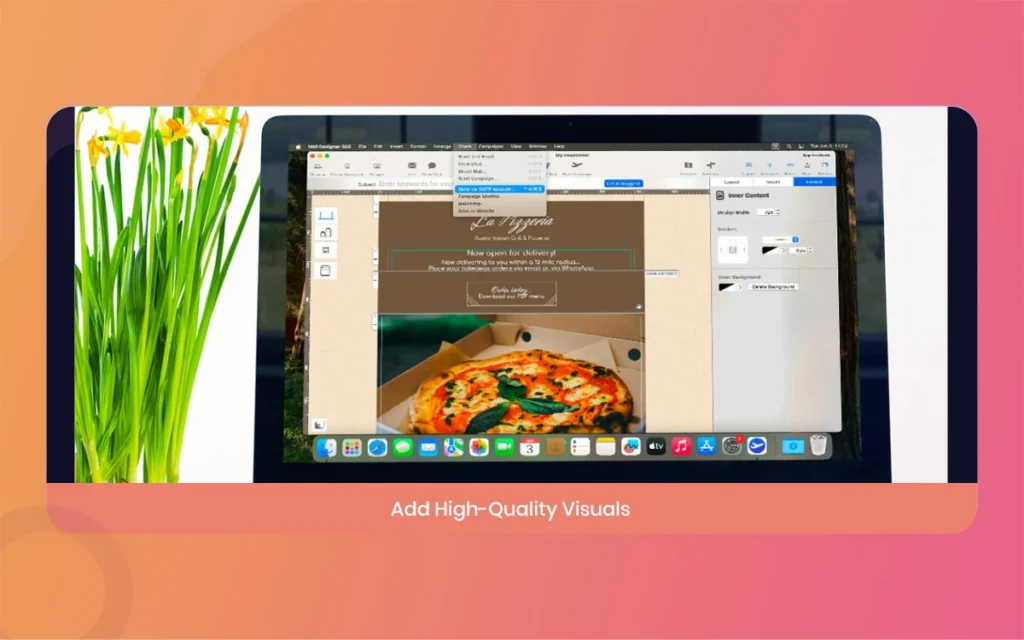
Step 4: Using Images and Graphics Effectively in Mail Designer 365
Images can make or break your email. A great image stops someone mid-scroll. A bad or slow-loading image gets you deleted.
Mail Designer 365 has a built-in content library with ready-made graphics, shapes, buttons, and animations. You can use these directly or upload your own images.
Keep your images compressed before uploading. Large file sizes slow down load times, especially on mobile. Always add alt text to every image. If images do not load (which happens more often than you think), the alt text tells readers what they are supposed to be seeing. Avoid using one giant image for your entire email. Email clients like Gmail sometimes block images by default, so a text-only email with no alt text just looks like a blank box.
Use the Duotone filters available in Mail Designer 365. There are 8 pop art style Duotone filters and light and dark Vibrancy effects (inspired by iOS). These can give your images a modern, consistent look that ties your email together visually.
And here is a brand new feature from the 2026 update. You can now export your email design as a high-resolution PNG file, either the desktop version or the mobile version. This is super useful if you want to repurpose your email layout for social media, presentations, or client previews.
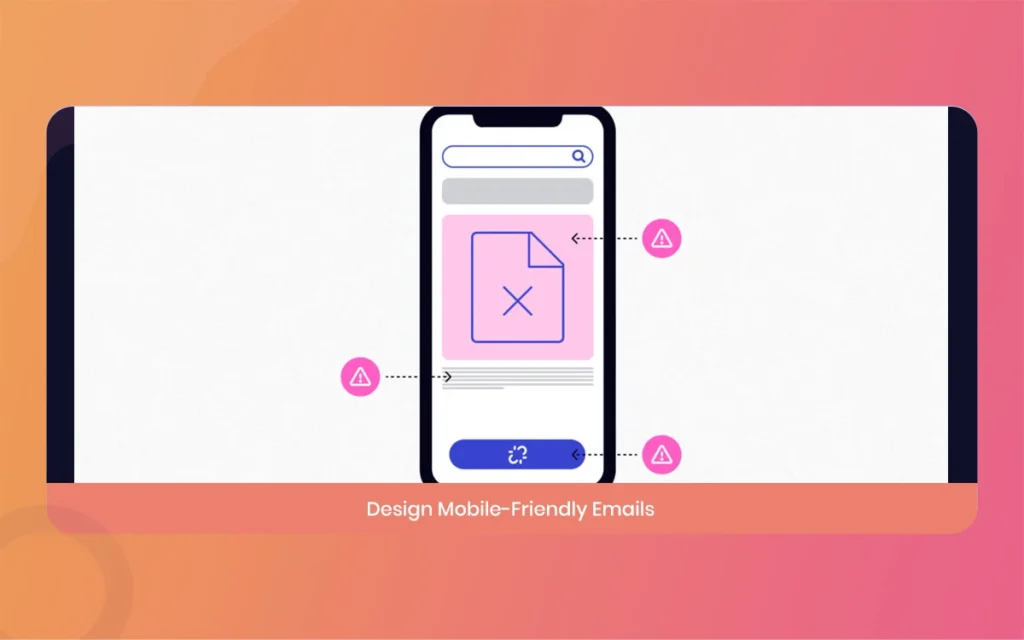
Step 5: Making Your Mail Designer 365 Emails Mobile-Ready
Here is a stat that might surprise you. More than half of all emails are opened on a mobile device. Half. So if your email looks great on desktop but terrible on a phone, you are losing a big chunk of your audience.
The good news is that Mail Designer 365 is built with mobile in mind. Every template and layout is responsive by default. But there are still some things you should check and customize manually.
Mail Designer 365
Here are the basicthings to review for mobile design in Mail Designer 365.
Switch to the mobile preview mode and look at every section of your email. Check that your text is readable without zooming in. Make sure your call-to-action buttons are big enough to tap with a thumb. Avoid placing two columns of text side by side, it gets too narrow on small screens. Images should resize correctly and not overflow the screen.
You can also export the mobile view of your design as a PDF. This is another feature added in the recent update and it is great for sharing with clients who want a clean PDF preview before you send the actual email.
The Preflight Check tool (updated in version 5.4) also checks your mobile layout automatically. It acts like a final review before you hit send, catching things like missing links, oversized images, and formatting issues.
Step 6: Mail Designer 365 Integration and Sending Options
So your email looks great. Now what? Now you send it.
Mail Designer 365 connects directly with several email platforms. Here is a quick overview in point form so it is easy to scan.
Mailchimp integration lets you export your design directly to your Mailchimp campaign with just a few clicks. Campaign Monitor, ConstantContact, and AWeber are also supported, making it easy to plug into whatever platform your business already uses. GetResponse and SendGrid are on the list too, which is useful for more advanced users who do higher-volume sending. If you run a Shopify store, there is integration there as well for product-based newsletters. You can also copy the generated HTML code and paste it into any email platform that accepts custom HTML, which covers pretty much everything else.
There is also a Direct Mail option built into the product line if you want to send directly from your Mac without needing a third-party platform.
Mail Designer 365
One very useful workflow feature is the Mail Designer 365 Approval system. This lets you share your design draft with teammates or clients through a web-based platform. They can leave comments and give feedback without needing to install anything. You can approve or decline drafts all in one place. This is a real time-saver for agencies and teams.
Step 7: Running a Preflight Check Before You Send in Mail Designer 365
This last step is one a lot of people skip, and they really should not.
The Preflight Check in Mail Designer 365 is basically your safety net. Before you send anything out to your subscriber list, run this check. It reviews your design and flags anything that might cause problems when the email lands in an inbox.
Here is what the Preflight Check looks at, in simple terms.
It checks that all your links are actually working and not broken. Reviews your images to make sure none of them are missing or too large. It checks your mobile layout specifically, the 2026 update made this smarter with what they call “Smarter Preflight for Mobile.” also flags any text that might be too small to read on certain devices. It will alert you if important sections like the subject line or preheader text are missing.
Running this check takes less than a minute. And catching one broken link before your email goes out to 5,000 people? That is worth every second.
Once everything checks out, you are ready to export your HTML, connect to your sending platform, and hit send with full confidence.
Mail Designer 365
Mail Designer 365 Features Overview (2026 Edition)
Here is a quick summary of basicMail Designer 365 features, presented as easy-to-read points so you can refer back to this anytime.
The drag-and-drop interface means no coding is needed at all. It is the core of what makes this tool so beginner-friendly. The design template library has over 100 Design Ideas with templates covering industries like healthcare, real estate, education, hospitality, and more. The web font library gives you access to more than 200 free fonts so you always have the right look for your brand. Duotone and Vibrancy filters let you apply professional image effects with just one click. Mobile-responsive design means every layout adapts automatically to smartphones and tablets. The Preflight Check tool reviews your design before sending and helps you catch errors early. PNG export (new in 2026) lets you export your email as a high-resolution PNG for desktop or mobile. The Approval and team collaboration feature allows you to share drafts and get feedback through a simple web-based platform. Integration with Mailchimp, Campaign Monitor, AWeber, SendGrid, ConstantContact, GetResponse, and Shopify covers all major sending platforms. Default text styles (new in 2026) let you set your fonts and sizes once and have them automatically applied throughout your design.
Mail Designer 365
Final Thoughts on This Mail Designer 365 Tutorial
Okay, so to wrap this up, here is the honest truth. Good email design does not have to be hard. With Mail Designer 365, you get a tool that handles all the technical stuff in the background while you focus on making something that actually looks good and connects with your readers.
The 7 steps we covered in this Mail Designer 365 tutorial, from setup and layout to mobile optimization and sending, give you a complete workflow you can use every single time you create a campaign. And with the 2026 updates making things even smoother, there has honestly never been a better time to start.
Mail Designer 365
Give it a try. Start with a template, play around, and see how your emails start to improve.
If you found this helpful, check out more tutorials and design tips over at The Morphic Studio.
Related Article
July 11, 2026
Brochure design agency: 10 Unbeatable Tips to Massively Boost Conversions, The Morphic Studio
Welcome to The Morphic Studio. If you think Brochure design agency are a thing of the past, you might want to reconsider. In the fast paced statistical world of 2026, a physical or well crafted statistical brochure is a powerful tool to stand out. It gives your brand a premium feel and builds deep trust […]
July 10, 2026
CGI Video Animation Company In Ahmedabad: 10 Mind-Blowing Trends to Massively Boost Sales, The Morphic Studio
This is exactly where a professional CGI video animation company in Ahmedabad comes into the picture. Videos created with computer graphics just have a special way of pulling people right in. At The Morphic Studio, we have seen first hand how 3D graphics can completely change a brand. It does not matter if you sell […]
July 9, 2026
Logo animation company: 10 Jaw-Dropping Styles to Skyrocket Engagement, The Morphic Studio
The statistical world is moving faster than ever before. In the year 2026, having a simple picture for your brand is just not enough to grab the attention of your audience. This is exactly where the magic of movement comes into play. This is why choosing the right creative partner is so incredibly important for […]