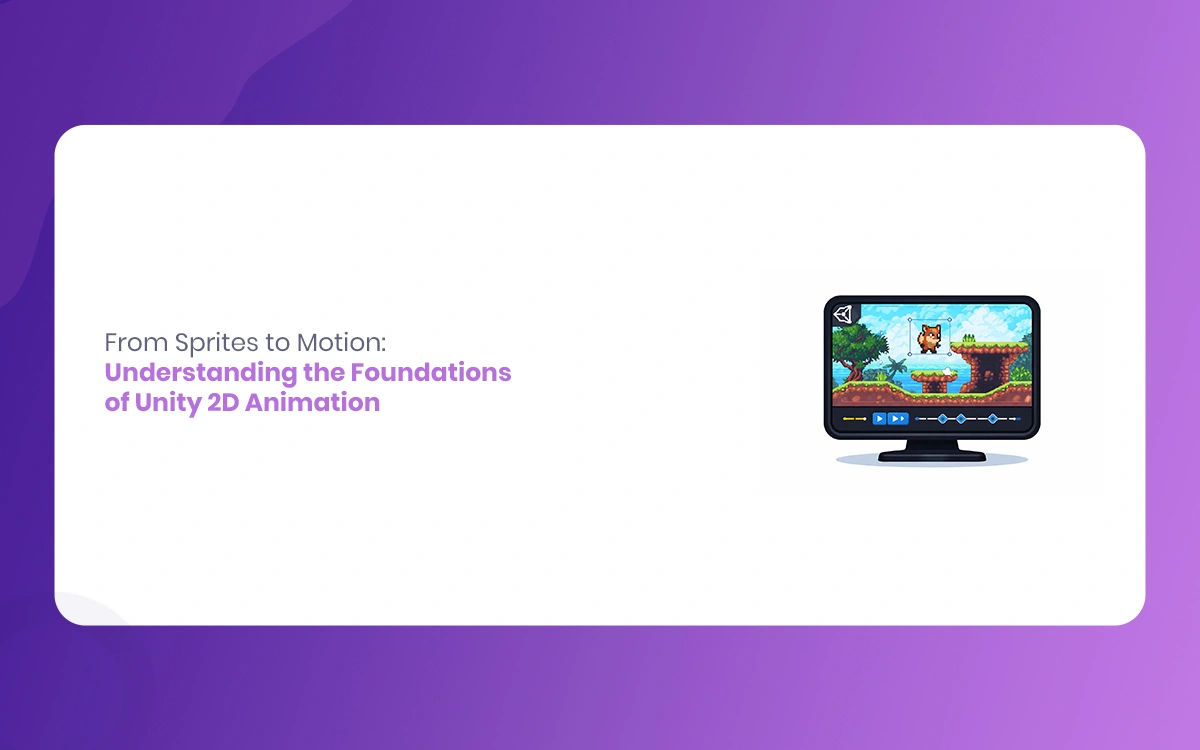
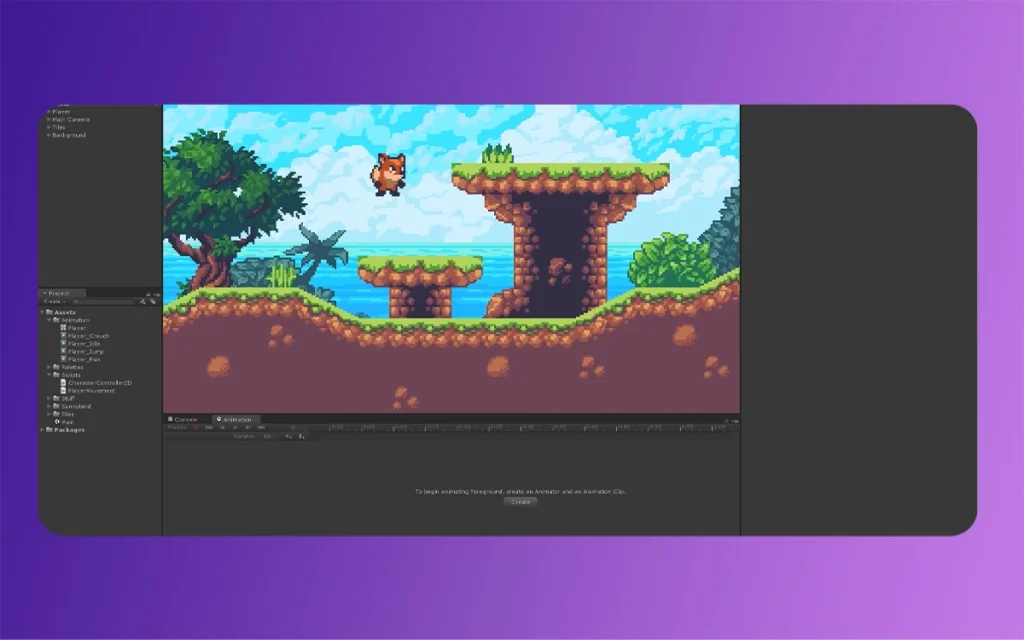
Unity has long been a playground for 3D artists, but its 2D animation tools pack a punch for game devs and animators who crave fluid character motion without ditching their rigging know-how. Imagine starting with a single, pixel-perfect sprite and growing it into a sprinting hero that blends seamlessly into your game’s world. The Morphic Studio shares the information about the ride from static images to dynamic animations, leveraging Unity 2D Animation Controller, sprite sheets, and skeletal rigging. Whether you’re transitioning from Blender or building fan-made visual novels, these foundations will supercharge your 2D workflows. Let’s dive in, frame by frame.
Sprite Fundamentals: Your 2D Building Blocks
Sprites form the heartbeat of Unity 2D Animation think of them as the textured meshes in your 3D scenes, but flattened into energetic, game-ready images. These aren’t just pretty pictures; they’re versatile assets that power everything from idle poses to explosive effects.
Unity 2D Animation
Importing and Preparing Sprites
Kick things off by dragging your artwork PNG files, sprite sheets, or single frames into Unity’s Project window. Right-click the asset, select it, and in the Inspector, switch the Texture Type to Sprite (2D and UI). This unpicks Unity’s sprite magic, letting you control filtering (Point for crisp pixel art, Bilinear for smooth scaling) and compression for optimized builds.
For efficiency, especially with animation cycles, use sprite sheets: one texture atlas packing multiple frames like a run cycle or attack sequence. Unity’s Sprite Editor (double-click the texture) shines here. Choose Slice mode Automatic detects frames via transparency, Grid snaps to uniform sizes (ideal for 16×16 pixel art), or Manual for custom cuts on irregular shapes. Tweak pivots next: drag the blue handle to the character’s feet for ground-range jumps, or center for spinning effects. Hit Apply, and voilà individual sprites emerge, ready for animation. Pro tip: Match your project’s Pixels Per Unit (PPU) to your art scale, like 100 PPU for 100px characters, make certain buttery-smooth scaling.
Optimizing Sprites for Performance
In your tech-reviewer hat, you’d benchmark this: tight atlases reduce draw calls, boosting frame rates on mobile. Use Unity’s Sprite Atlas feature (Assets > Create > Sprite Atlas) to pack sheets dynamically, with padding to avoid bleed. For your Ahmedabad studio workflows, this pairs perfectly with Photoshop exports or Blender’s 2D Grease Pencil for hybrid art.
Unity 2D Animation
Crafting Animation Clips: Frame-by-Frame Magic
With sprites sliced, animation clips bring them to life. Unity’s system feels familiar if you’ve basicframed in Blender record property changes over time for playback loops.
Building Your First Clip
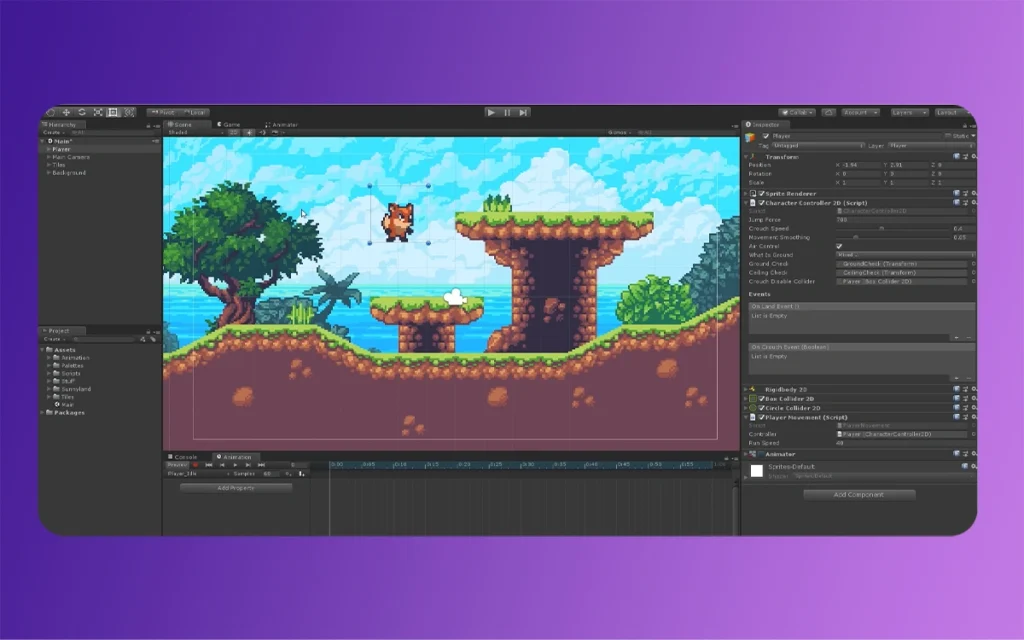
Select your sprite GameObject in the Scene, then drag a sequence of sprites (e.g., idle frames) into the Project window or Hierarchy. Unity prompts “Create > Animation,” auto-generating a clip with Sprite Renderer > Sprite property basicframed per frame. Open the Animation window (Window > Animation > Animation or Ctrl+6) to refine.
Scrub the timeline, add curves for easing (easing in/out mimics squash-and-stretch), and set Samples to match your PPU say, 16 for retro games. Preview with the Play button; loop it via the clip’s settings. For a walk cycle, sequence 8-12 frames: contact, passing, recoil, and repeat. Export from tools like Aseprite? Unity imports onion-skinning vibes effortlessly.
Basicframing Properties Further on than Sprites
Don’t stop at swaps. Basicframe position, rotation, scale, or even color tint for glowing effects. Add the 2D Renderer component for sorting layers, make certain your hero overlaps backgrounds crisply. Record multiple clips idle, run, jump and organize in folders like “Player_Animations.”
Animator Controller: Orchestrating State Machines
Enter the Animator Controller: Unity’s brain for blending clips intelligently, much like a 3D state’s layer system but optimized for 2D.
Setting Up the Controller
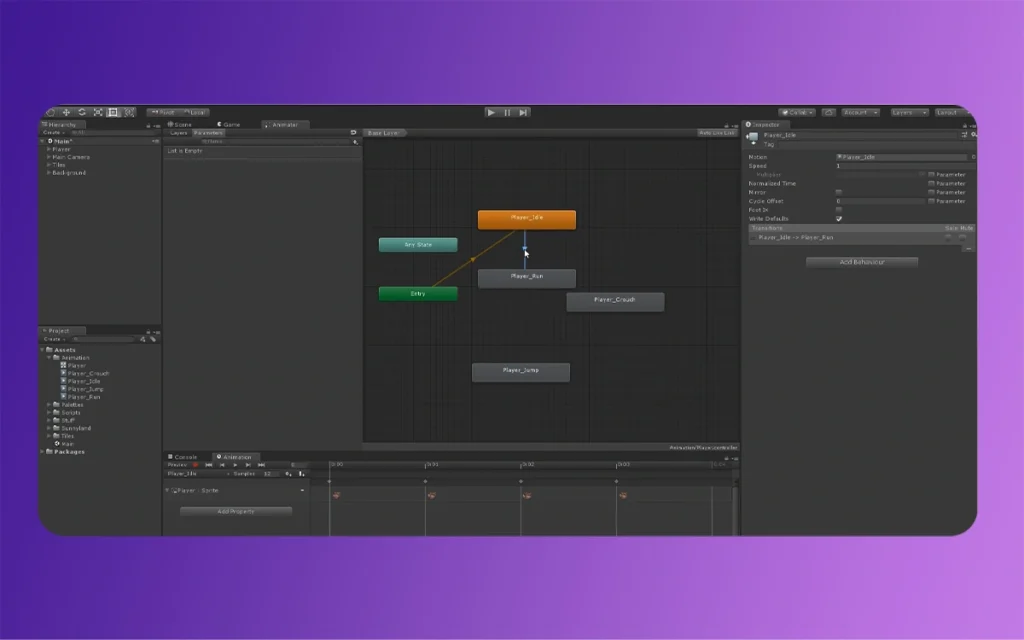
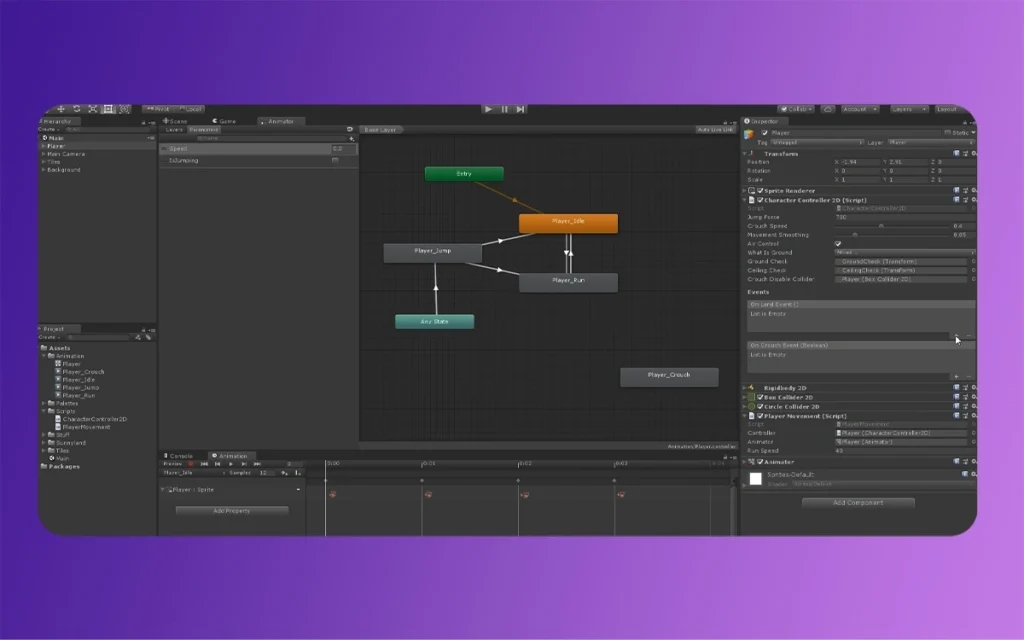
Add an Animator component to your GameObject, create a new Controller (right-click in Project > Create > Animator Controller), and assign it. Double-click to open the Animator window. Drag clips in as states default to “Idle.”
Unity 2D Animation
Transitions and Parameters for Fluid Motion
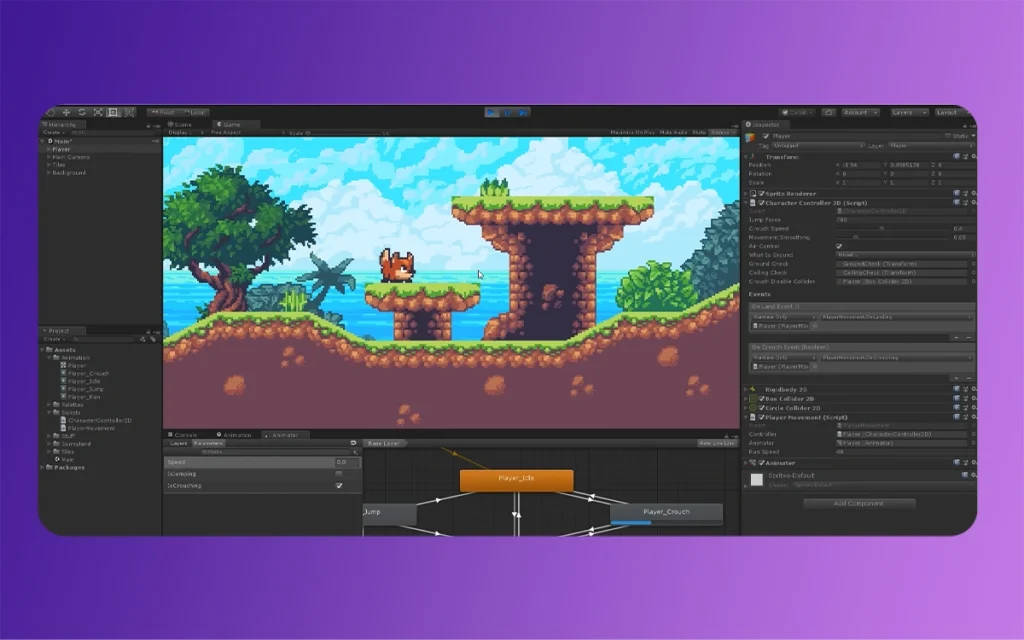
Connect states with arrows (transitions). Base them on parameters: a Float “Speed” (0 for idle, 1+ for run), Bool “IsGrounded,” or Trigger “Jump.” Right-click a transition > Add Condition, like Speed > 0.5 to shift idle-to-walk. Bake in exit times for natural flow, and tweak blend durations (0.1s feels snappy).
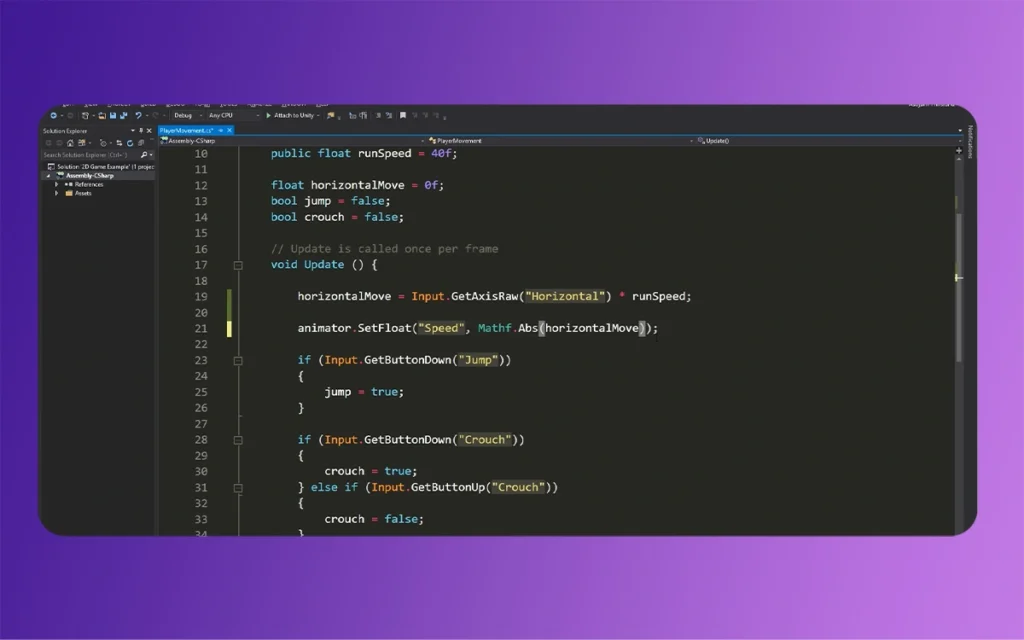
For next-level smoothness, introduce Blend Trees (right-click > Create State > From New Blend Tree). Assign walk/run clips to a 1D tree on “Speed,” letting Unity interpolate poses. Script it simply:
csharp
using UnityEngine;
publicclass PlayerMovement : MonoBehaviour {
public Animator animator;
float speed;
void Update() {
speed = Input.GetAxis(“Horizontal”) * 5f;
animator.SetFloat(“Speed”, speed);
}
}
Attach to your player now motion scales dynamically. This mirrors your VFX rigging, scaling effortlessly for complex behaviors.
Unity 2D Animation
Elevating with Skeletal Animation: Rig Like a Pro
Pure sprite swaps rock for simple games, but skeletal rigging unleashes deformation for lifelike squash, sway, and attacks bridging your 3D Blender skills to 2D.
Installing and Accessing 2D Animation Tools
Via Window > Package Manager, grab the “2D Animation” package (free from Unity). This adds the Skinning Editor and PSD Importer for layered Photoshop files.
Rigging Sprites with Bones
Select a sprite, open Sprite Editor > Skinning Editor tab. Create a bone hierarchy: click Create Bone from the root (head or pelvis), chain down to limbs. Auto Geometry generates bones along outlines perfect for define characters. Refine with Generate for mesh outlines.
Mass Painting and Testing
Paint mass (red=full influence, blue=none) to define how bones deform pixels. Use the Preview Skeleton dropdown for poses. Generate the skinned mesh, then animate in the Animation window: basicframe bone Rotation, Position, or Scale. It’s procedural magic tweak a forearm bone, watch the hand follow.
Export from Blender? Rig there first with Unity’s 2D PSD workflow for bone hierarchies. Test in Play Mode; skeletal beats sprite swaps for memory on busy scenes with 50+ enemies.
Unity 2D Animation
Performance Table: Sprite Swaps vs. Skeletal Animation
Quick benchmark reference for your reviews test these on your high-end rig:
Aspect
Sprite Swaps
Skeletal Animation
Setup Time
Fast (5-10 min per cycle)
Moderate (20-40 min rigging)
File Size
High (multi-frame sheets)
Low (single sprite + bones)
Deformation
None (discrete frames)
Full (smooth bends, stretches)
CPU Overhead
Low (simple playback)
Medium (mass calcs)
Best For
Pixel art, simple loops
Organic motion, complex characters
Memory (per char)
5-20 MB (run cycle)
1-5 MB (rigged idle)
Blender Integration
Export sheets
Direct bone import
Data based on Unity 2023 LTS tests; skeletal wins for scalability in your action RPGs.
Real-World Workflows: Tips for Creators
Tie it together: Prototype a character in Blender (model 2D flats), export sprites, slice in Unity, rig skeletally, and controller-blend. For your anime-style art, layer transparency for glows. Optimize with Profiler aim under 16ms/frame. Community assets like 2D Roguelike packs speed testing.
Troubleshoot: Jittery playback? Match PPU. Wonky blends? Normalize parameters (0-1 range). Mobile? Sprite Shape for procedural effects.
Unity 2D Animation
Finally
From humble sprites to bone-driven spectacles, Unity 2D Animation empowers your Morphic Studio projects with efficiency and flair. You’ve got the tools sprite slicing for speed, Animators for smarts, skeletal for soul. Experiment: rig that fan visual novel hero today and blend it with your 3D VFX polish. Your next viral tech review or animated short awaits. Dive into Unity, iterate wildly, and watch static art spring to life.
Augmented Reality News: 7 Exclusive Breakthroughs for an Incredible Year | The Morphic Studio
Navigating the Latest Augmented Reality News Environment Welcome to another exciting deep dive into the statistical universe brought to you by The Morphic Studio. If you have been keeping up with tech headlines lately, you already know that statistical overlays and spatial computing are changing how we interact with our physical surroundings. The year 2026 […]
September 1, 2026
VR Horror Games: 13 Incredible Titles for a Brutal Scare – The Morphic Studio
Welcome to the ultimate guide for anyone looking to test their nerves inside a headset. When you strap a display to your face, flat screen rules no longer apply. VR Horror Games You are no longer watching a character run from danger on a distant monitor, because you are right there in the middle of […]
August 31, 2026
Meta Quest 4 Release Date: The Master Guide to 2026’s Most Incredible VR | The Morphic Studio
Virtual reality has traveled a long road over the last few years. We have moved from bulky, tethered headsets that needed expensive gaming computers to sleek, standalone machines that fit right inside a small travel backpack. If you follow immersive technology here at The Morphic Studio, you already know that Meta has been leading the […]