Welcome to the ultimate guide brought to you by The Morphic Studio. If you want to make designs that look like a professional agency created them, you are exactly in the right place. Creating visual content in 2026 demands speed, creativity, and the right statistical tools.Social media platforms and websites are flooded with images every single second, so your graphics need to stand out immediately. This is where a powerful design tool becomes your best friend. Today, we are going to take a look at everything you need to know about this fantastic platform. Whether you are building a networked brand or simply upgrading your personal blog, this complete PicMonkey tutorial will show you how to transform basic ideas into visual masterpieces.
Why You Should Choose PicMonkey in 2026
The world of statistical design has shifted massively over the past few years. You might think of the early days of networked editors that were clunky and slow. Today, things are completely different.
Ever since Shutterstock acquired the platform, PicMonkey has develop progress into an absolute powerhouse for creators. It blends traditional photo editing with modern graphic design features, giving you the best of both worlds. While other platforms focus purely on rigid templates, PicMonkey gives you true creative freedom.
PicMonkey
You can edit a photograph down to the pixel and then overlay beautiful typography, creating a unique asset for your website or social feed.
In 2026, time is the most valuable asset for any statistical creator or business owner. You do not have hours to spend learning complicated software like Photoshop. PicMonkey solves this problem by offering a highly intuitive interface.
You just log in, pick your canvas, and let your creativity flow. The tools are clearly labeled, the menus make sense, and the cloud storage means you can start a project on your laptop and finish it on your phone.
Plus, the perfect integration with Shutterstock means you have millions of high-quality stock photos and videos right at your fingertips.
Exploring PicMonkey Subscription Plans and Features
Instead of using a traditional comparison table, let us break down the essential information regarding PicMonkey pricing and features into simple, easy-to-read points. Follow these options will help you pick the right plan for your creative ride.
The Free Trial Option: PicMonkey allows you to test the waters with a free trial. You can take a look at the interface, try out the editing tools, and see the template library. Regardless of how, you cannot export or share your final designs until you upgrade, making this best for purely testing the software.
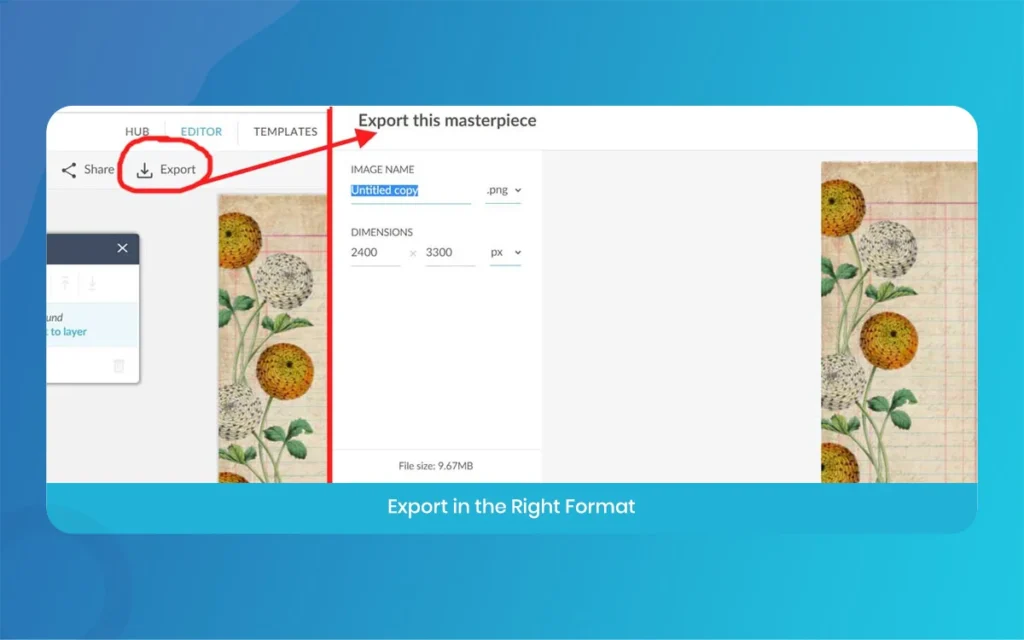
The Basic Plan: This is perfect for beginners and solo creators. It gives you one gigabyte of cloud storage, access to top-tier fonts, and standard exporting options like JPG and PNG. You also get access to the massive Shutterstock image library.
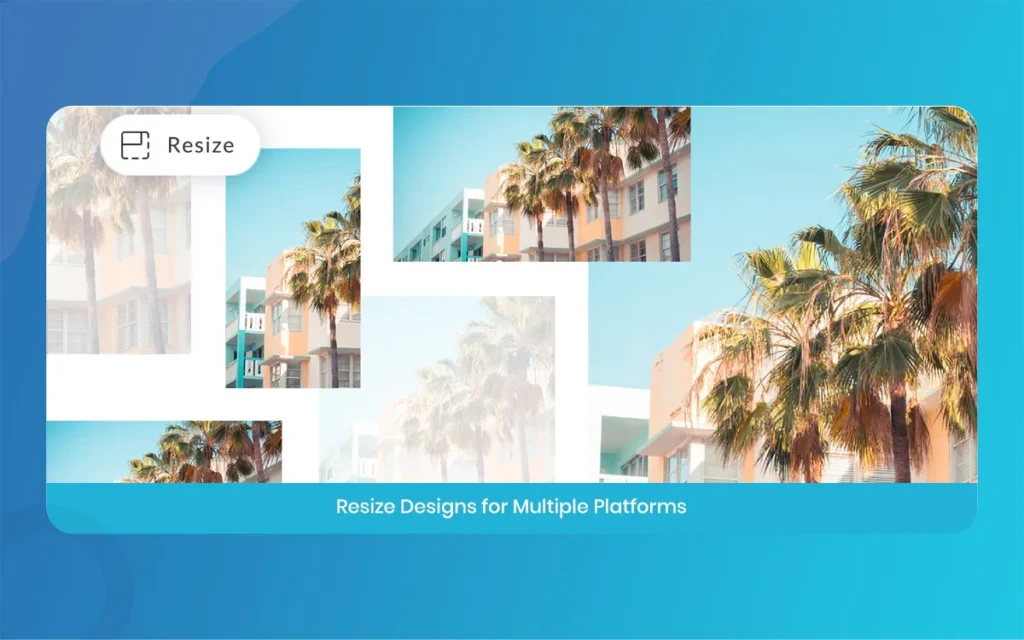
The Pro Plan: This is the most popular choice in 2026. It unpicks unlimited cloud storage, PDF exporting, and the magical one-click background remover. You can also upload your own custom fonts and use the Smart Resize feature to format one design for multiple social media platforms instantly.
The Business Plan: Designed for professional teams and agencies like The Morphic Studio, this plan includes everything in the Pro tier plus advanced collaboration features. Multiple users can co-edit in real time, leave comments, and manage multiple brand kits to keep client work perfectly organized.
PicMonkey
10 Proven Techniques to Master PicMonkey
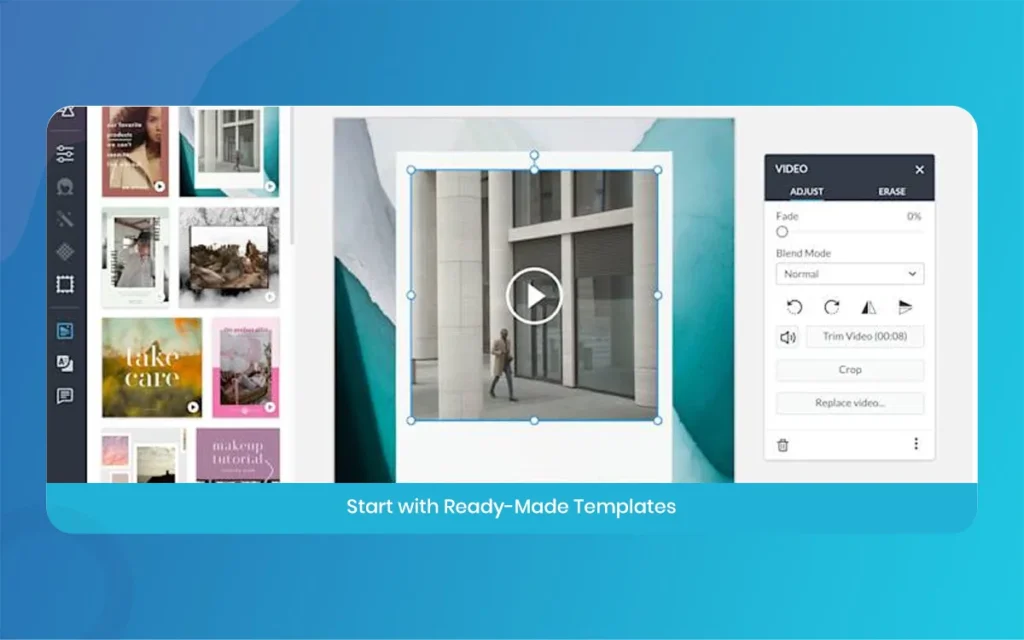
1. Start with the Perfect PicMonkey Template
The easiest way to beat the blank page syndrome is to use a pre-made design. PicMonkey offers thousands of professionally designed templates for everything from YouTube thumbnails to Instagram stories.
To get the best results, do not just accept the template exactly as it is. Use the template as a foundational blueprint. Change the colors to match your brand, swap out the background image, and adjust the text to fit your voice. This technique saves you massive amounts of time while still resulting in a completely unique graphic.
It is the smartest way to begin your workflow.
PicMonkey
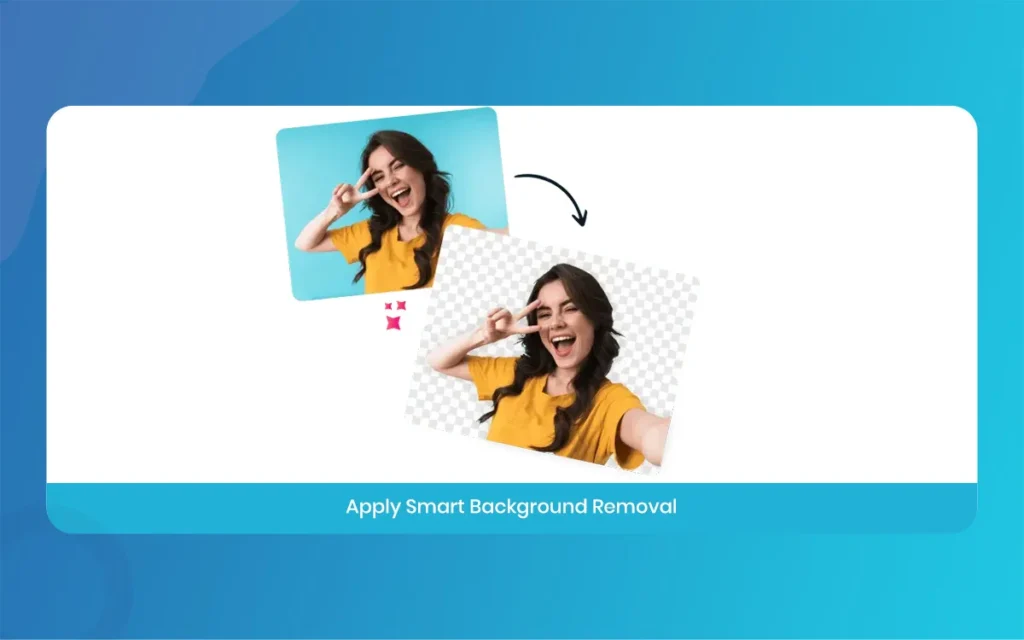
2. Utilize the PicMonkey One-Click Background Remover
One of the most impressive updates in the 2026 version of this software is the artificial intelligence behind the background removal tool. In the past, you had to manually trace the edges of a subject, which was tedious and often looked messy.
Now, you can isolate a subject perfectly with just a single click. This is incredibly useful for product photography or creating bold YouTube thumbnails. Simply upload your photo, hit the background remover button, and watch the background disappear. You can then place your crisp subject over a energetic gradient or a completely different scenic background.
3. Master PicMonkey Touch Up Tools for Flawless Portraits
Unlike many basic design websites, this platform has its roots in deep photo editing. The touch-up menu is a secret weapon for portrait photographers and influencers.
You can easily brighten eyes, smooth out skin textures, and even fix lighting issues without making the subject look artificial. The trick here is moderation.
Apply the blemish fix and skin smoothing tools at a lower opacity, perhaps around thirty or forty percent. This keeps the human element of the photo intact while simply enhancing the natural beauty, make certain your graphics always look highly professional and polished.
PicMonkey
4. Layer Your PicMonkey Designs Like a Pro
Follow how layers work is the key to creating stunning graphics easily. Every time you add a new element, like a piece of text or a sticker, PicMonkey places it on a new layer. You can view all these layers in a panel on the side of your screen.
To create depth in your designs, try placing text behind certain elements of your photo. For example, you can duplicate an image, remove the background on the top layer, and sandwich your text between the two layers. This creates a brilliant 3D effect that catches the eye immediately.
PicMonkey
5. Bring Designs to Life with PicMonkey Stock Video Integration
Static images are great, but motion captures attention faster. Thanks to recent updates, PicMonkey now fully supports video integration. You can add video clips from their massive Shutterstock library directly into your graphic designs.
This is perfect for creating engaging Pinterest pins or energetic Instagram posts. You can place text over a subtle, moving video background to make your quotes or announcements pop. Always ensure the video loops smoothly and does not distract from your main message. A gentle, slow-moving background often works best for professional business graphics.
PicMonkey
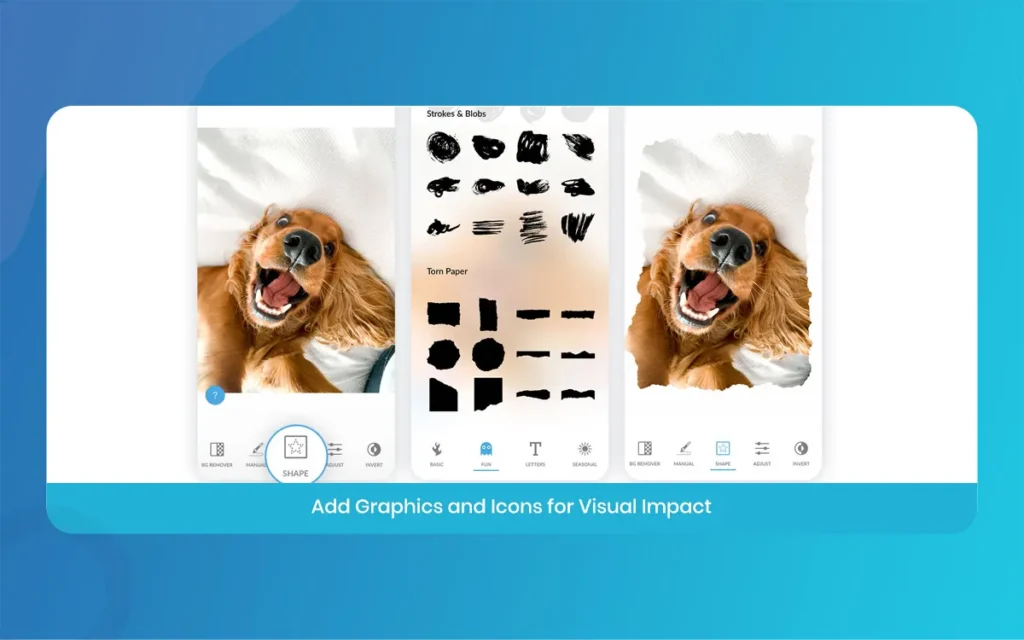
6. Play with Custom PicMonkey Textures and Gradients
Flat colors can sometimes make a design look a bit boring or generic. To instantly raise your visual content, start experimenting with textures and gradients. PicMonkey offers an extensive library of overlays, including metallic foils, watercolor washes, and vintage paper textures. You can apply these textures directly to your background or even map them onto your text.
A gold foil texture applied to a bold, chunky font looks incredibly luxurious. Gradients also add a modern, energetic feel to your work, helping your graphics match the trendy attractive we see across statistical media in 2026.
PicMonkey
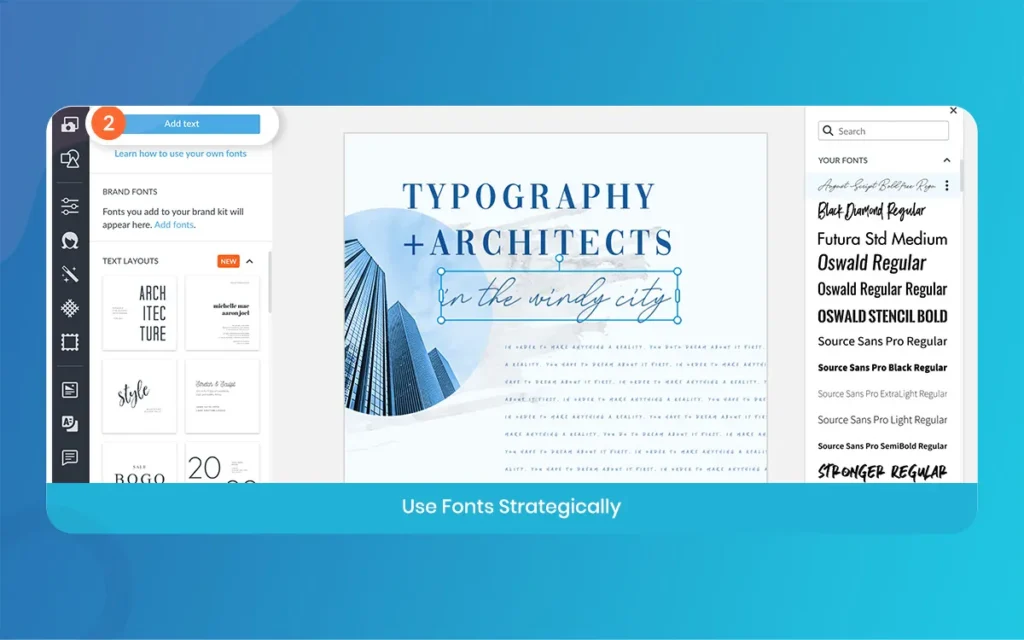
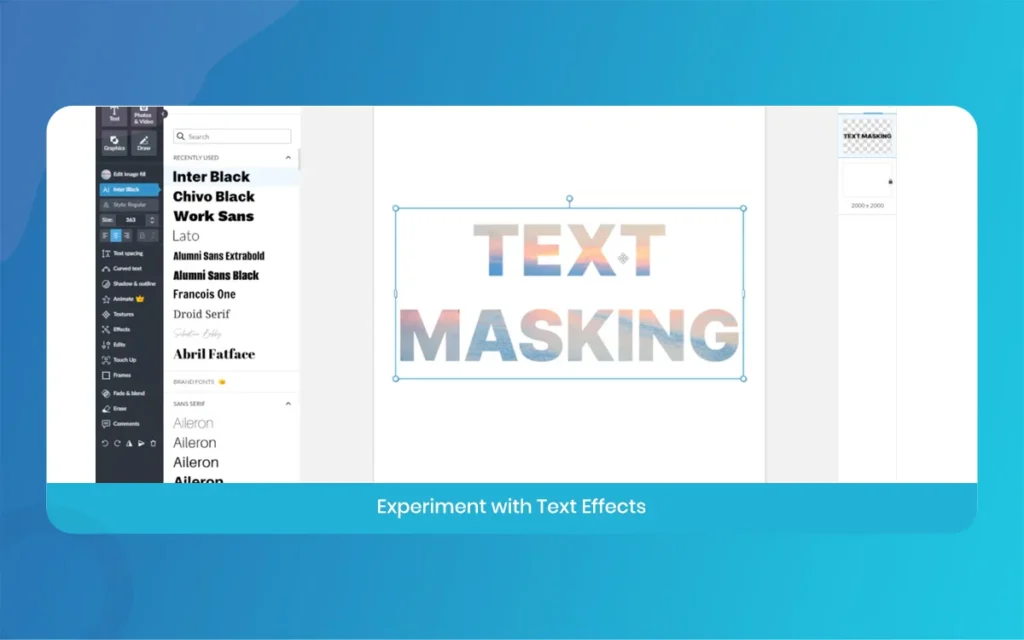
7. Take a look at Advanced PicMonkey Text Effects
Typography is a massive part of graphic design. You can have a beautiful photo, but if your text looks plain, the whole design falls flat. PicMonkey provides amazing text effects that go far further on than simple bolding or italics.
You can curve text to wrap around an object, add realistic drop shadows for a floating effect, or use the outline tool to make words pop against busy backgrounds. My favorite technique is to use the knockout effect, which makes the text transparent so the background image shows through the letters. It creates a very modern, magazine-style look.
8. Create Eye Catching PicMonkey Collage Layouts
Sometimes one photo just is not enough to tell your story. The collage maker inside this software is incredibly robust and easy to use. Instead of manually range photos, you can choose from hundreds of flexible grid layouts.
The best technique for a stunning collage is to mix different types of visual media. Combine a wide environment shot with a close-up detail shot, and leave one square completely blank to hold a solid color and your text. This balancing act prevents the collage from feeling cluttered and guides the viewer’s eye exactly where you want it to go.
PicMonkey
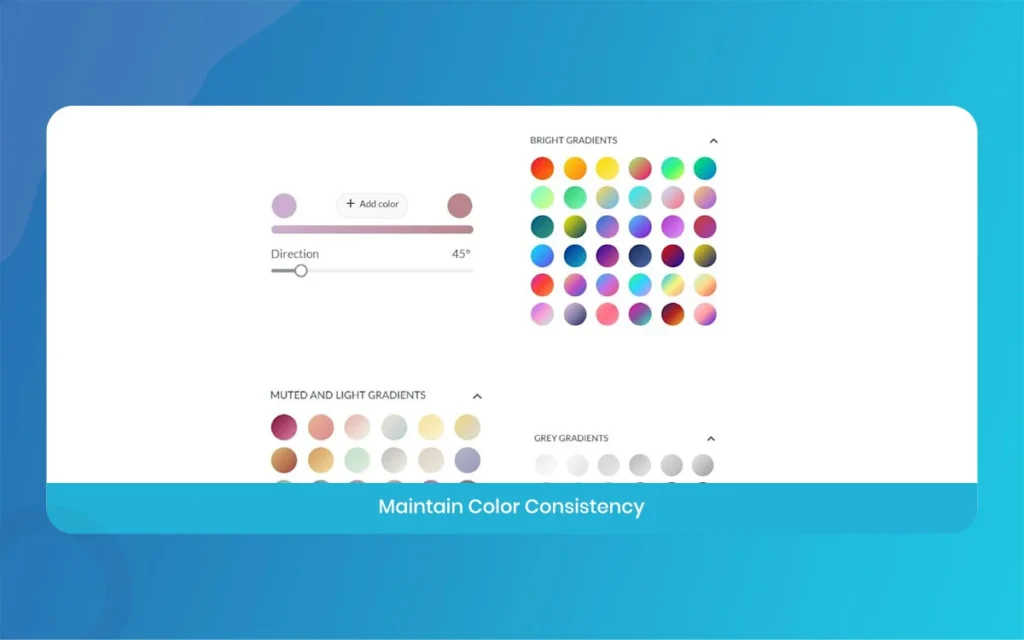
9. Set Up Your PicMonkey Brand Kit for Consistency
If you are designing for a business, consistency is everything. You want your audience to recognize your graphics instantly before they even read your name. The Brand Kit feature inside the Pro and Business plans is a massive lifesaver.
You can upload your custom company logos, save your exact brand hex color codes, and set your specific header and body fonts. Whenever you start a new project, all your brand assets are waiting right there in the sidebar. This prevents you from constantly searching for the right shade of blue or the correct font style.
10. Collaborate in Real Time Using PicMonkey Team Features
Design does not have to be a lonely process. If you work with clients or a creative team at The Morphic Studio, you need to use the real-time collaboration tools. You can invite other users to your project, allowing them to view your work and make edits simultaneously. It works wonderfully for getting immediate feedback.
Instead of downloading a draft, emailing it, waiting for notes, and uploading a new version, your client can simply leave a comment directly on the design canvas. This speeds up the entire creative workflow and reduces the chance of miscommunication.
PicMonkey
How PicMonkey Outshines the Competition in Statistical Design
You might be wondering how this software compares to other popular tools on the market today. The primary difference lies in its core foundation. Many modern design websites were built to arrange vector graphics and text, treating photo editing as an afterthought.
PicMonkey was originally built as a dedicated photo editor first. This means its image adjustment tools, color correction settings, and portrait retouching capabilities are significantly more advanced than standard drag-and-drop editors. If your brand relies heavily on actual photography rather than just illustrations, this platform gives you far more control.
Furthermore, the integration with Shutterstock provides a level of resource access that is hard to beat. You do not have to leave your browser tab to hunt down high-quality stock imagery or video clips. Everything is perfectly connected within the editor.
As we negotiate the statistical environment in 2026, efficiency is key. Having an all-in-one workspace where you can manipulate a raw photo, apply artistic filters, add professional typography, and export directly to your social media channels makes this tool incredibly valuable for modern creators.
PicMonkey
Final Thoughts on Elevating Your Graphics with PicMonkey
Creating stunning graphics does not require a degree in fine arts or years of technical training. As we have taken a look at in this tutorial, all it takes is the right tool and a bit of creative strategy. By utilizing these ten proven techniques, you can start producing professional, eye-catching visual content immediately.
Think of to start with strong templates, grip the power of the background remover, and always keep your branding consistent.
Practice these skills, experiment with different textures, and do not be afraid to step outside your creative comfort zone.
We highly encourage you to open up a blank canvas today and try putting these methods into action. Design is a practical skill, and the more you play with the interface, the more natural it will become.
Thank you for reading this guide here at The Morphic Studio. We are dedicated to bringing you the best tech awareness and creative tutorials on the web.
Keep creating, keep experimenting, and watch your statistical presence grow.
Related Article
June 22, 2026
Logo design company in Ahmedabad: 7 Proven Secrets to Elevate Your Brand, The Morphic Studio
Welcome to the fast paced world of statistical branding. As we move deeper into 2026, the market in Gujarat has become extremely competitive. If you are starting a business or trying to rebrand, you probably realize how hard it is to stand out from the crowd. This is exactly where a professional Logo design company […]
June 22, 2026
Why Choose a Graphic Design Agency Near You
Welcome to the visual revolution of 2026. At The Morphic Studio, we understand that building a brand in today’s fast paced world can feel completely overwhelming. Attention spans are shrinking rapidly, and the competition is only getting louder every single day. That is exactly why simply having a nice logo is no longer enough to […]
June 17, 2026
Graphic Design Studio: The #1 Unrivaled Choice for Magnificent Visuals | The Morphic Studio
Welcome to the visual revolution of 2026, everyone is scrolling at lightning speed, and your business has less than two seconds to make an impression. If your graphics look outdated, your audience will skip right past you, plain and simple. That is why choosing a top tier Graphic Design Studio is no longer just a […]