PhotoADKing makes visual marketing easy for small businesses and fast-growing social media pages. It helps brands look professional without the high cost or steep learning curve of complex design software.
At The Morphic Studio, we always simplify workflows while keeping a premium finish. Now, anyone can create eye-catching assets with the right online editor.
A highly accessible online platform is essential for non-designers. PhotoADKing is a budget-friendly solution to complex graphic design software, helping business owners, freelancers, and marketers generate quality marketing materials in minutes.
Whether creating a menu, brochure, or video intro, PhotoADKing removes the stress of starting from scratch. This guide shows how to make the most of the graphic editor for standout business visuals.
Why You Need PhotoADKing for Modern Marketing
Let us be completely honest, most advanced graphic tools out there have a steep learning curve that scares away beginners. You open up the interface and find yourself staring at dozens of confusing sub-menus, brushes, and layers. PhotoADKing takes a completely different path by using a highly intuitive drag and drop system that makes editing feel natural. You simply pick an element, slide it across your screen, and drop it exactly where you want it to sit. This simplicity lets you shift your energy from figuring out how the platform works to focusing purely on your creative concepts, saving you hours of frustration every single week.
PhotoADKing
Another massive reason to pick this platform is its rich library of readymade layouts, which covers almost every industry you can think of. If you need a real estate flyer, a fitness poster, or a corporate letterhead, you will find thousands of specific options waiting for you. Instead of guessing correct dimensions for different social media networks, the platform provides perfectly pre-sized canvases automatically. This removes the annoying guesswork of cropping images later, ensuring your designs look crisp and professional on mobile phones and desktop screens alike. It is a massive shortcut for busy teams who need to publish promotional content constantly.
Exploring the Latest 2026 PhotoADKing Features
As we head into 2026, online editing tools have seen a massive shift toward automation, and this software has updated its system to keep pace. The latest 2026 upgrade introduces powerful AI design tools, including an advanced AI flyer generator and smart text options. By integrating directly with ChatGPT, the application now lets you type simple text prompts to generate fully fleshed-out graphic concepts in seconds. This means you do not even have to look for a template manually if you are in a rush, because the AI builds a custom foundation based on your specific industry and goals.
In addition to the automated AI assistants, the platform has rolled out an updated 3D object editor that adds realistic depth to your visuals. You can now insert customizable 3D shapes, rotate them along different axes, and create unique layouts that standard flat editors cannot achieve. Video marketing has also received a significant boost with new video flyer templates, animated intros, and custom transition effects. These tools allow you to create moving graphics that instantly grab attention on busy social media feeds, giving small brands a premium look without requiring professional video editing experience.
Complete PhotoADKing Tutorial with 10 Proven Steps
Ready to start building your own gorgeous marketing assets? Follow this clear, step-by-step tutorial to master the editor and transform your brand identity. We will guide you through the initial setup, look at the core design adjustments, and explain how to apply the latest 2026 upgrades to get the best results.
PhotoADKing
Step 1: Sign Up and Explore the PhotoADKing Dashboard
First things first, open your web browser and head over to the official platform to set up your account. Registration is incredibly quick, and you can simply log in using your existing Google account or email credentials to get started for free. Once you get inside, take a moment to look around the clean dashboard area, which acts as your creative control center. You will see clear categories on the left menu, ranging from social media graphics to print marketing materials. Familiarizing yourself with this main space right away will make your future projects much smoother to navigate.
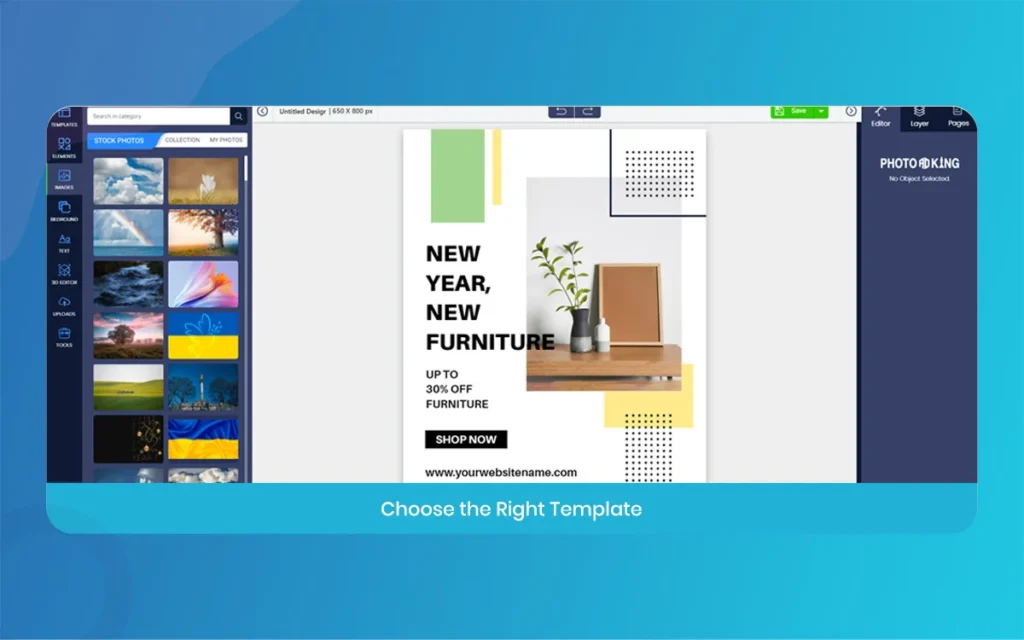
Step 2: Choose the Ideal Template inside PhotoADKing
Now that you are logged into the dashboard, it is time to find a layout that fits your marketing goals perfectly. Use the search bar at the top of the page and type in relevant basicwords, like restaurant flyer, beauty salon post, or product launch ad. The platform will immediately display hundreds of beautiful options tailored to that specific theme. Take your time scrolling through the available templates, look closely at the general structure. And click on the one that speaks to your brand vibe to open it inside the editor canvas.
PhotoADKing
Step 3: Master the PhotoADKing Drag and Drop Editor
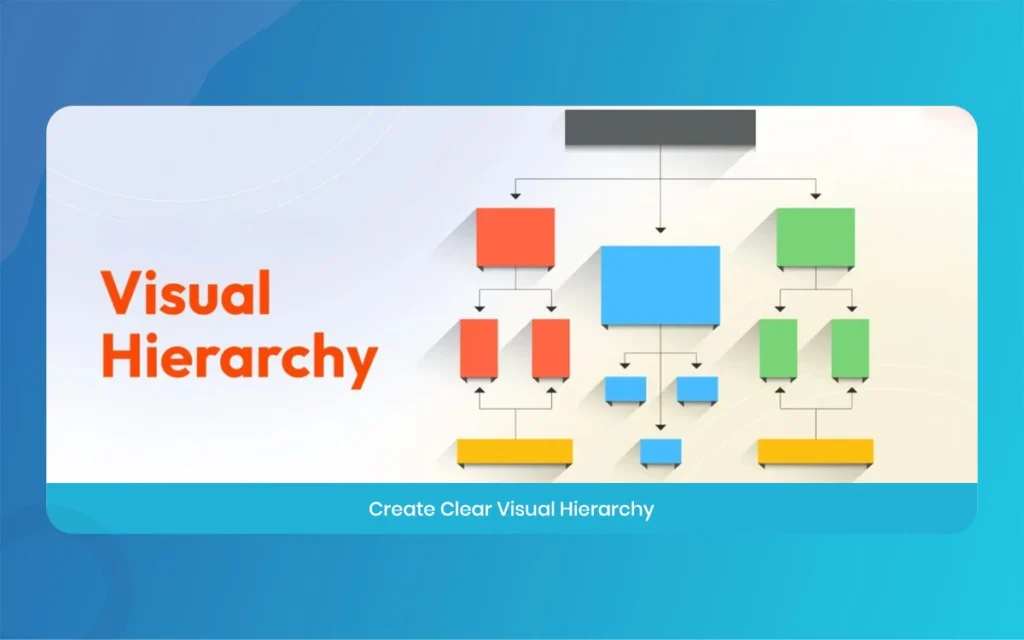
With your chosen template open on the main editing canvas, you can begin tweaking the layout using the simple drag and drop controls. Click on any pre-existing shape, image box, or graphic icon to select it. Then slide your mouse around to change its position on the screen. If an element does not fit your current concept, simply hit the delete basic to remove it entirely. You can also grab the corner handles of any object to resize it instantly. Giving you full control over the visual hierarchy of your page.
PhotoADKing
Step 4: Add Your Branding Materials Using PhotoADKing Tools
A great marketing visual needs to reflect your unique business identity, so uploading your personal assets is an essential step. Click on the uploads tab located on the left-side toolbar, select your official business logo from your computer, and bring it into the platform. Once uploaded, drag the logo onto your design, position it neatly in a corner, and adjust its transparency if needed. You can also save your official company color hex codes inside the editor palette, making it easy to keep your marketing materials consistent across every campaign.
Step 5: Play Around with Unique Fonts in PhotoADKing
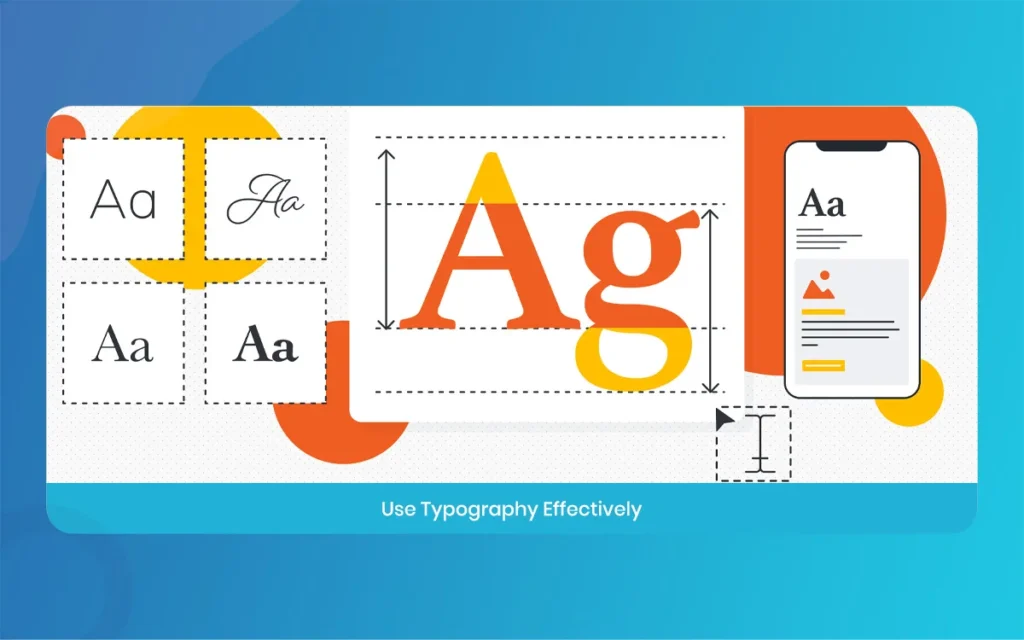
Typography plays a huge role in how people read your message, and this platform provides a massive database of custom fonts to explore. Select any text box on your template to open up the typography settings panel, where you can modify the font style, increase text size, or add clean letter spacing. Try pairing a bold, eye-catching heading font with a simple, readable body font to keep your information organized. The editor also features pre-made text badges and banners, which are perfect for highlighting special holiday discounts or seasonal sales.
PhotoADKing
Step 6: Harness the AI Power Inside PhotoADKing
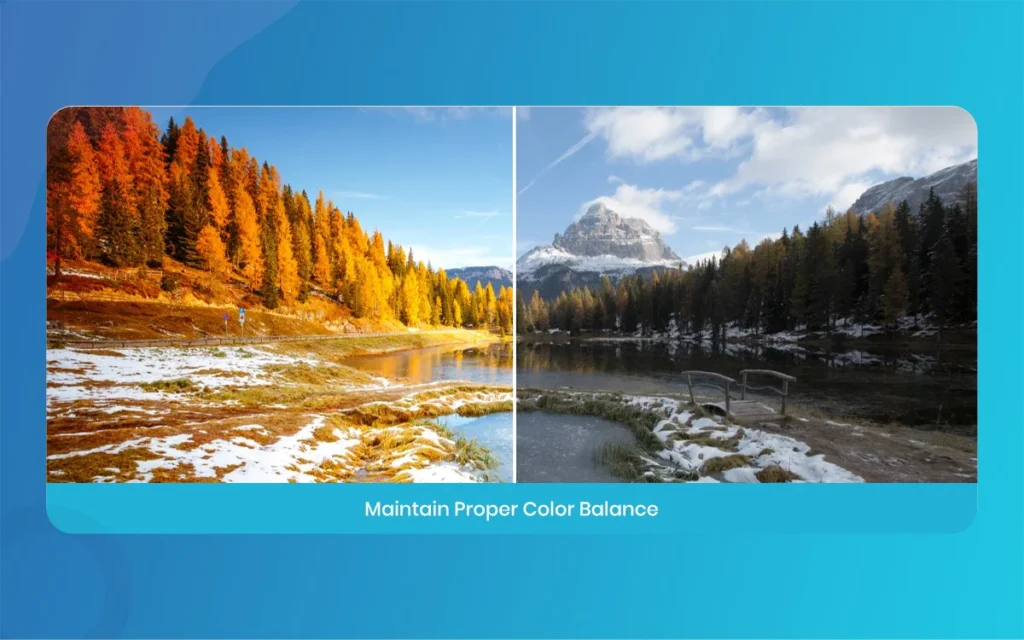
Take full advantage of the fresh 2026 updates by trying out the built-in artificial intelligence features during your editing process. If you want to place a photo of your product into the design but the original photo has an ugly background., Use the one-click AI background remover to clean it up instantly. You can also use the ChatGPT integration tool to rewrite your headlines. This smart automation keeps you from getting stuck on copywriting, allowing you to finish your project much faster.
PhotoADKing
Step 7: Insert 3D Graphics to Make Your PhotoADKing Layout Pop
To give your marketing graphics an extra layer of professionalism, you should experiment with the newly updated 3D object library. Look through the elements tab on the sidebar, select the 3D options, and choose from a wide variety of modern shapes, geometric signs, and thematic icons. Once you place a 3D object onto your canvas, use the special rotation wheel to tilt it and adjust its angle. This subtle depth effect makes your flyer look like it was crafted by an expensive creative agency, catching the viewer’s eye instantly.
Step 8: Create Animated Videos and GIFs in PhotoADKing
Static images work well, but moving content is king when it comes to getting high engagement on modern social networks. If you are building a statistical ad, click on the animation tab to apply smooth transition effects to your text boxes and graphic icons. You can make your main discount text fade in gently. Or make your product image slide into the frame from the side. The editor allows you to preview these animations in real-time. Helping you turn a simple image into a beautiful video flyer or an animated GIF.
PhotoADKing
Step 9: Optimize Layout Formats in PhotoADKing
Sometimes you create a beautiful poster, but you suddenly realize you also need to share that exact same design as an Instagram story. Instead of starting all over again from scratch, use the built-in resizing tool. Choose your new desired output size from the list, and the editor will automatically duplicate and adjust your elements to fit the fresh canvas boundaries. You might just need to move a few icons slightly to perfect the composition, saving you immense design time.
PhotoADKing
Step 10: Download and Share Your Creative PhotoADKing Design
Once you are completely happy with how your visual looks, it is time to save your hard work and share it with the world. Click the download button in the top right corner of the editor interface to see the available export file formats. For statistical platforms, select high-quality PNG or JPG files to ensure crisp colors, while for physical printing. Choose the PDF print option to maintain sharpness. Click download, save the file to your device, and you are officially ready to upload it to your marketing channels.
PhotoADKing
Comparing PhotoADKing Pricing and Toolkit Details
To give you a clearer picture of how this platform sets up its user access and feature tiers. We have broken down its core specifications, tools, and pricing plans. This complete list replaces a standard data table, making it simpler to scan the essential details on your mobile screen or tablet.
The Free Access Plan: This entry tier allows anyone to test out the basic editor without spending money. It provides access to a limited selection of standard templates, basic drag and drop shapes, and standard text tools, though your final downloaded files will include a small platform watermark.
The Starter Subscription Tier: Priced affordably around four rupees per month, this tier removes all watermarks from your final designs. It unlocks a much larger chunk of the content library, allows high-resolution image downloads.
The Pro Professional Plan: Available for around five to six rupees per month, this premium tier is designed for active freelancers and small business owners. It unlocks the entire 20,000+ template database, gives complete access to the 2026 AI design tools, enables 3D object editing, and supports advanced video flyer creation.
Core Technical Integrations: The platform connects smoothly with useful external tools to improve your marketing workflows. It features a built-in QR code generator to add scannable codes to business flyers. It integrates with Highcharts for clean, professional data visualization and chart design.
Customer Training and Platform Support: Users get access to a solid variety of learning resources to improve their design skills. The support system includes detailed text documentation, live online help during business hours. Helpful design webinars and a large collection of step-by-step video tutorials.
PhotoADKing
Final Verdict on Using PhotoADKing for Quick Designs
Ultimately, PhotoADKing proves that you do not need a massive budget or a graphic design degree to produce beautiful marketing visuals. While professional teams might occasionally notice a slight rendering lag when exporting heavy video files. The incredibly low price point and massive template variety make it an unbeatable tool for small businesses.
PhotoADKing
The fresh 2026 updates, especially the AI flyer generator and the 3D objects, raise the platform to a whole new level of efficiency. If you need to stay active on social media, print out weekly store flyers. Take action now—use PhotoADKing for your next campaign and experience effortless visual marketing firsthand.
Related Article
July 11, 2026
Brochure design agency: 10 Unbeatable Tips to Massively Boost Conversions, The Morphic Studio
Welcome to The Morphic Studio. If you think Brochure design agency are a thing of the past, you might want to reconsider. In the fast paced statistical world of 2026, a physical or well crafted statistical brochure is a powerful tool to stand out. It gives your brand a premium feel and builds deep trust […]
July 10, 2026
CGI Video Animation Company In Ahmedabad: 10 Mind-Blowing Trends to Massively Boost Sales, The Morphic Studio
This is exactly where a professional CGI video animation company in Ahmedabad comes into the picture. Videos created with computer graphics just have a special way of pulling people right in. At The Morphic Studio, we have seen first hand how 3D graphics can completely change a brand. It does not matter if you sell […]
July 9, 2026
Logo animation company: 10 Jaw-Dropping Styles to Skyrocket Engagement, The Morphic Studio
The statistical world is moving faster than ever before. In the year 2026, having a simple picture for your brand is just not enough to grab the attention of your audience. This is exactly where the magic of movement comes into play. This is why choosing the right creative partner is so incredibly important for […]