The Region 3D Animation, mastering Light and Shadow is crucial for creating realistic and visually compelling scenes. The Morphic Studio shares information about how to harness Blender 4.0’s powerful lighting system to create stunning Light Cast Shadow in Blender Animation.
Getting Started with Blender’s Lighting System
Before diving into the complexity of light and shadow manipulation, make certain proper setup is essential. Begin by downloading and installing Blender 4.0 or higher from the official website. Once installed, launch a new project to work with a clean canvas.
Follow Light Types in Blender
Blender offers several types of light sources, each serving different purposes in your scene:
Light Type
Characteristics
Best Used For
Shadow Properties
Point Light
Omnidirectional emission
Interior scenes, bulbs
Sharp, uniform shadows
Sun Light
Parallel rays
Outdoor scenes, daylight
Consistent direction shadows
Spot Light
Cone-shaped beam
Focus lighting, says
Concentrated shadows
Expanse Light
Surface emission
Soft lighting, studios
Diffused, realistic shadows
Basic Light Setup Process
Creating effective lighting begins with proper placement and configuration. To add a light source to your scene, press Shift + A and select “Light” from the menu. Choose your preferred light type based on your scene’s requirements.
After placing your light source, position it strategically using the G basic for movement. Consider the natural flow of light in your scene and how it might interact with different objects. Think of how light placement significantly impacts shadow formation and the general scene atmosphere.
Configuring Shadow Properties
Shadow configuration is crucial for achieving realistic results. Negotiate to the light properties panel to access shadow settings. Here’s where the magic happens:
Shadow Quality Settings
The shadow method you choose affects both quality and render time:
Ray Traced: Produces highly accurate shadows with soft edges
Approximate: Offers faster rendering with slightly less precision
Shadow Softness Control
Shadow softness depends on your light source’s size:
Smaller light sources create crisp, defined shadows
Larger sources generate softer, more diffused shadows
Advanced Shadow Techniques
Light Linking
Blender 4.0’s light linking feature provides unprecedented control over your scene’s lighting. This powerful tool allows you to:
Specify which objects interact with specific lights
Create complex lighting scenarios
Maintain precise control over shadow casting
Shadow Catcher Implementation
For composite work, the shadow catcher feature proves adjective:
Captures shadows without affecting scene lighting
Perfect for integrating 3D elements with real footage
Maintains realistic shadow interaction
Real-time Preview and Adjustment
To effectively fine-tune your lighting setup:
Switch to Rendered View (Z basic)
Observe real-time changes as you adjust settings
Study shadow termination points
Analyze core shadow formation
Professional Tips for Enhanced Results
Creating professional-quality shadows requires attention to detail:
Light Size Considerations
Experiment with different light sizes to achieve desired shadow softness
Think of that actual light sources have varying sizes
Match your light size to your scene’s scale
Shadow Density Control
Adjust shadow density to match your scene’s mood
Use multiple lights to create complex shadow patterns
Consider ambient occlusion for added realism
Light Cast Shadow in Blender Animation By The Morphic Studio
Common Challenges and Solutions
When working with Light Cast Shadow in Blender Animation, you might encounter:
Render Time Optimization
Balance shadow quality with render time
Use approximate shadows for preview
Switch to ray-traced shadows for final renders
Shadow Artifacts
Adjust bias settings to reduce shadow acne
Increase sample counts for cleaner shadows
Consider using denoising for smoother results
At Last
Mastering Light Cast Shadow in Blender Animation in Blender 4.0 opens up endless possibilities for creating stunning animations. By following and implementing these techniques, you can create more realistic and visually engaging scenes. Think of that lighting as an art form – don’t be afraid to experiment and develop your style while working within these technical guidelines.
The basis for success lies in practice and observation. Study actual lighting scenarios and try to recreate them in Blender. With time and dedication, you’ll develop an intuitive follow of how Light Cast Shadow in Blender Animation interacts, enabling you to create increasingly sophisticated and professional-looking animations.
Think of regularly saving your work and experimenting with different combinations of these techniques to find what works best for your specific project needs. The versatility of Blender 4.0’s lighting system provides all the tools you need to achieve your creative vision.
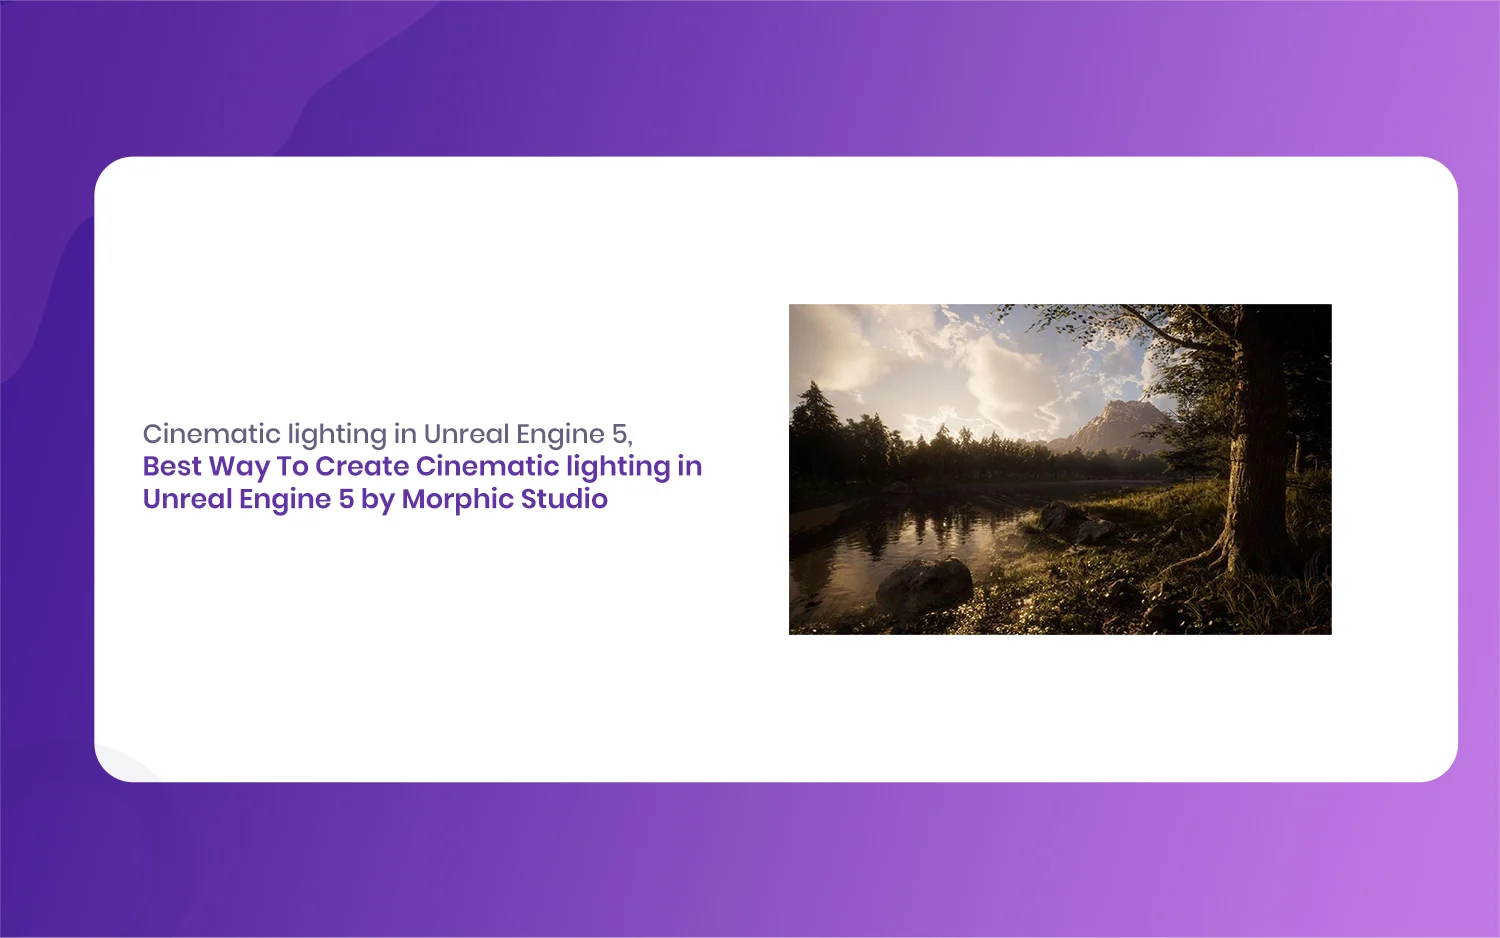
Best Way To Create Cinematic lighting in Unreal Engine 5 by Morphic Studio [Tutorial]
The Magic of Cinematic lighting in Unreal Engine 5 Have you ever looked at a beautifully rendered game or a virtual film set and wondered how they make it look so incredibly real? Well, the answer almost always comes down to the lighting. Today, we are going to take a look at the magic of […]
July 20, 2026
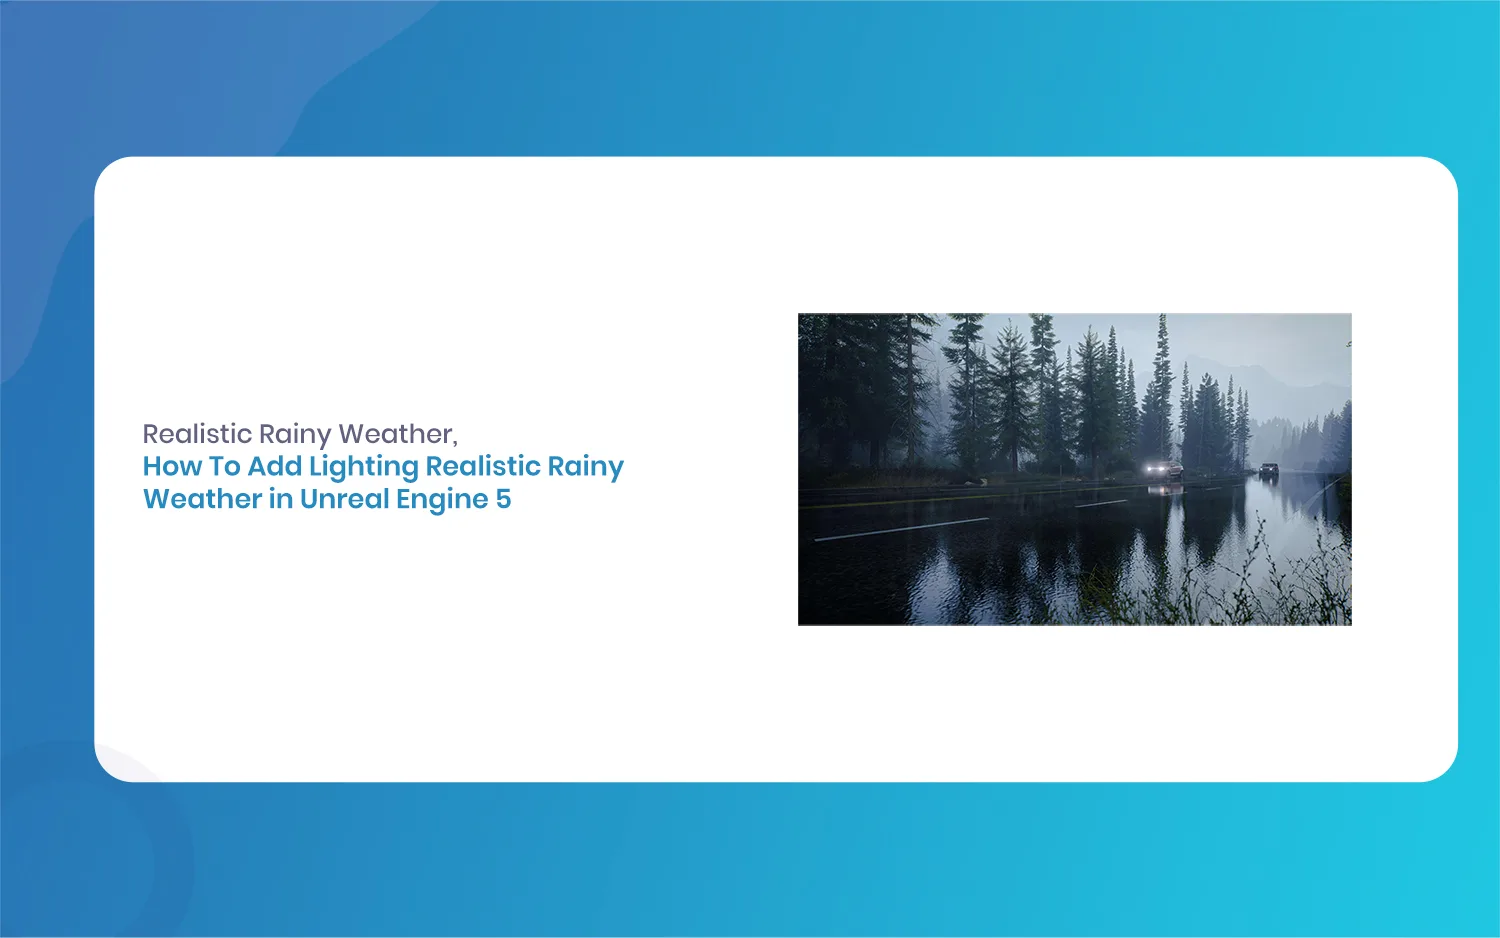
How To Add Lighting Realistic Rainy Weather in Unreal Engine 5 [Tutorial]
Lighting a stormy environment in Unreal Engine 5 is one of the most rewarding challenges for any 3D environment or lighting artist. Many beginners think that adding rain is as simple as spawning a splash particle system and turning down the sun, but the real secret lies in how light interacts with moisture, clouds, and […]
July 18, 2026
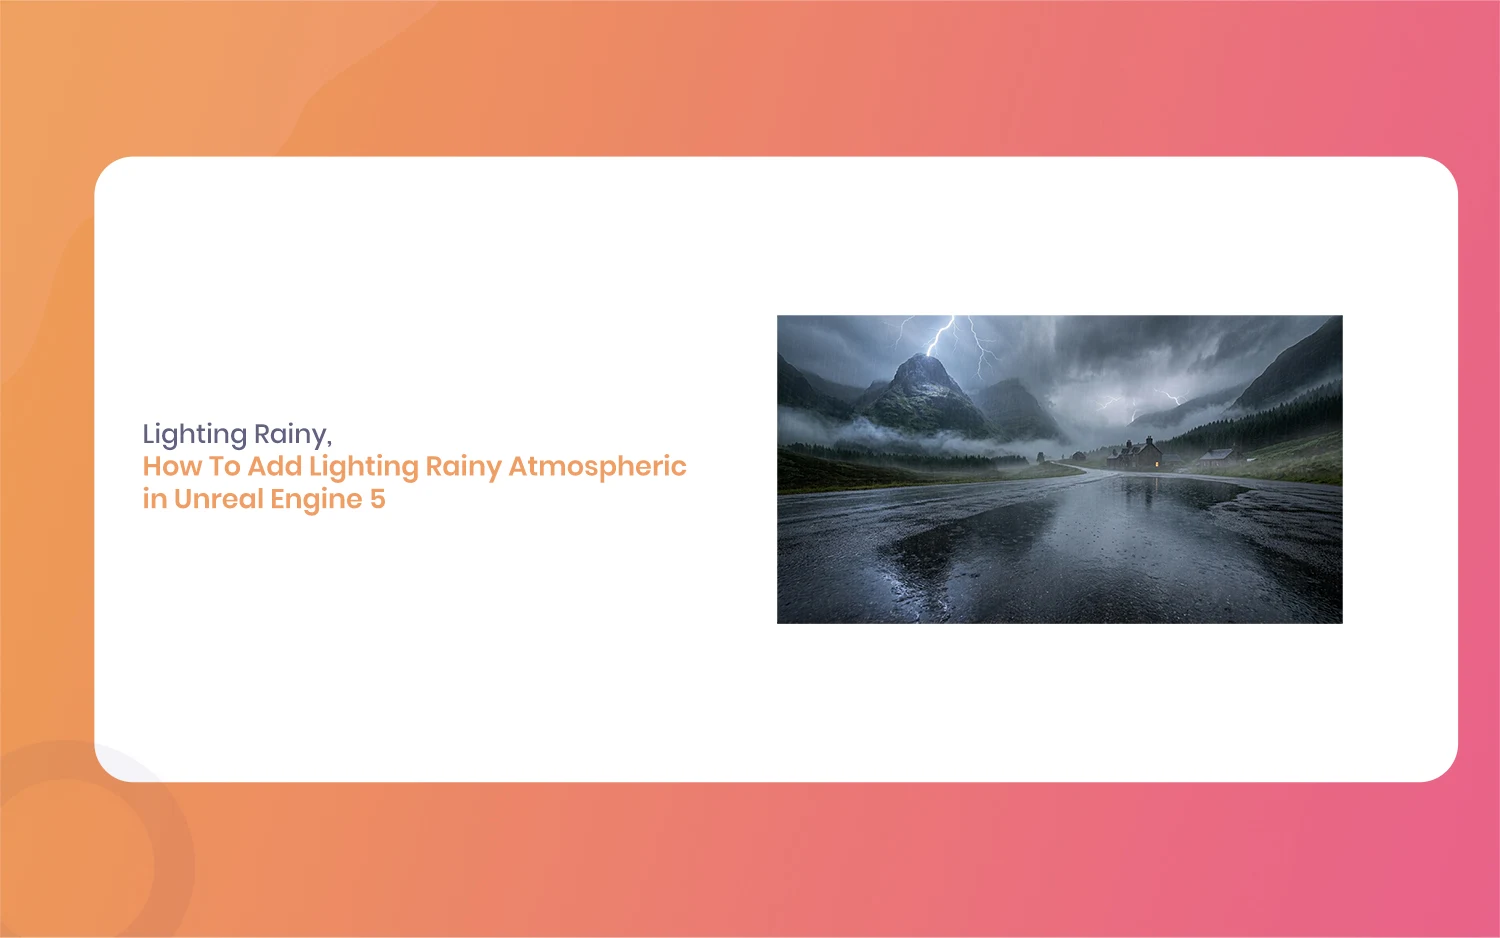
How To Add Lighting Rainy Atmospheric in Unreal Engine 5 [Tutorial]
Hello everyone, and welcome to this new guide. If you are a game developer or a 3D artist, you probably know how important weather is. Creating a moody scene can completely change how a player feels. Today, we are going to look at something very specific. We are going to learn how to add Lighting […]