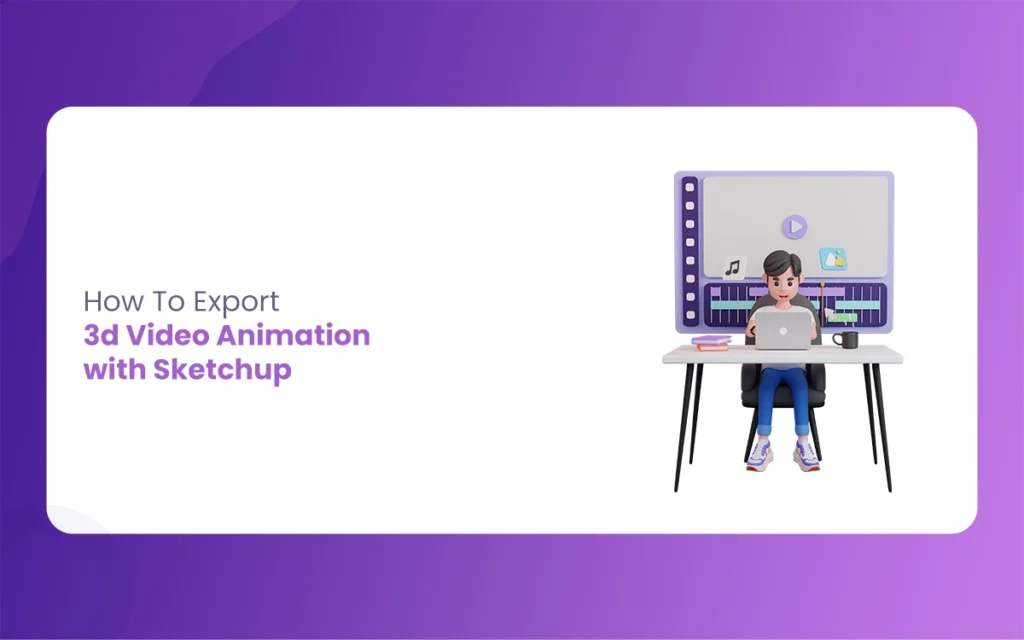
In the increasing 3D modeling and design environment, SketchUp has become a powerful tool for creating and visualizing architectural and design projects. One of its most valuable features is the ability to export 3D Video Animation, allowing designers to showcase their work energetically and engagingly. The Morphic Studio shares the entire process of creating and exporting professional-quality animations using SketchUp.
Follow Animation Basics in SketchUp
Before diving into the technical aspects of exporting animations, it’s crucial to understand how SketchUp handles animations. Unlike traditional animation software, SketchUp creates animations by transitioning between different scenes, similar to a sophisticated slideshow. This approach makes the process more intuitive for architects and designers who are already familiar with creating presentation views of their models.
Basic Animation Components
Component
Description
Best Practice
Scenes
Individual views of your model
Create 5-7 scenes for optimal flow
Transition Time
Duration between scenes
2-4 seconds for smooth movement
Scene Delay
Time spent on each scene
3-5 seconds for viewer comprehension
Frame Rate
Frames per second
30 FPS for smooth playback
Resolution
Video quality settings
1920×1080 (Full HD) minimum
Detailed Export Process
1. Model Preparation and Scene Creation
Optimizing Your Model
Clean up unnecessary geometry
Remove hidden elements
Organize components and groups
Apply appropriate materials and textures
Creating Effective Scenes Follow
Negotiate to View → Animation → Add Scene
Position your camera for the desired perspective
Adjust shadow settings if applicable
Set layer visibility
Save each scene with a descriptive name
Pro Tip: Create a logical flow between scenes to tell a cohesive story about your design.
2. Animation Parameter Configuration
Setting Transition Times
Open Model Info (Window → Model Info)
Select the Animation tab
Adjust the following parameters:
Scene transitions (2-4 seconds suggested)
Scene delay (3-5 seconds suggested)
Enable smooth transitions
Advanced Animation Settings
Configure camera paths between scenes
Adjust transition styles (linear vs. smooth)
Set up scene-specific delays for emphasis
3. Export Configuration
Basic Export Settings
Negotiate to File → Export → Animation
Choose output format (MP4 suggested)
Select export location
Name your animation file
Advanced Export Options
Resolution Settings:
Full HD (1920×1080) – Standard quality
4K (3840×2160) – High quality
Custom dimensions for specific requirements
Video Compression Settings:
Bitrate: 8-12 Mbps for HD
Codec: H.264 for optimal compatibility
Format: MP4 for universal playback
4. Rendering and Post-Processing
Rendering Process
Initialize export
Monitor rendering progress
Review temporary frames
Wait for final compilation
Quality Assurance
Preview the animation before finalizing
Check for smooth transitions
Verify timing and pacing
Ensure proper resolution and aspect ratio
Advanced Techniques and Tips
Enhancing Animation Quality
Using Extensions
V-Ray for photorealistic rendering
Lumion for enhanced lighting effects
Twilight Render for atmospheric effects
Camera Techniques
Use smooth camera paths
Avoid sudden direction changes
Maintain consistent movement speed
Consider viewer perspective
3D Video Animation By The Morphic Studio
Performance Optimization
Hardware Considerations
Minimum 16GB RAM suggested
Dedicated graphics card
SSD for faster rendering
Multi-core processor advantage
Software Settings
Adjust shadow quality
Optimize texture sizes
Use appropriate edge styles
Balance quality vs. render time
Common Issues and Solutions
Troubleshooting Guide
Issue
Possible Cause
Solution
Choppy Playback
High polygon count
Simplify model geometry
Long Render Times
Complex textures
Optimize material settings
Blurry Output
Low export settings
Increase resolution/bitrate
Missing Frames
Insufficient RAM
Close other applications
Best Practices for Professional Results
Project Planning
Storyboard your animation sequence
Plan camera movements carefully
Consider lighting conditions
Test render short sequences first
Quality Control
Review animations on multiple devices
Check audio sync if applicable
Verify smooth transitions
Ensure consistent lighting
At Last
Mastering the art of exporting 3D Video Animation in SketchUp requires attention to detail and Following both technical and artistic aspects. Following this guide, you can create professional-quality animations that effectively communicate your vision. Practice and experimentation are basic to developing your workflow and style.
Final Suggestion
Always save your work frequently
Keep your software updated
Maintain organized scene structures
Document your export settings for consistency
Consider your audience when setting animation timing
Test your animations thoroughly before final delivery
With these guidelines and best practices, you can create compelling 3D animations that showcase your SketchUp models in their best light. Think of that the basic to success lies in careful planning, attention to detail, and a thorough Follow of the animation process’s technical and creative aspects.
Motion Graphics Studio: 10 Jaw-Dropping Trends to Massively Boost Sales, The Morphic Studio
Hiring a professional team to handle your visual storytelling is no longer a luxury for big brands. It is a strict necessity for anyone who wants to survive networked. The right visuals can explain complex ideas in seconds, making your audience feel connected to your core message. Motion Graphics Studio at The Morphic Studio, we […]
July 1, 2026
Advertising company in Ahmedabad: 10 Brilliant Tactics to Massively Boost ROI, The Morphic Studio
Welcome to The Morphic Studio. If you are reading this, you are probably looking for a way to make your marketing budget work harder. The year 2026 has brought massive changes to how businesses talk to their customers. Advertising company in Ahmedabad With new technology and smarter buyers, the old ways of running ads just […]
June 29, 2026
3D Animation company in Ahmedabad: 10 Mind Blowing Trends to Massively Boost Sales, The Morphic Studio
The statistical world is moving faster than ever, and simple flat images just do not cut it anymore. If you want to grab the attention of your customers in 2026, you need visuals that pop out of the screen. This is where the magic of 3D Animation company in Ahmedabad comes into play. It is […]