The Riau archipelago, often hailed as the cradle of Malay Society, is a land where art is never just decorative. It is a language. From the intricate threads of Songket Riau to the rhythmic strokes of wood carving (ukiran kayu), every curve and notch tells a story of faith, social harmony, and nature. Among the most cherished patterns in this artistic lexicon is the Itik Sekawan (Ducks in a Row). This motif is a poetic representation of the Malay spirit, symbolizing unity, discipline, and the beauty of collective living. While traditionally found in the shimmering gold threads of Songket, the transition of Itik Sekawan into wood carving has allowed this philosophy to grace the architecture of traditional houses, the lids of tepak sirih (betel nut sets), and modern interior decor.
The Morphic Studio explore the depths of this motif’s meaning and provide a professional, step-by-step roadmap for carving your own Itik Sekawan masterpiece.
The Philosophy of Itik Sekawan: More Than Just Ducks
In Riau Malay Society, the observation of nature serves as a moral compass. The Itik Sekawan motif depicts three or more ducks walking in a disciplined line, returning to their coop at sunset.
1. Harmony and Unity (Gotong Royong)
Ducks are rarely seen alone. They move as a unit, following a leader while maintaining a rhythmic pace. This reflects the concept of Gotong Royong, mutual cooperation. In a community, no one is left behind, and everyone moves toward a common goal.
2. Discipline and Leadership
The “row” represents social order. It signifies respect for elders and leaders, as well as the responsibility of the leader to guide the flock safely home. When you carve this motif, you are literally carving the concept of “harmony” into the wood.
3. Stylized Attractive
Unlike Western realism, Malay wood carving favors stylization. The ducks are transformed into flowing, geometric shapes. Necks are elongated into graceful S-curves, and bodies are simplified into elegant ovals. This abstraction ensures the focus remains on the movement and the message, rather than the literal bird.
Preparing Your Workshop: Materials and Tools
Carving is a dialogue between the artisan and the timber. To ensure a smooth conversation, you must choose the right medium and maintain “scary sharp” tools.
The Choice of Wood
For the Itik Sekawan motif, which requires fluid curves, a soft to medium-density hardwood is ideal.
Jelutong: Often called the “carver’s dream,” it features a fine, straight grain and lacks a distinct heartwood/sapwood difference, making it incredibly stable.
Meranti: A staple in Southeast Asian crafts. It offers a beautiful reddish hue but requires sharper tools to prevent “fuzzing” of the grain.
Seasoning Tip: Always ensure your wood is seasoned for at least 1–2 weeks in your workshop environment. This prevents the wood from warping or cracking after you’ve finished your intricate work.
The Carver’s Toolkit
Tool Name
Primary Purpose
Why it’s Essential for Itik Sekawan
Straight Chisel
Magnitude and cleaning
Used for flattening the background around the duck silhouettes.
Gouge (U-Chisel)
Removing bulk wood
Perfect for the rounded bodies and the curved “S” of the ducks’ necks.
V-Tool (Parting Tool)
Outlining and detailing
Essential for defining the separation between the ducks and adding feather textures.
Mallet
Providing driving force
Used during the “Rough Out” phase to move through the wood quickly.
Carbon Paper
Pattern transfer
Ensures the geometric symmetry of the three ducks is preserved.
Fine Grit Sandpaper
Smoothing
Takes the carving from “rough” to “professional” (180 to 400 grit).
The Step-by-Step Carving Process
Phase 1: Design and Pattern Transfer
The beauty of Itik Sekawan lies in its repetition.
Sketching: On a piece of paper the size of your wood panel, draw three stylized ducks. Focus on the interconnection. The tail of the first duck should lead the eye toward the chest of the second.
Range: Ensure the ducks are on a consistent horizontal plane. In Riau tradition, they are usually “walking” along a border or a base branch.
The Transfer: Place the carbon paper on the seasoned wood, lay your sketch on top, and trace firmly. Pro tip: Use a colored ballpoint pen for tracing so you can see exactly which lines you have already covered.
Phase 2: The “Rough Out” (Defining the Silhouettes)
This is where the physical labor begins. Your goal is to separate the ducks from the “waste wood.”
Outlining: Use your V-tool to carve a shallow trench along the entire outline of the duck row. This creates a “stop-cut” that prevents future chips from traveling into your main design.
Background Removal: Using a mallet and a wide gouge, begin removing the wood around the ducks. In Riau carving, the background is often lowered by about 3mm to 5mm to give the motif a 3D “pop.”
Magnitude: Use a straight chisel to ensure the background is flat and uniform. This “negative space” is just as important as the ducks themselves.
Itik Sekawan
Phase 3: Detail Carving (Adding the “Soul”)
Now, move from the arm muscles to the wrist muscles. This phase is about finesse.
Rounding the Forms: Real ducks aren’t flat. Use small gouges to round the edges of the necks and bodies. The ducks should look like they are emerging from the wood.
The Heads and Beaks: This is the most delicate part. Carve the heads with a slight tilt to suggest movement. A tiny indentation can represent the eye, keep it simple to maintain the stylized Malay attractive.
Texturing: Use a fine V-tool to create rhythmic lines on the tails. These aren’t realistic feathers; think of them as “flow lines” that emphasize the direction of the ducks’ movement.
Phase 4: Refinement and Sanding
A master carver knows that the work isn’t done when the carving stops; it’s done when the surface is perfect.
Cleaning the Corners: Use a sharp “bench knife” or a narrow straight chisel to remove any “whiskers” of wood in the tight corners between the ducks’ legs.
Sanding: Start with 80-grit sandpaper to remove tool marks. Progress to 120, 220, and finally 400-grit. Direction matters: Always sand with the grain of the wood to avoid unsightly scratches.
Phase 5: The Finishing Touch
The finish protects the wood and enhances the grain.
Natural Wax: For a traditional, matte look, apply a high-quality beeswax. It feels wonderful to the touch and lets the natural beauty of the Jelutong or Meranti shine.
Varnish/Shellac: If the piece will be handled often (like a furniture panel), apply a thin coat of clear varnish.
Contrast Painting: Some Riau artisans paint the background a dark “burnt umber” or black, while leaving the Itik Sekawan in the natural wood tone. This creates a dramatic, high-contrast look that mimics the appearance of Songket weaving.
Finally
If you are a crafter or a cultural enthusiast, this guide is for you. Creating an Itik Sekawan carving is more than a weekend DIY project; it is your act of cultural preservation. By choosing to carve these three ducks walking in harmony, you echo the values of a civilization that prizes unity and mutual respect above all else.
As you, a crafter or cultural enthusiast, progress through the carving process, you will find that the wood teaches patience. Much like the ducks returning home at dusk, the process is rhythmic, steady, and purposeful for any artisan tackling this project. Whether your carving ends up as a wall hanging in a modern apartment or a decorative element on a traditional chest, it carries with it the “Semangat” (spirit) of Riau. Embrace this opportunity to preserve tradition, start your Itik Sekawan carving today and let each stroke reflect your respect for unity and heritage. Pick up your tools now, share your creation, and inspire others to celebrate this meaningful art form.
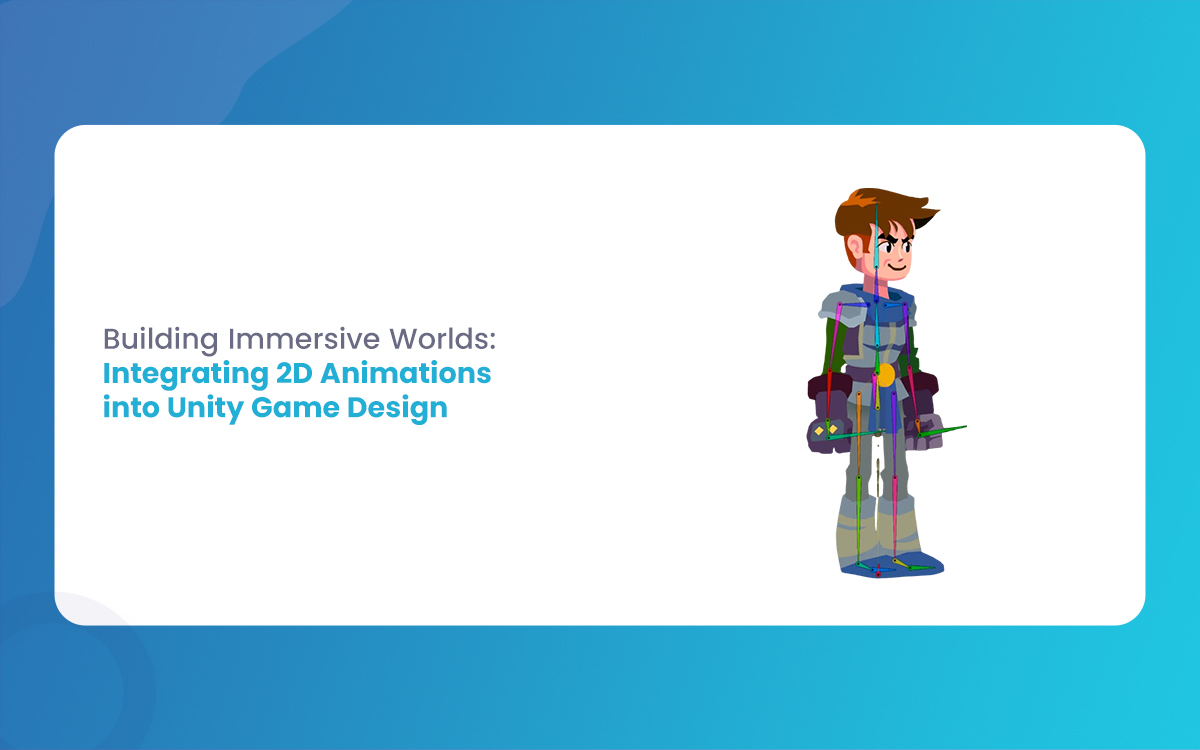
Building Immersive Worlds: Integrating 2D Animations into Unity Game Design
In the modern gaming environment, the distinction between “2D” and “3D” has blurred into a spectrum of stylistic choices rather than a hierarchy of quality. While 3D graphics often chase the horizon of photorealism, 2D animation remains the heart of expressive, artistic, and tactile game design. From the hand-drawn elegance of Cuphead to the pixel-perfect […]
March 6, 2026
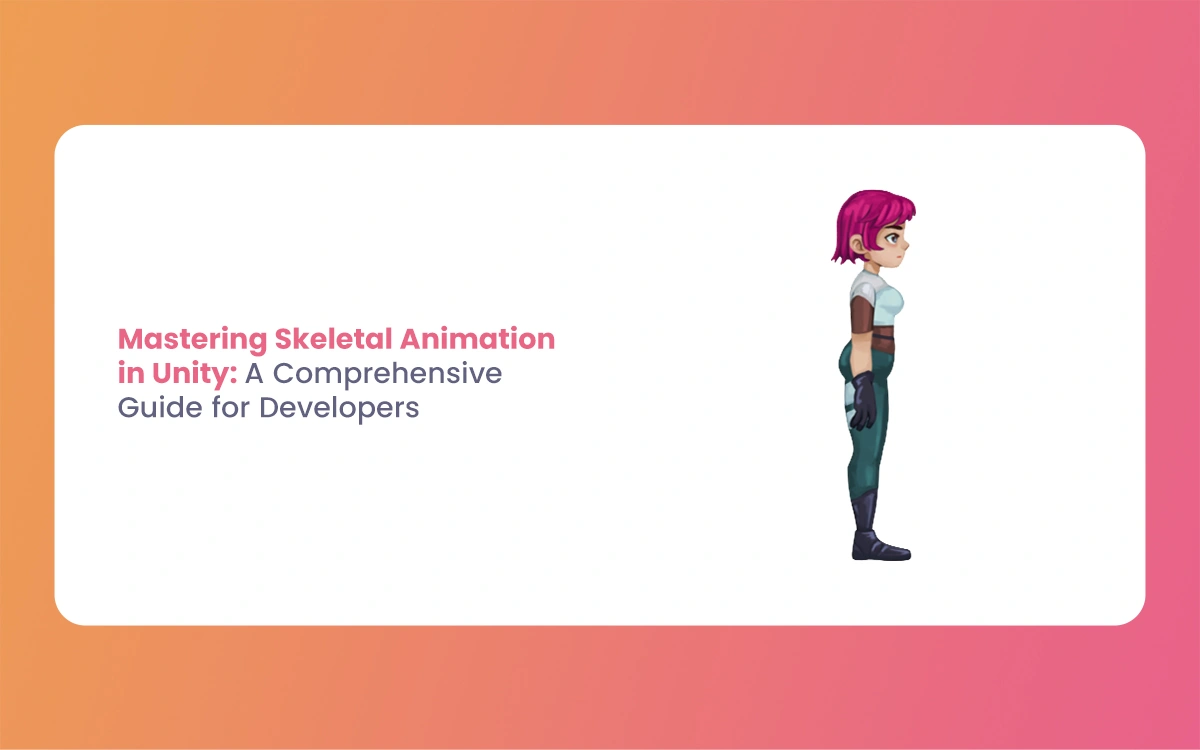
Mastering Skeletal Animation in Unity: A Complete Guide for Developers
Imagine breathing life into a lifeless 3D model, watching it stride confidently across your game world or execute a flawless combat combo. That’s the magic of Skeletal Animation in Unity, a powerhouse system that powers everything from indie platformers to AAA blockbusters. At its heart, skeletal animation grips rigs and Unity’s Mecanim framework to deform […]
March 5, 2026
A Professional’s Handbook to Rigging and Animating 2D Assets in Unity
Game development is always changing, and the difference between 2D and 3D workflows is becoming less clear. If you have experience with 3D tools like Blender, Maya, or 3ds Max, Unity’s Animating 2D Assets package can help you make the switch to 2D more easily. Rather than using frame-by-frame sprite swapping, many developers now use […]