Imagine breathing life into a lifeless 3D model, watching it stride confidently across your game world or execute a flawless combat combo. That’s the magic of Skeletal Animation in Unity, a powerhouse system that powers everything from indie platformers to AAA blockbusters. At its heart, skeletal animation grips rigs and Unity’s Mecanim framework to deform meshes energetically through bone hierarchies. No more frame-by-frame drudgery; instead, you manipulate a skeleton of virtual bones, and the mesh follows suit like a second skin.
The Morphic Studio shares information about Skeletal Animation, from foundational concepts to pro-level tricks. Whether you’re a solo dev crafting a metroidvania or leading a team on a multiplayer shooter, you’ll learn to set up rigs, blend animations perfectly, retarget clips across characters, and sidestep performance-killing pitfalls. By the end, you’ll have the tools to animate like a pro. Let’s rig up and get moving.
Core Concepts: The Skeleton Under the Skin
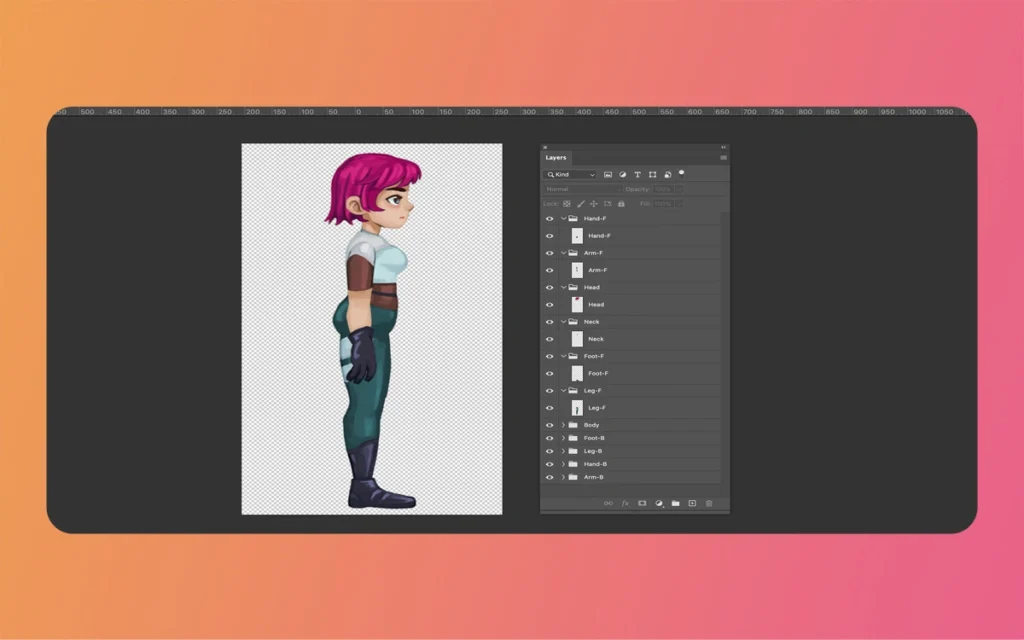
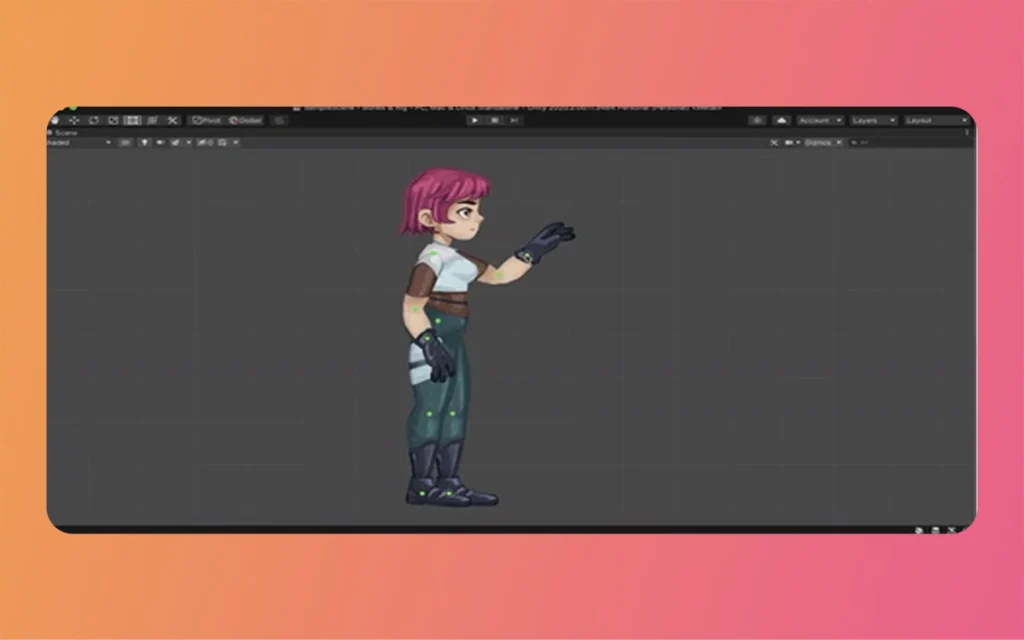
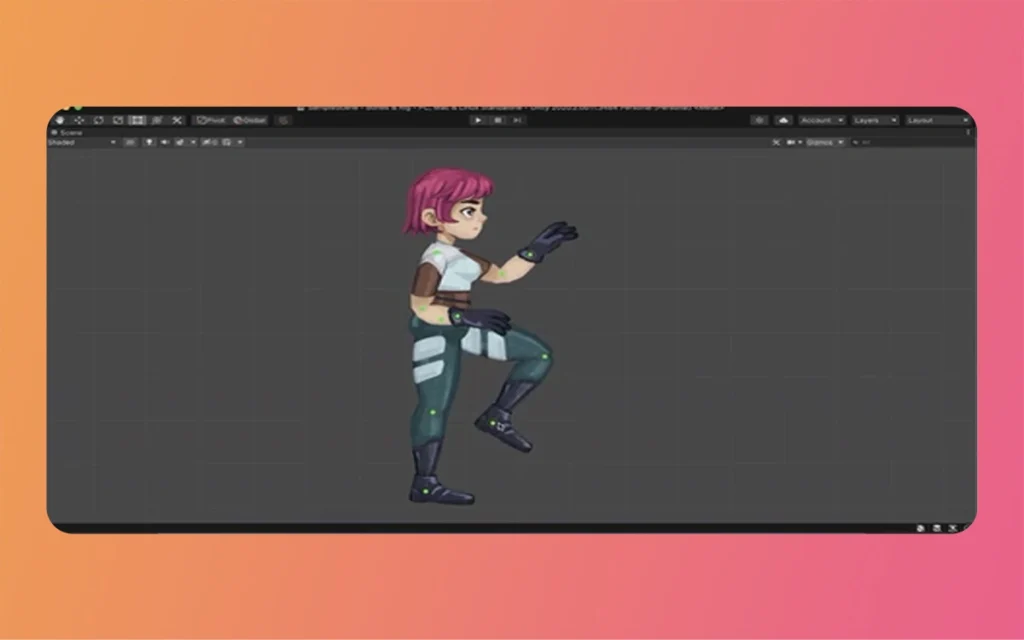
Skeletal Animation fundamentally transforms how we think about character movement. Picture a marionette puppet: pull the strings (bones), and the fabric (mesh) dances. In Unity, a rig consists of a hierarchy of bones, think spine, pelvis, arms, legs, each with position, rotation, and scale data. These bones drive vertex deformations on the attached mesh, creating fluid motion from a single animation clip.
Unity’s Mecanim system raises this with Humanoid rigs, a standardized bone mapping that labels basic joints like Hips, Spine, LeftUpperArm, and RightFoot. This setup enables retargeting: craft one walk cycle on a burly orc, then slap it onto an elf archer without rework. The secret sauce? Avatars, Unity’s abstraction of your rig’s bone structure, which maps source animations to target models.
Enter the Animator Controller, your state machine conductor. It orchestrates clips (idle, run, jump) via states, transitions, and parameters. A float like “Speed” might fade idle into walk when exceeding 0.1, while booleans toggle attacks. Layers add complexity, blend upper-body aiming with lower-body strafing, and Avatar Masks let you isolate limbs, perfect for multiplayer where players emote independently.
Why does this matter? Efficiency. A single 2KB clip can animate infinite variations, slashing file sizes and artist time. For your next project, start here: import a rigged asset from Mixamo or Blender, and watch Mecanim map it automatically.
Skeletal Animation
Step-by-Step Setup: From Import to First Steps
Getting a character animated in Unity is straightforward but demands precision. Follow these steps to avoid early headaches.
Importing and Configuring Your Rigged Model
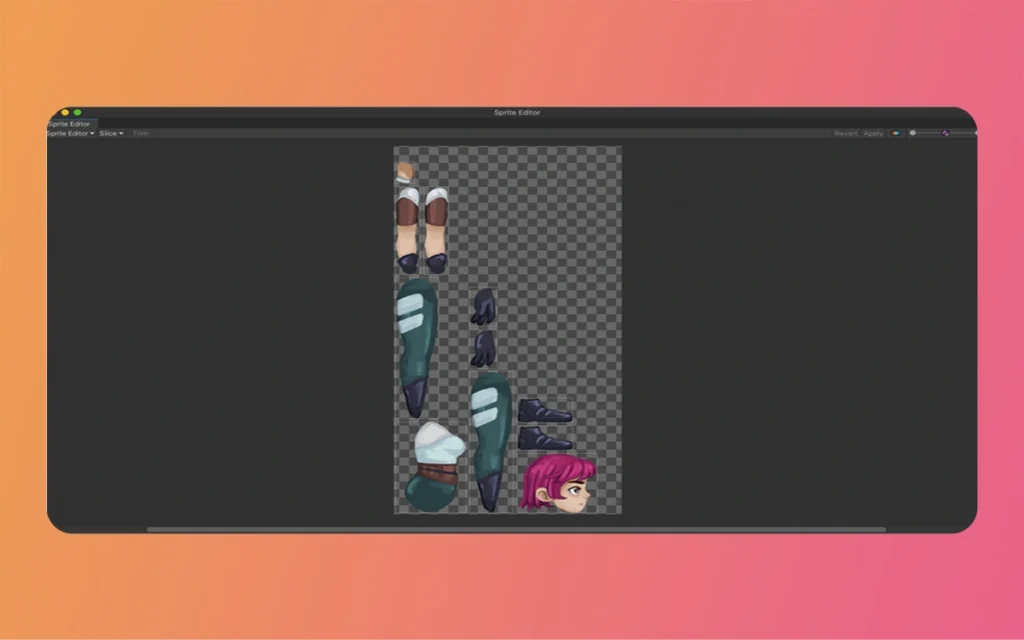
Begin with a rigged 3D model, ideally in FBX format for broad compatibility. Drag it into Unity’s Project window. In the Inspector’s Model tab, ensure Scale Factor matches your scene (often 0.01 for Blender exports). Scale mismatches distort everything.
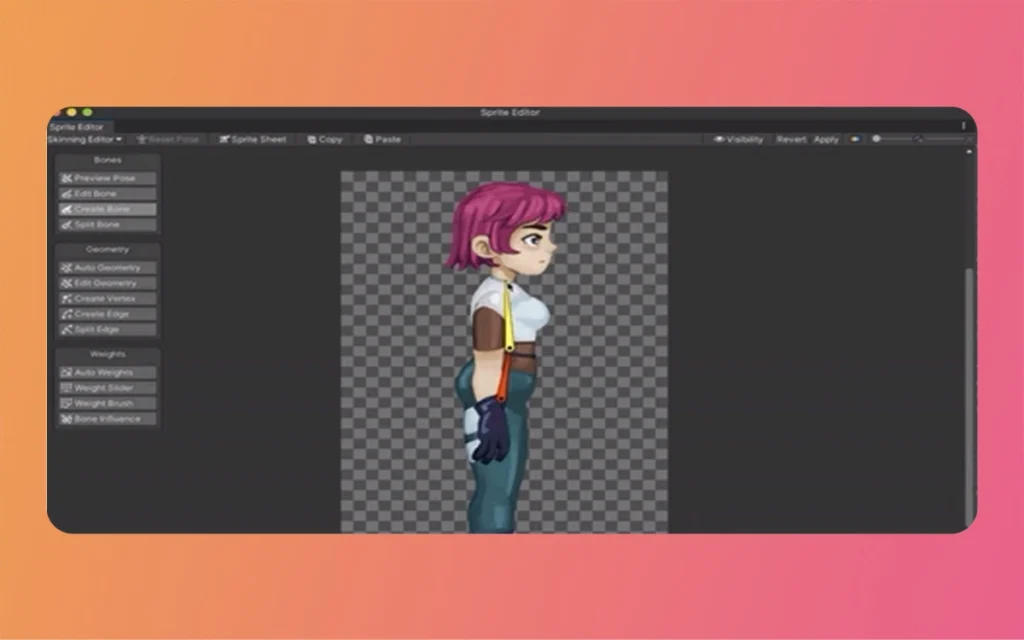
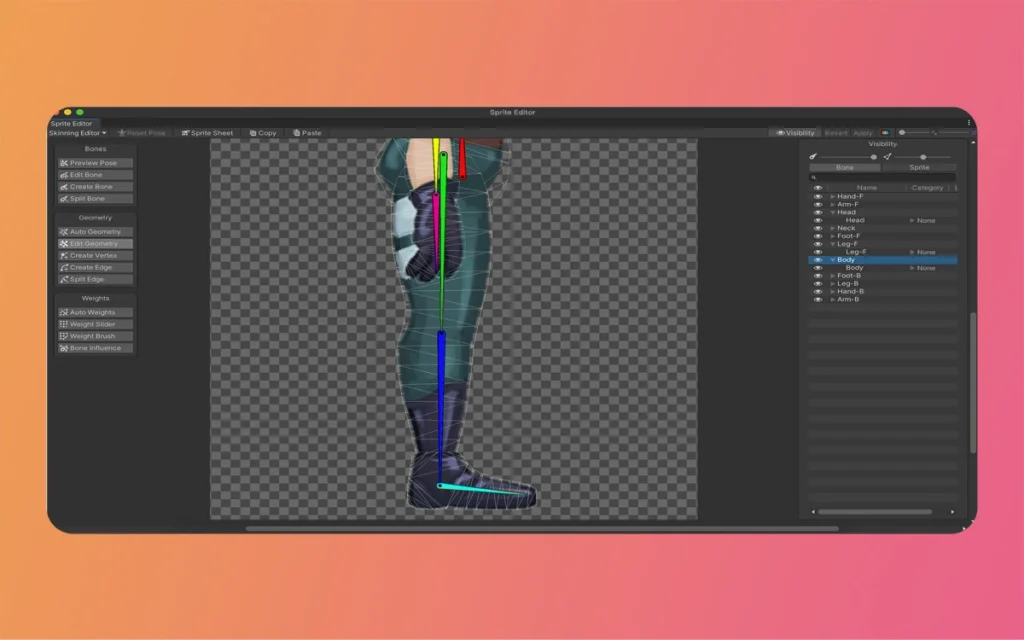
Switch to the Rig tab, the game-changer. Set Animation Type to Humanoid for retargeting magic. Choose Avatar Definition: Create From This Model, then hit Apply. Unity scans for bones, using Automap to guess mappings (e.g., matching “mixamorig:LeftArm” to LeftUpperArm). Pose your model in a T-pose (arms out, palms down) as the reference frame, it’s the neutral state for all animations.
If Automap falters (common with custom rigs), go Manual and drag bones to slots. Validate with Configure; green bones mean success. Hit Apply and Done. Pro tip: Enable Enforce T-Pose in the Avatar to snap mismatches.
Scene Setup and Animator Assignment
Drag the model prefab into your scene. Add an Animator component if missing. Create a blank Animator Controller asset (right-click > Create > Animator Controller), assign it to the Animator, and import clips via the model’s Animation tab (extract or split them).
Test in Play Mode: your character should idle smoothly. If not, check the Avatar mask and bone counts, Humanoids cap at 75-200 bones for performance.
Skeletal Animation
Building the Animator Controller: Your Animation Brain
The Animator Controller is where creativity shines. Double-click it to open the Animator window, revealing a visual state machine.
Crafting States and Transitions
Start simple: drop in clips like Idle, Walk, and Jump as states (orange boxes). Right-click Idle > Make Entry for startup. Create parameters (Window > Animator Parameters): a Float “Speed” and Bool “IsGrounded”.
Transitions are arrows with conditions. From Idle to Walk: set Speed > 0.1 and Has Exit Time: false for instant response. Add Interruption Source: Current State to allow reversals. Blend trees raise this, combine walk/run via 1D blending on Speed for perfect strides.
Skeletal Animation
Layers and Masks for Advanced Blending
Add layers (e.g., Base, UpperBody) via the Layers tab. Set UpperBody to Additive or Override, and assign an Avatar Mask (Create > Avatar Mask). Uncheck lower-body bones to let legs handle locomotion while arms shoot.
Mass control dominance: script animator. Set Layer Mass (1, 0.8f); for 80% upper-body influence. This powers dual-tasking characters, like reloading mid-sprint.
Here’s a quick-reference table comparing blending methods:
Blending Type
Use Case
Pros
Cons
Example
1D Blend Tree
Speed-based locomotion (walk to run)
Simple, performant
Linear only
Speed 0=Idle, 1=Walk, 2=Run
2D Blend Tree
Directional movement (strafe blends)
Hint (e.g., forward + side)
More params needed
X=Forward Speed, Y=Angular Speed
Layers + Masks
Independent body parts
Modular (arms free during legs)
Setup overhead
Upper layer for gestures
Crossfade
Quick state swaps (idle to attack)
Smooth interrupts
Fixed duration
0.2s fade on trigger
Skeletal Animation
Retargeting Animations: One Clip, Many Characters
Retargeting is Mecanim’s killer feature, universalize animations across body types. Both source (e.g., Mixamo knight) and target (your custom robot) need valid Humanoid Avatars.
Assign the shared Animator Controller to the target. Unity warps bone transforms automatically, using muscle limits to prevent unnatural bends (e.g., elbows hyperextending). Inverse Kinematics (IK) shines here: enable IK Pass in Animator > IK Passthrough, then script foot/hand goals in LateUpdate:
Test in Play Mode. Feet plant firmly, hands grip weapons, no sliding shame. Tweak via Avatar Configuration: expand Muscles & Settings, adjust ranges (e.g., Chest Down-Up: 0-90 degrees).
Skeletal Animation
Advanced Techniques: Raise Your Animations
Inverse Kinematics and Procedural Polish
Further on than basics, IK via Animation Events or Final IK assets nails precision. For aiming, raycast from camera to target and set LookAt IK. Combine with Animation Rigging package (Package Manager) for procedural chains, rig a ponytail or cape energetically.
Optimization Strategies
Performance is king. Limit bone influences per vertex to 4 (SkinnedMeshRenderer inspector), more bloats GPU. Use LOD Groups for distant foes: LOD0 full rig, LOD2 simplified (20 bones). Bake root motion into clips for network play, or script it:
csharp
Vector3 rootMotion = animator.deltaPosition;
transform.Translate(rootMotion, Space.World);
Script parameters energetically: animator.SetFloat(“Speed”, rb.velocity.magnitude);. Profile with Unity’s Profiler, aim under 1ms skinning per character.
Layers extend to Override for procedural overlays, like injury limps blending atop base motion.
Skeletal Animation
Common Pitfalls and Fixes: Dodge the Traps
Even pros stumble. Bone mapping fails? Retry Automap post-T-pose fix, or manual map in Avatar Editor, search “Unity bone mapping issues” for visuals.
Root motion artifacts? Bake (clip inspector > Root Transform Position Y > Based Upon > Original) or disable in Animator (Apply Root Motion: false) and handle via code.
Distortions in retargeting? Enforce T-Pose and calibrate muscles. Performance dips? Culling: SkinnedMeshRenderer > Update When Offscreen: false. Test on mid-range hardware, mobile loves <50 bones.
Over-blending? Clamp layer mass (0-1). Always preview in the Animation window’s preview pane.
Skeletal Animation
Finally
Mastering Skeletal Animation in Unity explores character-driven worlds that captivate players. From rigging imports and Animator states to retargeting, IK, and optimizations, you’ve got a full arsenal. Experiment: grab a free Mixamo pack, build a controller with blending, and script locomotion. Your characters will feel alive, and your framerates will be healthy.
Skeletal Animation
Next steps? Dive into Animation Jobs for multithreading or integrate with Timeline for cinematics. Unity’s ecosystem development progress, check 2026 updates for GPU skinning boosts. Animate boldly; your game deserves it.
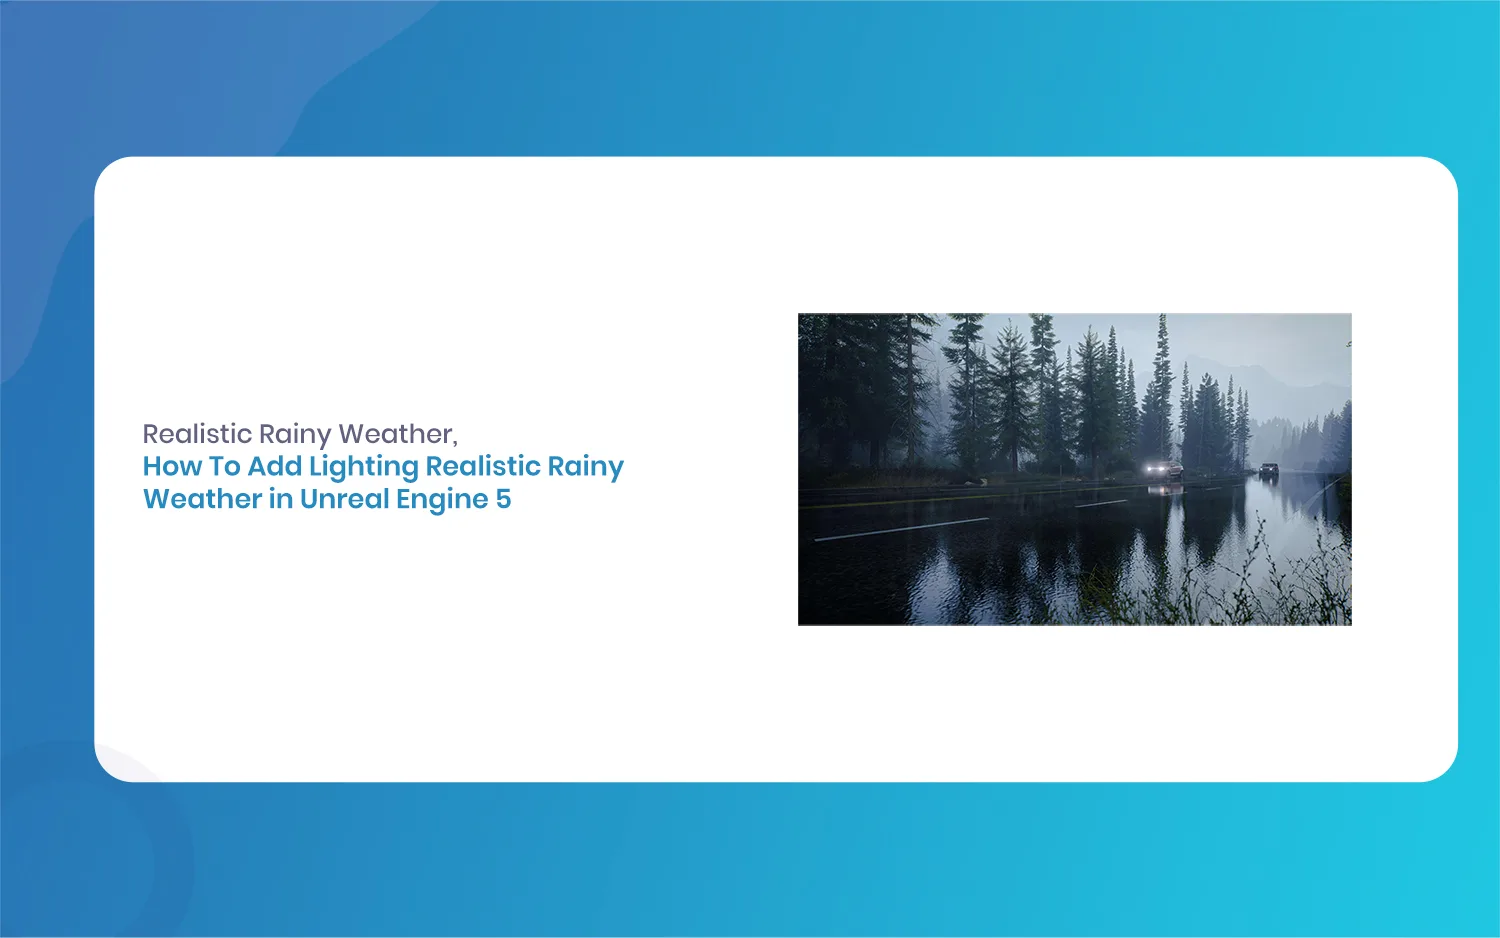
How To Add Lighting Realistic Rainy Weather in Unreal Engine 5 [Tutorial]
Lighting a stormy environment in Unreal Engine 5 is one of the most rewarding challenges for any 3D environment or lighting artist. Many beginners think that adding rain is as simple as spawning a splash particle system and turning down the sun, but the real secret lies in how light interacts with moisture, clouds, and […]
July 18, 2026
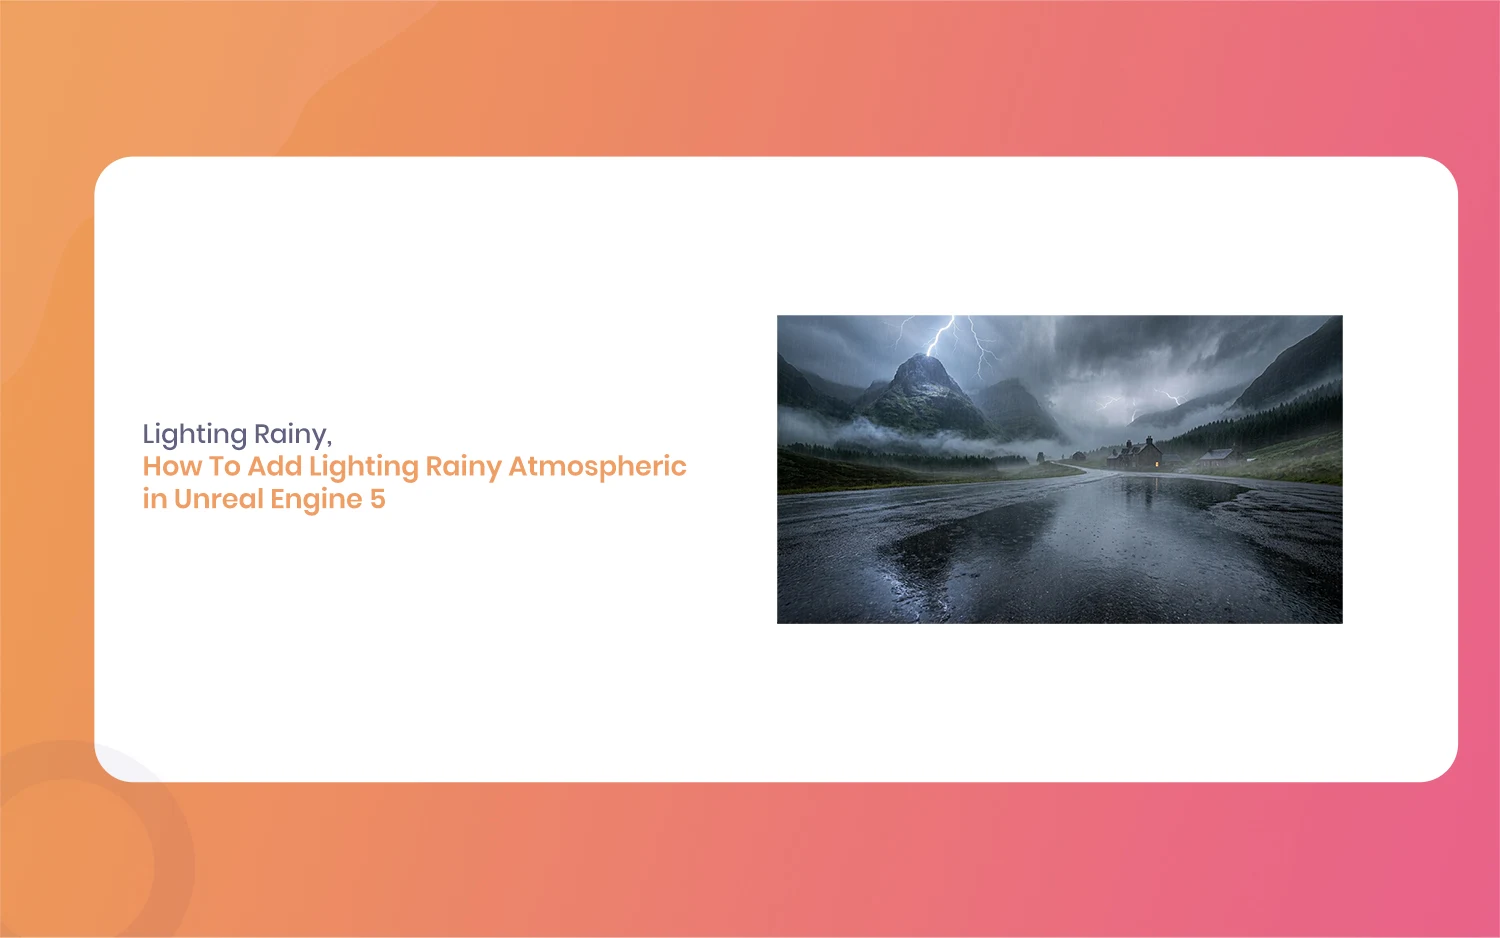
How To Add Lighting Rainy Atmospheric in Unreal Engine 5 [Tutorial]
Hello everyone, and welcome to this new guide. If you are a game developer or a 3D artist, you probably know how important weather is. Creating a moody scene can completely change how a player feels. Today, we are going to look at something very specific. We are going to learn how to add Lighting […]
July 17, 2026
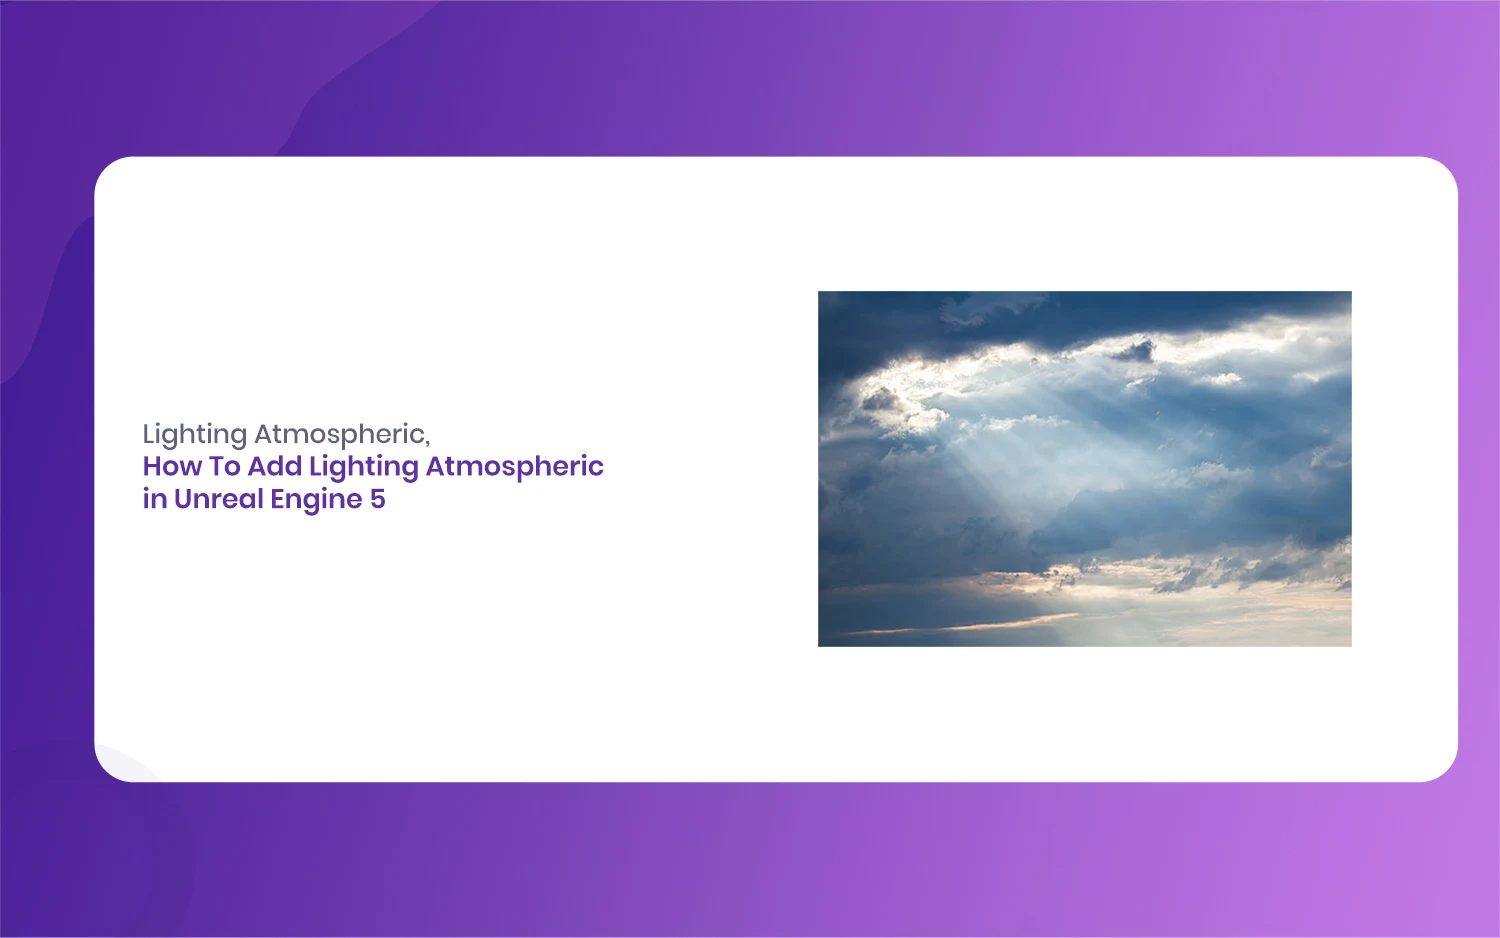
How To Add Lighting Atmospheric in Unreal Engine 5 [Tutorial]
Welcome to the ultimate guide for upgrading your game environments. If you have ever walked through a statistical forest and felt a true sense of wonder, you already know the power of good environment design. Today we are going to talk about a very specific and crucial topic. We will learn exactly how to add […]