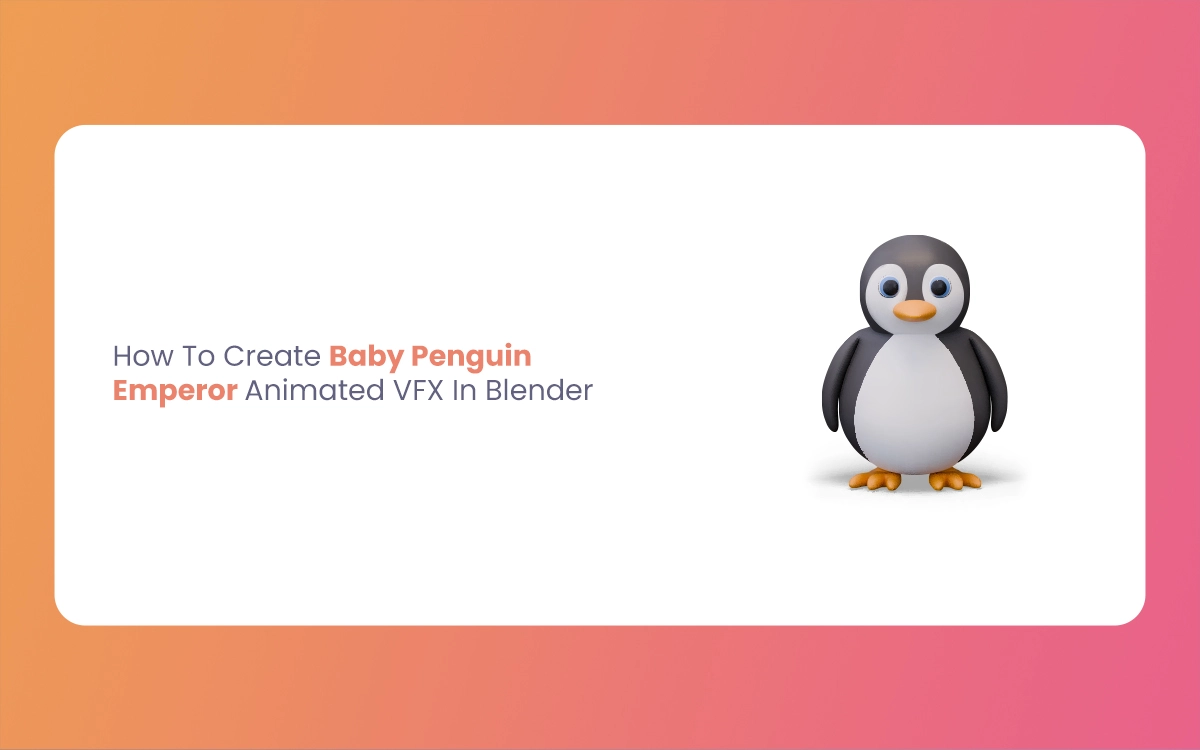
Creating a realistic and adorable Baby Penguin Emperor in Blender requires attention to detail across modeling, texturing, fur, rigging, animation, and rendering. The Morphic Studio shares the tutorial process, providing professional techniques used in the VFX industry to bring your penguin to life.
1. Reference and Planning
Gathering References
Before opening Blender, collect high-quality reference images of Baby Penguin Emperor from multiple angles:
Front, side, and three-quarter views
Close-ups of feather patterns and textures
Videos of penguin chick movement patterns
Size comparisons with adult penguins and environment elements
Follow Anatomy
Baby Emperor penguins have distinct characteristics that differ from adults:
Fluffy gray down feathers rather than sleek adult plumage
Proportionally larger heads and eyes
Shorter, stubbier beaks
Rounded body shape with less defined flippers
2. Modeling the Penguin Chick
Base Mesh Creation
Start with a primitive shape (sphere or cylinder) and begin sculpting the basic form
Focus on correct proportions using your reference images
Aim for the following poly counts for optimal performance:
Body: Approximately 8,000-8,500 vertices
Eyes: 1,200-1,300 vertices for irises
Additional detail expanse: 20,000-25,000 vertices total
Topology Considerations
Ensure proper edge flow around deformation expanse:
Neck and head connection
Wing/flipper joint expanse
Leg connections
Create clean topology that will support:
Smooth subdivision surfaces
Proper deformation during animation
Effective UV unwrapping
UV Unwrapping
Create logical UV seams that follow the natural divisions of the penguin’s body
Set up UDIM tiles for 4K textures
Ensure adequate texture space for high-detail expanse like the face and flippers
3. Texturing and Shading
Texture Map Creation
Create separate maps for each material property:
Skin/Base Layer:
BaseColor: Defines the underlying skin tone
Subsurface: Controls light penetration through the skin
Roughness: Determines surface micro-detail
Feather Layer:
Alpha: Defines feather coverage patterns
Normal: Creates the illusion of feather detail
Specular: Controls feather shininess
Shader Network Setup
In Blender’s Shader Editor:
Create a Principled BSDF base material with:
Subsurface Scattering (SSS): Set to approximately 0.15-0.2 for realistic skin
Roughness: Varied maps for different body parts
Clearcoat: Applied selectively to simulate wet or glossy expanse
Layer specialized shaders for:
Down feathers: Fluffy appearance with low specular response
Beak and feet: Higher specular values with unique normal maps
Eyes: Multi-layered shader with cornea reflection and iris detail
Texture Naming Conventions
Follow a consistent naming pattern for all texture files:
Children particles multiplier of 5-10 for increased density
Custom groom masks to control distribution
Particle settings for down feathers:
Length: Varied between 1-2cm
Kink: Slight wave or curl
Clumping: 0.3-0.4 for natural grouping
Geometry Nodes Alternative
For more control and potentially better performance:
Create procedural feather instances with:
Custom feather mesh base
Distribution based on mass maps
Variation in size, rotation, and orientation
Control parameters through node interfaces:
Density sliders
Wind influence factors
Length/fluffiness controls
5. Rigging for Animation
Armature Setup
Begin with a Rigify meta-rig:
Configure to match penguin anatomy
Add specialized bones for flippers and tail feathers
Create facial rig controls for expression
Bone hierarchy should include:
Central spine chain (5-7 bones)
Leg chains with reverse-foot setup
Flipper bones with natural constraints
Neck and head chain with appropriate segmentation
Controller System
Controller Type
Function
Influence Expanse
CTR_Root
Global transformation
Entire character
CTR_COG
Center of gravity, main body control
Torso, general posture
IK_Leg.L/R
Foot positioning
Leg chains, foot roll
FK_Spine_01-03
Spinal flexion/rotation
Torso deformation
CTR_Flipper.L/R
Flipper/wing movement
Wing bones, deformation
CTR_Head
Head orientation
Neck chain, head position
CTR_Face
Facial expressions
Beak, eye expanse
CTR_TailFeathers
Tail feather articulation
Tail region, feather animation
Custom Properties and Drivers
Add specialized controls through custom properties:
Foot controls:
Toe spread
Foot roll
Inversion/eversion
Body shape controls:
Breathing expansion
Puffiness factor
Balance shift
Feather energetics:
Fluff amount
Wind influence
Jiggle factor
6. Animation Fundamentals
Core Animation Principles
Apply classic animation principles to your penguin:
Squash and stretch for body mass
Anticipation before major movements
Follow-through in feathers and flippers
Overlapping action in body parts
Penguin-specific animation tips:
Waddling walk with side-to-side mass shifts
Short, quick steps with slight toe rotation
Head bob synchronized with body movement
Flipper adjustments for balance
Creating Basic Animation Sequences
Walk Cycle (30 frames @ 30fps)
Frame 1: Contact position, right foot forward
Frame 8: Passing position
Frame 15: Contact position, left foot forward
Frame 23: Passing position
Frame 30: Return to start position
Resting/Sleeping Animation (291 frames)
Frames 1-60: Settling down motion
Frames 61-240: Subtle breathing cycle
Frames 241-291: Small adjustments and comfort movements
Sliding Animation
Belly-slide position with flipper steering
Body wave motion for propulsion
Facial expression changes for effort/enjoyment
Animation Refinement
Use the Graph Editor to:
Smooth out transitions between basic poses
Add natural easing at movement extremes
Create secondary motion in feathers and body mass
Add micro-movements for realism:
Subtle head turns
Eye blinks (every 4-7 seconds)
Small mass shifts when “standing still”
7. Rendering and Compositing
Optimized Render Settings
For Cycles renderer:
Samples: 2000-4000 for final quality (500 for test renders)
Denoising: OptiX denoising for GPU rendering
Light bounces: 8-12 for realistic SSS effects
Hair settings: Minimum 2 bounces for translucent feathers
Environmental Context
Create an Antarctic environment with:
HDRI lighting for realistic sky and reflections
Procedural or particle snow
Wind effects on feathers and environment
Atmospheric effects:
Light fog or snow particles
Breath vapor in cold conditions
Subtle light scattering
Compositing Enhancements
In the Compositor, add:
Color grading for environmental context
Subtle depth of field focusing on the penguin
Snow particle overlays for energetic scenes
Rim lighting enhancement for feather definition
8. Performance Optimization
Polygon Efficiency
Keep total poly count under 70,000 vertices for real-time applications
Use normal maps rather than geometry for small details
Consider LOD (Magnitude of Detail) versions for distant shots
Render Optimization
Instance fur particles where appropriate
Use simplified proxy meshes for animation testing
Enable GPU acceleration for both viewport and final rendering
9. Export and Integration
Format Considerations
For game engines: FBX format with:
Baked textures
Simplified rig
Optimized mesh
For film/VFX pipelines:
Alembic cache for mesh and animation
EXR sequences for rendered output
Separate render passes (diffuse, specular, SSS, etc.)
Pipeline Integration
Ensure materials are compatible with:
Arnold renderer
Eevee for real-time applications
Other common renderers (Redshift, V-Ray)
Include metadata for asset management:
Version information
Rig specifications
Animation preset names
Baby Penguin By The Morphic Studio
At Last
Creating a believable Baby Penguin Emperor VFX in Blender requires attention to detail across multiple disciplines. By following this workflow and focusing on the technical aspects and the subtle characteristics that make penguin chicks endearing, you can create compelling and realistic animations for your projects.
Think of that observation as basic—studying real penguin behaviors and characteristics will inform every stage of your creation process, from modeling to animation. Take time to refine each element, test frequently, and iteratively improve your creation to achieve the best possible results.
Best Way To Create Cinematic lighting in Unreal Engine 5 by Morphic Studio [Tutorial]
The Magic of Cinematic lighting in Unreal Engine 5 Have you ever looked at a beautifully rendered game or a virtual film set and wondered how they make it look so incredibly real? Well, the answer almost always comes down to the lighting. Today, we are going to take a look at the magic of […]
July 20, 2026
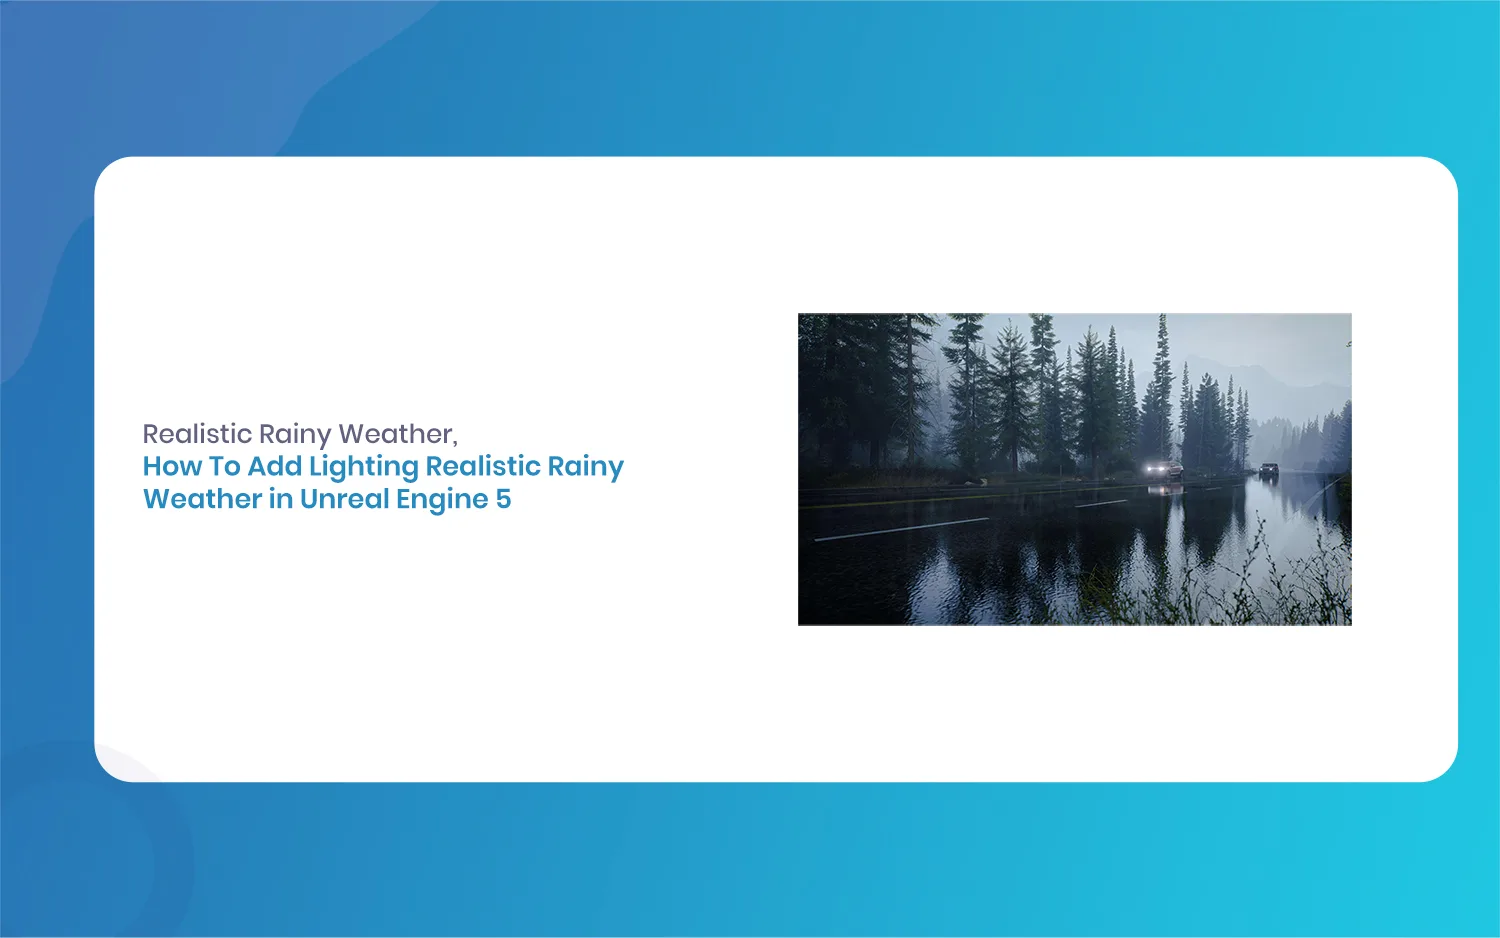
How To Add Lighting Realistic Rainy Weather in Unreal Engine 5 [Tutorial]
Lighting a stormy environment in Unreal Engine 5 is one of the most rewarding challenges for any 3D environment or lighting artist. Many beginners think that adding rain is as simple as spawning a splash particle system and turning down the sun, but the real secret lies in how light interacts with moisture, clouds, and […]
July 18, 2026
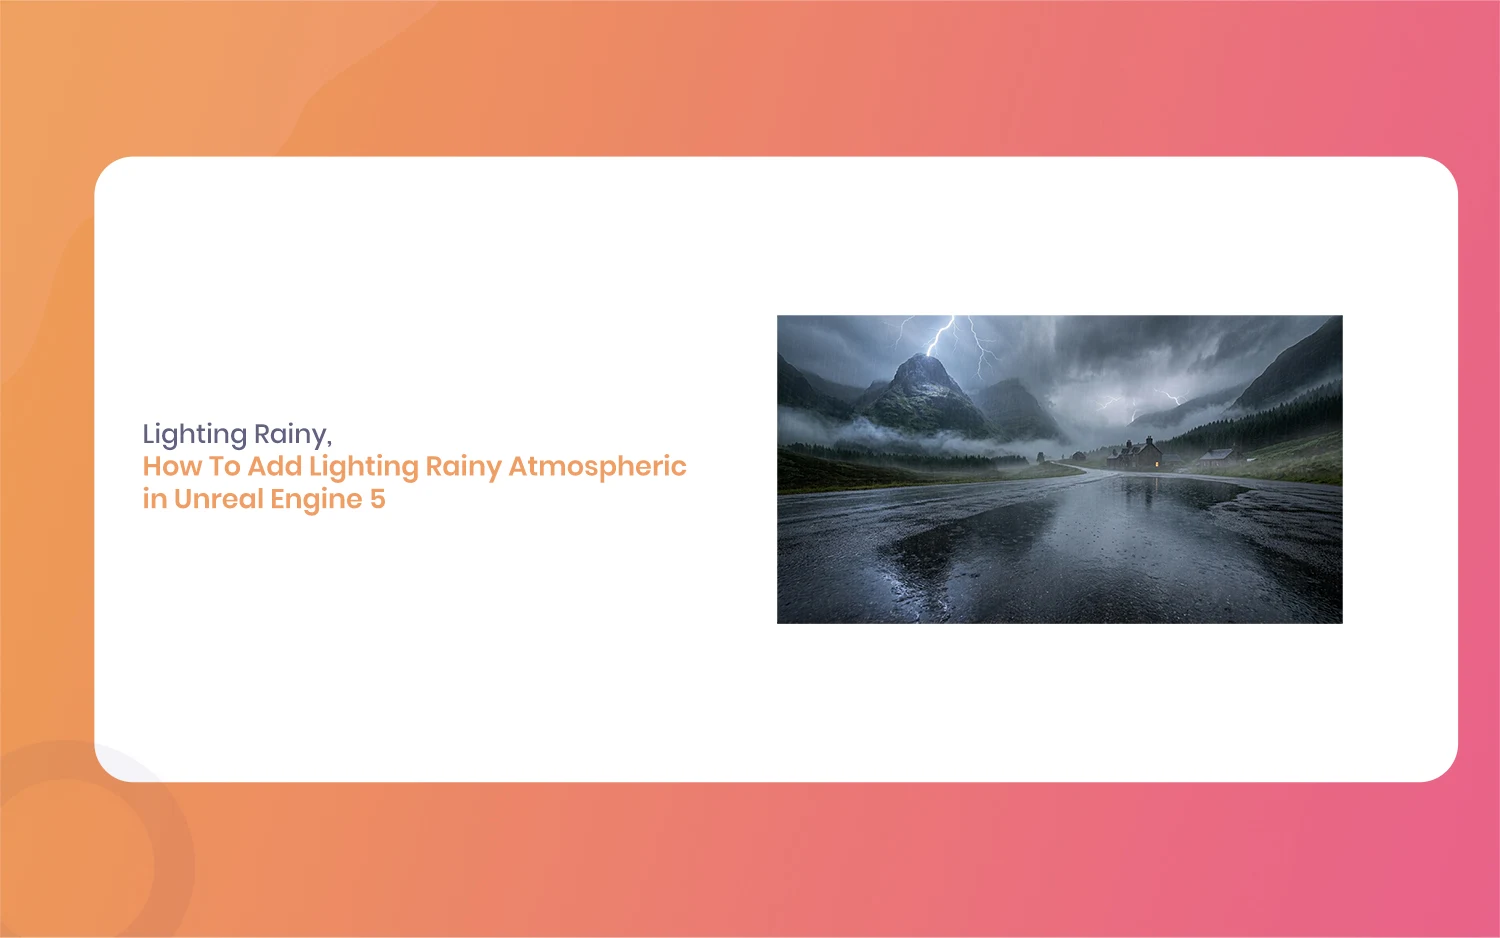
How To Add Lighting Rainy Atmospheric in Unreal Engine 5 [Tutorial]
Hello everyone, and welcome to this new guide. If you are a game developer or a 3D artist, you probably know how important weather is. Creating a moody scene can completely change how a player feels. Today, we are going to look at something very specific. We are going to learn how to add Lighting […]