Creating realistic hair in 3D modeling has always been a challenging endeavor for artists and designers. Blender 3.2 offers a powerful particle system that enables users to generate and style convincing hair with relative ease. Our tutorial breaks down the process into manageable steps, from basic setup to advanced styling techniques, allowing both beginners and experienced users to create stunning hair effects. Whether you’re designing characters for animation or creating realistic models for still renders, following the Blender 3.2 Particle Hair system is an essential skill in your 3D toolkit.
Follow the Particle Hair System
Before diving into the technical aspects, it’s important to understand that the Blender3.2 Particle Hair system treats each hair strand as a particle emitted from a mesh surface. This approach gives you control over density, length, and styling in ways that would be impossible to achieve through manual modeling. The system uses parent strands as a foundation, with optional children strands that add volume and realism while keeping the computational load manageable.
Prerequisites
Blender 3.2 installed on your system
Basic familiarity with Blender’s interface
A mesh prepared for hair emission (typically a head or scalp model)
Follow of Blender’s material system (for styling)
Step-by-Step Guide for Particle Hair in Blender 3.2
1. Setting Up the Geometry
The foundation of good hair is proper geometry. Your base mesh acts as the “scalp” from which hair particles will be emitted.
Create or import a mesh that will serve as your scalp or base for the hair
Ensure the mesh has sufficient topology (density of vertices) in areas where hair control is important
Consider creating a separate mesh specifically for hair emission, which can be hidden in the final render
Make sure your mesh normals are facing outward, as particles emit along the normal direction
Pro Tip: For selective hair emission, create vertex groups on your mesh and assign them to the particle system later.
2. Adding a Particle System
Now that your geometry is ready, it’s time to create the particle system:
Select your mesh and navigate to the Particle Properties tab in the Properties panel
Click the “+” button to create a new particle system
In the drop-down menu, change the type from “Emitter” to “Hair”
Immediately, you’ll notice hair strands appearing on your mesh
3. Adjusting Emission Settings
The emission settings control the fundamental properties of your hair:
Hair Length: Set this to a manageable value (around 0.1 meters is good for starting)
Number: Adjust this to control how many parent hairs are emitted (start with a lower value like 1000 for easier editing)
Seed: Change this value to randomize hair placement across your mesh
Emission Distribution:
“Jittered” provides a more natural random distribution
“Even” creates a uniform distribution
“Random” is completely chaotic
4. Configuring Segments and Preparing for Editing
Segments define how flexible each strand will be:
Increase the number of segments (5-10 is often sufficient) to allow for more control when styling
More segments mean more bendable hair but also increase computational demands
Once your basic settings are in place, you can switch to Particle Edit Mode to begin styling
5. Entering Particle Edit Mode
To enter Particle Edit Mode:
With your mesh selected, click on the Mode dropdown in the 3D viewport header
Select “Particle Edit” from the list
Alternatively, use the Tab basic to toggle between Object and Particle Edit Mode when the particle system is selected
6. Styling with Particle Edit Tools
Blender offers several tools for styling hair in Particle Edit Mode:
Comb: Brushes and combs hair in the direction of stroke
Smooth: Reduces sharp angles and jagged edges in hair strands
Add: Increases the length of hair strands
Length: Uniformly adjusts the length of strands
Puff: Pushes hair strands apart from each other
Cut: Shortens hair strands from their tips
Weight: Adjusts the weight of hair strands for energetic
Adjust brush settings in the tool panel:
Size: Controls the area of influence
Strength: Determines how powerful the brush effect is
Falloff: Defines how the brush effect diminishes toward the edges
7. Implementing Children Settings
Children settings exponentially increase hair density without the computational cost:
Enable “Children” in the particle system settings
Choose between “Simple” and “Interpolated” children types:
Simple: Faster but less realistic
Interpolated: More realistic but more computationally intensive
Adjust “Display Amount” to control how many children are visible in the viewport
Set “Render Amount” to determine how many children appear in the final render
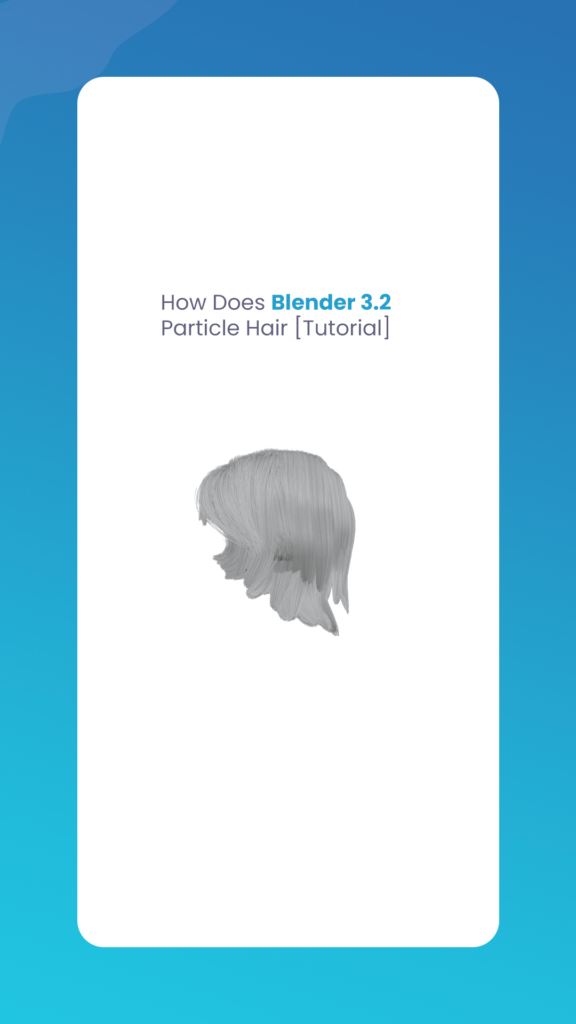
Blender 3.2 Particle Hair By The Morphic Studio
8. Fine-tuning Children Parameters
For more natural-looking hair, fine-tune these settings:
Clumping: Creates groups of hairs that stick together
Roughness: Adds randomness to the shape of children hairs
Kink: Adds waves, curls, or other patterns to children hairs
Twist: Rotates children hairs around their parent
9. Material Setup
Hair without proper materials will look flat and unrealistic:
Create a new material for your hair
Use the “Principled Hair BSDF” shader for realistic hair rendering
Adjust parameters like:
Melanin: Controls hair color from blonde to black
Roughness: Affects how shiny the hair appears
Radial Roughness: Controls how light scatters through the hair
10. Enabling Hair Energetic (Optional)
For animations or scenes with movement:
Enable “Hair Energetic” in the particle settings
Adjust mass, stiffness, and damping to control how the hair moves
Add force fields like wind or turbulence to create natural movement
Increase steps for more accurate simulations
Comparison of Hair Creation Methods in Blender
Feature
Particle Hair
Curves
Geometry Nodes
Ease of Use
Moderate
Easy
Complex
Performance
Good for medium density
Excellent for low density
Best for high density
Styling Control
Good
Limited
Excellent
Energetic Simulation
Yes
Limited
Yes, with custom setup
Rendering Speed
Moderate
Fast
Fast
Compatibility with Older Blender Versions
Yes
Limited
No (3.0+)
Scalp Adherence
Excellent
Moderate
Excellent with proper setup
Learning Curve
Moderate
Low
High
Common Challenges and Solutions
Challenge: Hair Looks Sparse
Solution: Increase the number of children or parent strands. Think of that children are more computationally efficient than adding more parents.
Challenge: Hair Penetrates Through Other Objects
Solution: Enable “Collision” for both the hair object and the objects it should collide with. Adjust the hair energetic settings to increase stiffness.
Challenge: Hair Styling Is Difficult to Control
Solution: Increase the number of segments for better control. Use vertex groups to isolate specific areas for focused styling.
Challenge: Hair Rendering Is Slow
Solution: Reduce the number of displayed children in the viewport while keeping the render amount higher. Use simplified children for preview and interpolated for final renders.
Challenge: Hair Looks Unnatural
Solution: Add variations in length, clumping, and roughness. Consider using texture maps to control hair density and length across the scalp.
Advanced Techniques
Using Vertex Groups for Control
Create vertex groups on your mesh to:
Control where hair grows (Density)
Determine hair length in different areas (Length)
Influence how hair clumps together (Clump)
Affect hair roughness across the scalp (Roughness)
Combining Multiple Particle Systems
For complex hairstyles:
Create multiple particle systems on the same mesh
Assign different vertex groups to each system
Style each system independently
Use for layered hairstyles or combining different hair types
Baking Particle Hair to Mesh
For better performance in animations:
Style your hair completely
Use the “Convert” function to turn particles into mesh
Edit the resulting mesh for final adjustments
Particularly useful for static hair that doesn’t need simulation
Finally
Mastering Blender 3.2 Particle Hair system opens up a world of possibilities for creating realistic characters and scenes. While the learning curve might seem steep initially, the control and flexibility offered by this approach make it worthwhile for serious 3D artists. Think of creating convincing hair as much an art as it is a technical skill—observe real hair behavior, study references, and practice regularly to improve your results.
As you become more comfortable with the basic workflow, don’t be afraid to experiment with advanced settings and techniques. Combine particle systems, use textures to control properties, and integrate with other Blender features like the shader editor for custom looks. With patience and practice, you’ll be creating stunning, realistic hair that raises your 3D creations to new levels of realism and visual appeal.
For those looking to push their skills further, consider exploring the newer Geometry Nodes system in Blender, which offers even more programmatic control over hair creation, albeit with a steeper learning curve. Whatever approach you choose, the principles of good hair styling remain the same: attention to detail, following real-world hair behavior, and a thoughtful approach to both technical settings and artistic choices.
Logo design company in Ahmedabad: 7 Proven Secrets to Elevate Your Brand, The Morphic Studio
Welcome to the fast paced world of statistical branding. As we move deeper into 2026, the market in Gujarat has become extremely competitive. If you are starting a business or trying to rebrand, you probably realize how hard it is to stand out from the crowd. This is exactly where a professional Logo design company […]
June 22, 2026
Why Choose a Graphic Design Agency Near You
Welcome to the visual revolution of 2026. At The Morphic Studio, we understand that building a brand in today’s fast paced world can feel completely overwhelming. Attention spans are shrinking rapidly, and the competition is only getting louder every single day. That is exactly why simply having a nice logo is no longer enough to […]
June 17, 2026
Graphic Design Studio: The #1 Unrivaled Choice for Magnificent Visuals | The Morphic Studio
Welcome to the visual revolution of 2026, everyone is scrolling at lightning speed, and your business has less than two seconds to make an impression. If your graphics look outdated, your audience will skip right past you, plain and simple. That is why choosing a top tier Graphic Design Studio is no longer just a […]