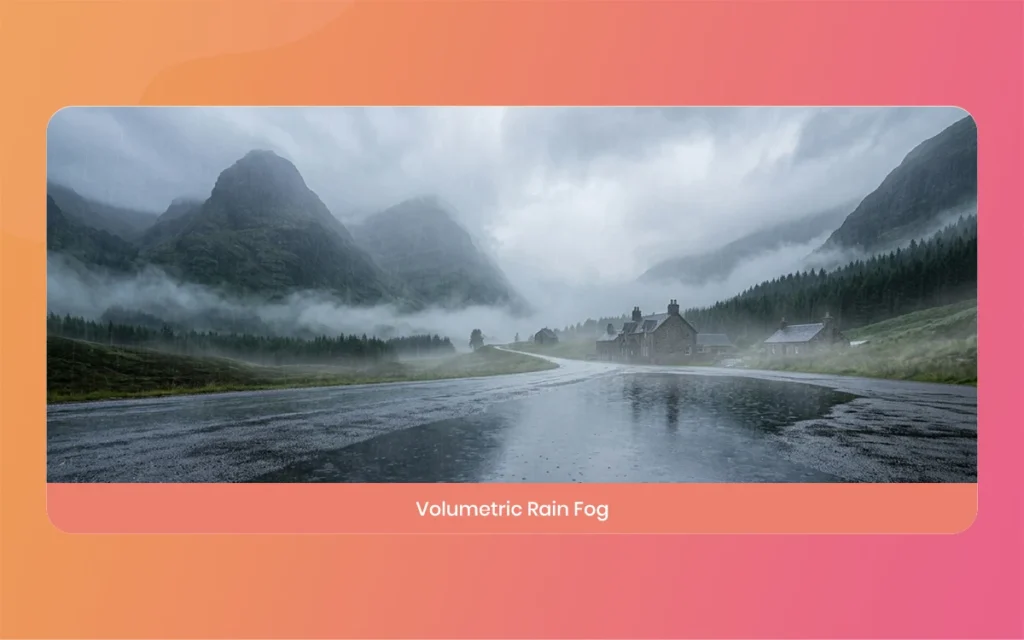
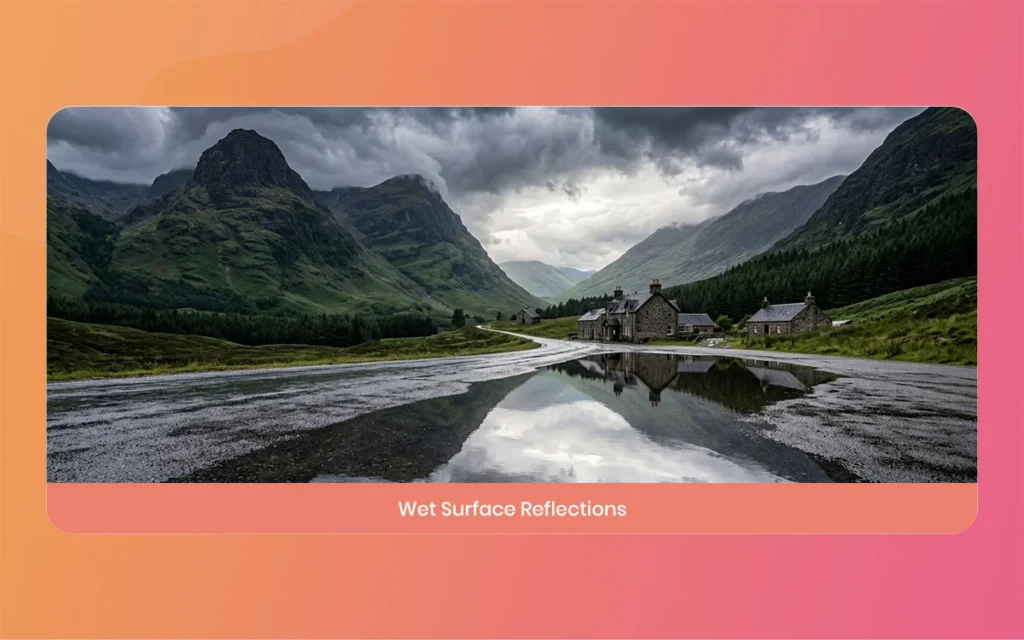
Hello everyone, and welcome to this new guide. If you are a game developer or a 3D artist, you probably know how important weather is. Creating a moody scene can completely change how a player feels. Today, we are going to look at something very specific. We are going to learn how to add Lighting Rainy atmospheric in Unreal Engine 5.
Sometimes we all get stuck when trying to make our games look realistic. You might add rain, but it just looks like white lines falling from the sky. It does not feel real. That is because the secret is not just the water, it is the light. The way light hits the water is what makes the magic happen. In this guide, I will share some tips and tricks that I have learned over time. I still make mistakes sometimes, but we will get through the tricky parts together.
With the latest 2026 updates, specifically Unreal Engine 5.8, Epic Games has given us some amazing new tools. We now have features like Fog Screen Space Scattering, also known as FSSS, and MegaLights. These new 2026 tools make our job so much easier. So, grab your coffee, open up your Unreal Engine editor, and let us dive right into the magic of bad weather.
Why Lighting Rainy Vibes Matter in 2026 Updates
Over the last few years, game graphics have jumped to a crazy new level. If you look at the games releasing in 2026, the environments look like real movies. A big part of this realism comes from how engines handle weather. When you create a lighting rainy scene, you are telling a story. You are making the player feel cold, isolated, or maybe even cozy if they are looking out from a warm window. It is all about the atmosphere.
Before the Unreal Engine 5.8 update in 2026, making a realistic storm was actually pretty hard. We had to fake a lot of the lighting. We would place hidden lights everywhere just to make the rain visible. Now, things are different. The new lighting systems calculate global illumination so well that wet surfaces look naturally beautiful. The light bounces off the wet concrete and reflects the neon signs or street lamps perfectly.
I think of trying to make a rainy level a few years ago. It took me days to get the reflections right. Now, Lumen handles almost all the heavy lifting. But you still need to know how to set the foundations. You need to understand how the sky, the fog, and the rain all talk to each other. If your lighting is wrong, your rain will just look invisible. That is why focusing on the lighting rainy setup is the most crucial part of your level design.
Lighting Rainy
Follow Lighting Rainy Atmospheric Core Concepts
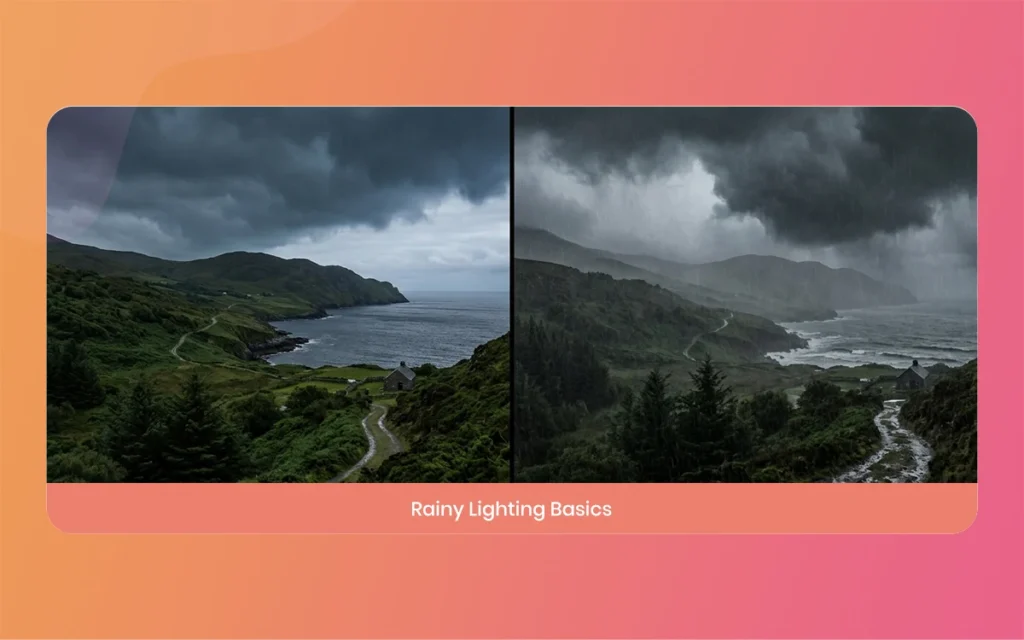
To get that perfect lighting rainy atmospheric feel, we need to think like a photographer. When it rains, the sky is usually covered in thick clouds. This means we do not have harsh, direct sunlight. The sun is blocked. The light that does reach the ground is very soft and scattered. It has a blue or gray color tint to it.
If you leave your Unreal Engine sun at its default brightness, your scene will look like a sunny day with weird water falling down. That is a very common mistake. We have to dim the lights. We also need to introduce fog. Fog is the glue that holds a rainy scene together. It softens the background and gives the light something to bounce off in the air. When you combine soft directional light, thick fog, and wet materials, you get that amazing cinematic mood.
Setting Up Your First Lighting Rainy Scene
Alright, let us get our hands dirty in the engine. First, you want to open a blank level or a city level if you have one. Go to the top left of your screen and look for the environment light mixer. This is a very handy tool. It lets you add all the basic sky components with just a few clicks. You want to add a Sky Light, a Directional Light, a Sky Atmosphere, Volumetric Cloud, and Exponential Height Fog.
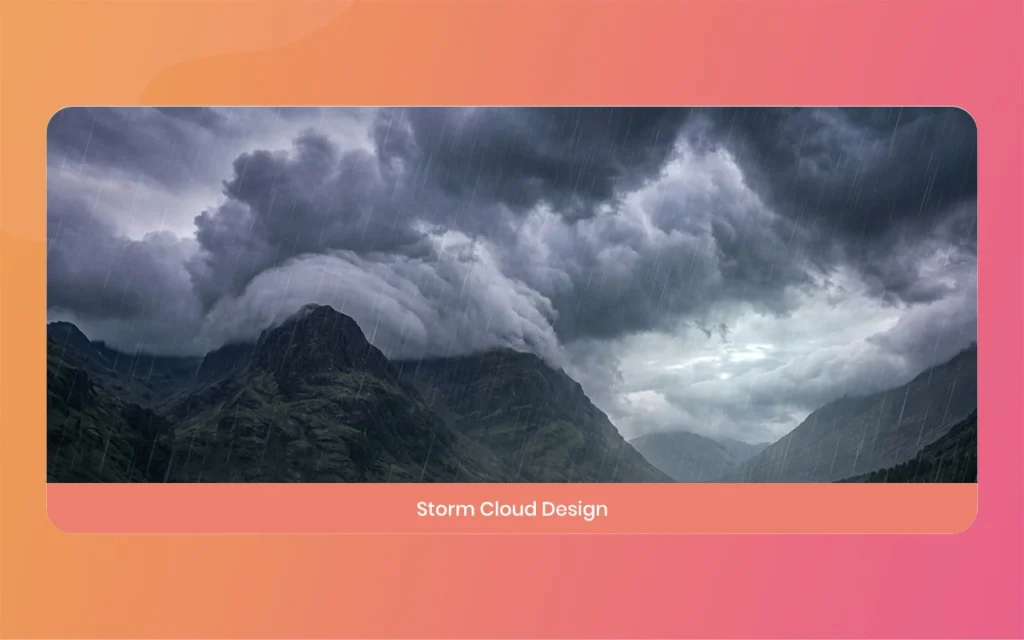
Once you have all these in your scene, your world will probably look very bright and sunny. We need to fix that immediately. Select your Volumetric Clouds in the outliner. We want to make the sky look overcast. In the settings panel on the right, you can tweak the cloud density. Push the density up so the sky looks completely covered. You do not want to see any blue sky. Just gray, heavy clouds that look like they are about to burst.
Next, we need to talk about the fog. Select the Exponential Height Fog. Scroll down until you find the Volumetric Fog checkbox. Turn that on! This is super important. Volumetric fog actually reacts to light. In the 2026 Unreal Engine 5.8 version, you can also enable Fog Screen Space Scattering (FSSS). This is an experimental feature, but it makes the dense fog look incredibly realistic. It blends the light beautifully, making your scene look truly wet and miserable in the best way possible.
Lighting Rainy
Adjusting Directional Light for Lighting Rainy Moods
Now, let us fix the sun. Click on your Directional Light. The default intensity is usually around 10 lux or more, which is way too bright for a storm. Drop that intensity down to something like 1 or 2. You will notice the scene gets very dark. That is exactly what we want.
Now look at the light color. A bright white or yellow sun does not fit a lighting rainy mood. Change the color to a pale, grayish-blue. This instantly cools down the temperature of the scene. Do the exact same thing for your Sky Light. The Sky Light fills in the shadows. Change its color to a dark blue, and lower the intensity as well. Now, your level should look like a cold, overcast afternoon.
Using Niagara for Lighting Rainy Particle Effects
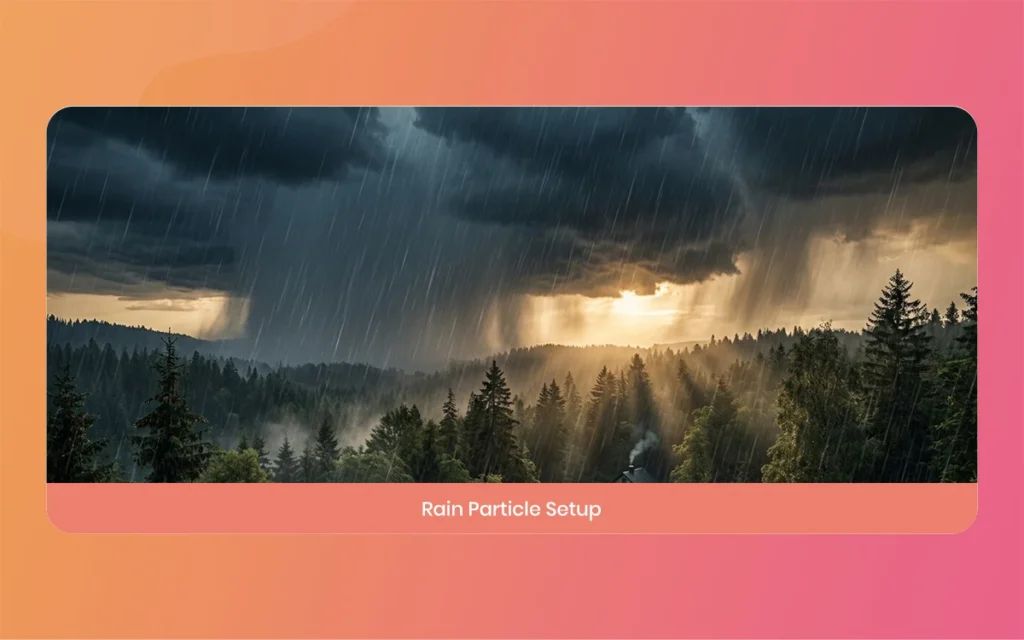
Now that our lights are set up, we actually need the rain. Unreal Engine uses a system called Niagara for particles. Niagara is very powerful, but it can be a little confusing if you are new to it. Do not worry, I will keep it simple. Right-click in your content browser, go to FX, and create a new Niagara System. Choose the option to create it from a selected emitter. Look for a basic sprite burst or just an empty template.
Inside the Niagara editor, we want to create a particle that falls straight down. Add a box location module so the particles spawn over a large area, not just from one tiny point. Make the box big enough to cover your player character and the camera view. Then, add a gravity force module. This will pull the particles down to the ground. You might need to increase the gravity a bit so the rain falls fast. Slow rain looks like snow, and we do not want that.
The shape of the particle is also important. By default, particles are just squares. We need to stretch them out so they look like streaks of water. Go to the sprite render settings. Change the alignment to velocity aligned. This makes the particle stretch in the direction it is falling. Then, scale the sprite so it is long and thin.
Give the rain material a slight blue tint, but make sure it is translucent. In the material editor for the rain, make sure you plug in a little bit of emissive color. Why? Because in a dark lighting rainy scene, plain water droplets can completely disappear. By giving them a tiny glow, they will catch the eye of the player. This is a very common trick used by game developers to make weather visible against dark backgrounds.
Lighting Rainy
Making Puddles Shine in Your Lighting Rainy World
Rain falling from the sky is only half the job. The ground needs to look wet. If the ground is dry, the illusion is completely broken. To fix this, we need to adjust our materials. Open the material for your floor or street. You will see a node called Roughness. Roughness controls how shiny a surface is. A value of 1 is completely dull, like dry dirt. A value of 0 is a perfect mirror, like smooth glass.
To make the ground look wet, we want the roughness to be very low. You can connect a constant value of about 0.1 to the roughness input. Immediately, your floor will look like it is covered in a thin layer of water. It will start reflecting the dark sky and any lights you have in your scene. This is where the 2026 MegaLights feature really shines. MegaLights allow you to have tons of street lamps or neon signs without lagging your game. Seeing all those lights reflect in the wet road is beautiful.
If you want to take it a step further, you can use a noise texture to make puddles. Instead of the whole floor being perfectly wet, a noise texture will make some parts wet and some parts dry. Plug the noise texture into the roughness, and use a multiply node to tweak it. This imperfection makes the scene look so much more human and realistic. Sometimes perfect graphics look fake, so adding some messy puddles is always a good idea.
Lighting Rainy
Essential Settings for Lighting Rainy Environments
As requested, instead of a table, here are the most important settings broken down into simple points. Whenever I mess up my scene, I always go back and check this list. Make sure you follow these points to get the best result.
Directional Light Intensity: Set this very low, between 1 and 2. This removes the harsh sunlight and creates a gloomy overcast feeling.
Directional Light Color: Use a pale, grayish-blue. This cools down the entire scene and sets the stormy mood.
Volumetric Fog: You must turn this on inside the Exponential Height Fog settings. It gives the air a thick, heavy feeling.
Fog Scattering Color: Set this to a dark grey. If it is too bright, your level will look like a sunny morning instead of a storm.
Material Roughness: Keep this near 0.1 for the ground. This makes surfaces highly reflective, simulating wet concrete or mud.
Niagara Velocity Alignment: Always enable this for your rain sprites. It stretches the droplets so they look like fast-moving water streaks.
Skylight Intensity: Lower this to about 0.5. It keeps the shadows dark and moody, preventing the scene from looking flat.
Post Process Volume for Lighting Rainy Polish
We are almost done, but we need to add the final polish. In Unreal Engine, the Post Process Volume is like a photo filter for your game. Add a Post Process Volume to your level, and make sure you check the box that says “Infinite Extent (Unbound)”. This means the filter will apply to the whole world, no matter where the player walks.
Scroll down to the Color Grading section. Here, you can adjust the contrast and saturation. For a lighting rainy atmospheric feel, I always lower the saturation just a little bit. Colors are not usually vibrant during a storm. Everything looks a bit washed out. I also push the global contrast up slightly. This makes the dark shadows darker, and the bright reflections pop out more. It is a small change, but it makes a massive difference to the final image.
Lighting Rainy
Final Thoughts on Lighting Rainy Atmospheric Design
Creating a realistic storm in Unreal Engine 5 is such a fun process. It can be frustrating when the lights do not look right, but once you understand how the sky, fog, and wet materials interact, it becomes a lot easier. The new 2026 updates have given us incredible power. Features like Lumen, FSSS, and MegaLights do a lot of the heavy calculation for us. We just need to give them the right settings to work with.
I hope this tutorial helped you understand how to approach your weather design. Think of, do not just focus on the water falling. Focus on the lighting rainy setup. The light is what creates the emotion. Take your time, play around with the sliders, and do not be afraid to make mistakes. Sometimes the best atmospheric looks come from accidental settings. Keep practicing, keep creating, and I will see you in the next tutorial!
Augmented Reality News: 7 Exclusive Breakthroughs for an Incredible Year | The Morphic Studio
Navigating the Latest Augmented Reality News Environment Welcome to another exciting deep dive into the statistical universe brought to you by The Morphic Studio. If you have been keeping up with tech headlines lately, you already know that statistical overlays and spatial computing are changing how we interact with our physical surroundings. The year 2026 […]
September 1, 2026
VR Horror Games: 13 Incredible Titles for a Brutal Scare – The Morphic Studio
Welcome to the ultimate guide for anyone looking to test their nerves inside a headset. When you strap a display to your face, flat screen rules no longer apply. VR Horror Games You are no longer watching a character run from danger on a distant monitor, because you are right there in the middle of […]
August 31, 2026
Meta Quest 4 Release Date: The Master Guide to 2026’s Most Incredible VR | The Morphic Studio
Virtual reality has traveled a long road over the last few years. We have moved from bulky, tethered headsets that needed expensive gaming computers to sleek, standalone machines that fit right inside a small travel backpack. If you follow immersive technology here at The Morphic Studio, you already know that Meta has been leading the […]