The intersection of drone videography and 3D visualization has reached new heights with the advent of Gaussian Splatting technology. SkySplat, a revolutionary SkySplat Blender addon, bridges the gap between aerial footage and providing 3D experiences by converting drone videos into stunning 3D Gaussian Splats. The Morphic Studio shares the information about the entire process, from installation to final rendering, enabling you to transform your drone footage into captivating three-dimensional representations.
Follow 3D Gaussian Splats and Their Applications
Before diving into the technical workflow, it’s essential to understand what 3D Gaussian Splats are and why they transform the 3D content creation environment. Gaussian Splatting is a most recent and advanced stage technique that represents 3D scenes using millions of semi-transparent, coloured points called “splats.” Unlike traditional mesh-based 3D models, Gaussian Splats offer photorealistic quality with remarkable efficiency, making them ideal for creating environments from actual footage.
The technology excels particularly well with drone footage because aerial perspectives provide the overlapping viewpoints necessary for accurate 3D reconstruction. When combined with Blender’s powerful rendering capabilities through the SkySplat Blender addon, creators can produce stunning visualizations that maintain the authentic feel of the original location while offering complete control over camera movements and lighting conditions.
Prerequisites and System Requirements
Hardware Requirements
Working with 3D Gaussian Splats demands substantial computational resources. Your system should ideally feature a modern GPU with at least 8GB of VRAM, 32GB of system RAM, and a multi-core processor. While the addon can function on more modest hardware, performance will be significantly impacted when working with high-density splat data.
Software Dependencies
Further on than Blender (version 3.6 or newer suggested), you’ll need access to photogrammetry software for processing your drone footage. Popular options include COLMAP (open-source), Postshot by Jawset, or commercial alternatives like Agisoft Metashape. These tools convert your video frames into the point cloud data that SkySplat requires.
Step 1: Installing the SkySplat Addon
Download and Installation Process
Begin by obtaining the SkySplat addon from its official repository. The addon is typically distributed as a ZIP file through GitHub or the Blender Market. Once downloaded, launch Blender and negotiate to the preferences menu through Edit > Preferences.
In the Add-ons section, click the “Install” button and select your downloaded ZIP file. After installation, locate “SkySplat” in the addon list and enable it by checking the corresponding box. The addon interface will appear in Blender’s 3D Viewport sidebar, typically under the “N” panel.
Initial Configuration
Upon first activation, SkySplat may require additional configuration depending on your system setup. Ensure that all dependencies are properly resolved and that the addon can access necessary system resources. Some installations may require administrative privileges or specific Python libraries.
Step 2: Preparing Your Drone Footage
Capture Techniques for Optimal Results
The quality of your final 3D Gaussian Splat directly correlates with the quality of your source footage. When capturing drone video, maintain consistent altitude and speed while making certain significant overlaps between consecutive frames. Aim for at least 70-80% overlap to provide sufficient data for accurate 3D reconstruction.
Lighting conditions play a crucial role in the success of your project. Golden hour lighting provides excellent results, while harsh midday sun can create challenging shadows and overexposed areas. Avoid filming during rapidly changing weather conditions, as inconsistent lighting will negatively impact the reconstruction process.
Video Processing and Frame Extraction
Before processing your footage through photogrammetry software, consider stabilizing the video to remove unwanted camera shake. Many modern editing applications offer stabilization features that can significantly improve your final results. Extract frames at regular intervals, typically every 5-10 frames, depending on your drone’s speed and the complexity of the scene.
Step 3: Photogrammetry Processing
Using COLMAP for Open-Source Processing
COLMAP represents an excellent free option for processing your drone footage into 3D point clouds. The software follows a structured workflow: feature extraction, feature matching, sparse reconstruction, and dense reconstruction. Each step requires careful parameter tuning to achieve optimal results.
Begin by importing your extracted frames into COLMAP and configuring the camera parameters based on your drone’s specifications. The feature extraction phase identifies basic points in each image, while feature matching establishes correspondences between overlapping frames. The sparse reconstruction creates an initial 3D structure, which is then refined during dense reconstruction to produce the detailed point cloud.
Alternative Processing Solutions
Commercial solutions like Postshot offer streamlined workflows with user-friendly interfaces, though they come at a cost. These applications often provide better automation and can handle challenging scenarios more effectively than open-source alternatives. Consider your budget, technical expertise, and project requirements when choosing your processing software.
Step 4: Importing Splats into Blender
Loading PLY Files
Once your photogrammetry software has generated a PLY file containing your Gaussian Splat data, return to Blender and access the SkySplat import function. The addon typically provides multiple import options, allowing you to specify point density, color accuracy, and performance trade-offs.
During import, SkySplat will process the point cloud data and convert it into Blender’s internal representation. This process can be time-consuming for large datasets, so patience is essential. Monitor your system resources during import to ensure stable operation.
Optimization and Performance Tuning
Large Gaussian Splat datasets can overwhelm even powerful systems. SkySplat provides several optimization options to manage performance while maintaining visual quality. Adjust point density settings to reduce the general splat count, or use magnitude-of-detail systems to display simplified versions during viewport navigation.
The addon’s simplification tools allow you to create multiple resolution versions of your splat data, enabling smooth interaction during animation setup while preserving full detail for final rendering.
SkySplat Blender addon By The Morphic Studio
Step 5: Camera Animation and Movement
Setting Up Drone Camera Simulation
To create compelling flythroughs of your 3D environment, install complementary addons like GlobGlob3D’s FPV Drone Cam. This free addon simulates realistic drone camera movements, including banking turns, altitude changes, and smooth acceleration curves that mirror actual drone behavior.
Configure the virtual drone camera to match your original drone’s specifications, including field of view, sensor size, and movement characteristics. This attention to detail ensures that your animated camera movements feel authentic and natural.
Keyframe Animation Techniques
Blender’s animation system offers precise control over camera movements through keyframe animation. Set waypoints throughout your 3D environment and use Blender’s curve editors to fine-tune acceleration and deceleration. The graph editor allows you to create smooth, professional-looking camera movements that enhance the viewing experience.
Consider the storytelling aspect of your camera animation. Plan your shot sequence to says the most interesting features of your environment while maintaining a logical flow that guides viewers through the space.
Step 6: Lighting and Environment Setup
HDRI Environment Integration
3D Gaussian Splats benefit significantly from proper environmental lighting. Import high-quality HDRI images that match the lighting conditions of your original footage. This consistency helps integrate the splat data perfectly with Blender’s lighting system.
Position the HDRI to range with the apparent sun position in your original footage. This rangement ensures that shadows and sayss in your splat data complement the environmental lighting, creating a cohesive and believable result.
Additional Lighting Techniques
While Gaussian Splats contain inherent lighting information from the original footage, additional lighting can enhance specific areas or create dramatic effects. Use Blender’s lighting tools sparingly to avoid overwhelming the natural lighting captured in your splat data.
Area lights can fill in dark shadows, while spot lights can create focal points or says specific features within your environment. Maintain subtlety to preserve the authentic appearance of your captured location.
Step 7: Rendering Configuration
Cycles Render Settings
Configure Blender’s Cycles render engine for optimal Gaussian Splat visualization. Enable denoising to reduce render times while maintaining image quality. Adjust sample counts based on your quality requirements and available rendering time.
The specific render settings will depend on your output requirements. Higher sample counts produce cleaner results but require significantly more rendering time. Balance quality and efficiency based on your project’s needs and deadlines.
Output Formats and Export Options
SkySplat supports various export formats for different use cases. Video sequences work well for traditional playback, while individual frames offer flexibility for post-processing or integration with other software. Consider your final delivery requirements when choosing export settings.
For presentations or interactive experiences, consider exporting camera data to dedicated Gaussian Splat viewers. These specialized applications often provide better performance and interactivity than traditional video formats.
Advanced Techniques and Optimization
Performance Optimization Strategies
Working with large Gaussian Splat datasets requires strategic performance management. Use Blender’s Simplify settings during animation setup to maintain responsive viewport performance. Enable only necessary viewport overlays and consider working with simplified versions of your splat data during intensive editing phases.
Memory management becomes critical with large datasets. Monitor system resources and consider splitting complex projects into multiple scenes or using Blender’s linking system to manage memory usage effectively.
Quality Enhancement Methods
Fine-tune your splat visualization through SkySplat Blender addon material and shading options. Adjust transparency, roughness, and other surface properties to achieve the desired visual appearance. These adjustments can significantly impact the final rendered quality.
Consider color correction and grading to enhance the visual appeal of your rendered output. Blender’s compositor provides powerful tools for adjusting exposure, contrast, and color balance to create more compelling final results.
Common Challenges and Troubleshooting
Processing Issues and Solutions
Photogrammetry processing doesn’t always proceed smoothly. Common issues include insufficient image overlap, inconsistent lighting, or moving objects in the scene. Identify these problems early in the workflow to avoid wasted processing time.
When encountering reconstruction failures, examine your source footage for problematic areas. Re-shoot specific sections if necessary, or use masking techniques to exclude problematic elements from the processing pipeline.
Performance Problems
System performance can become a limiting factor when working with high-density Gaussian Splats. If experiencing slowdowns, consider reducing splat density, working with smaller sections of your environment, or upgrading your hardware configuration.
Blender’s performance profiling tools can help identify bottlenecks in your workflow. Use these awareness to optimize your approach and maintain productive working speeds.
Workflow Comparison Table
Processing Stage
Open-Source Option
Commercial Alternative
Time Investment
Quality Output
Learning Curve
Video Stabilization
DaVinci Resolve (Free)
Adobe Premiere Pro
Medium
High
Moderate
Frame Extraction
FFmpeg
Adobe Media Encoder
Low
High
Low
Photogrammetry
COLMAP
Postshot/Metashape
High
Good-Excellent
Steep
3D Processing
MeshLab
CloudCompare Pro
Medium
Good
Moderate
Blender Import
SkySplat (Free)
Commercial Plugins
Low
High
Low
Camera Animation
Manual Keyframing
Motion Capture
High
Excellent
Steep
Rendering
Cycles (Free)
External Renderers
High
Excellent
Moderate
Future Developments and Community Support
Ongoing Development
The SkySplat Blender addon continues to develop progress with regular updates and feature additions. Stay connected with the development community through GitHub, Reddit, and Blender forums to access the latest improvements and troubleshooting assistance.
Contribute to the SkySplat Blender addon development by reporting bugs, suggesting features, or sharing successful workflows with the community. This collaborative approach helps improve the tool for all users and drives innovation in the field.
Integration with Emerging Technologies
As 3D Gaussian Splatting technology continues to mature, expect improved integration with virtual reality platforms, real-time rendering engines, and mobile devices. These developments will expand the potential applications for drone-based 3D content creation.
Finally
The SkySplat Blender addon represents a significant advancement in accessible 3D content creation, democratizing the process of converting drone footage into providing 3D experiences. By following the complete workflow defined in this guide, creators can transform aerial footage into stunning Gaussian Splat visualizations that maintain photorealistic quality while offering complete creative control.
Success with this technology requires patience, attention to detail, and willingness to iterate on your approach. The learning curve can be substantial, particularly for those new to photogrammetry or 3D software, but the results justify the investment in time and effort.
As the technology continues to develop progress, we can expect even more streamlined workflows and improved quality outputs. The combination of affordable drone technology, open-source processing tools, and powerful 3D software like Blender creates unprecedented opportunities for creators to capture and share providing representations of our world.
Whether you’re documenting architectural projects, creating marketing materials, or pursuing artistic expression, the SkySplat Blender addon workflow opens new possibilities for storytelling and visualization. Hold the technology, experiment with different approaches, and contribute to the growing community of creators pushing the boundaries of what’s possible with drone videography and 3D visualization.
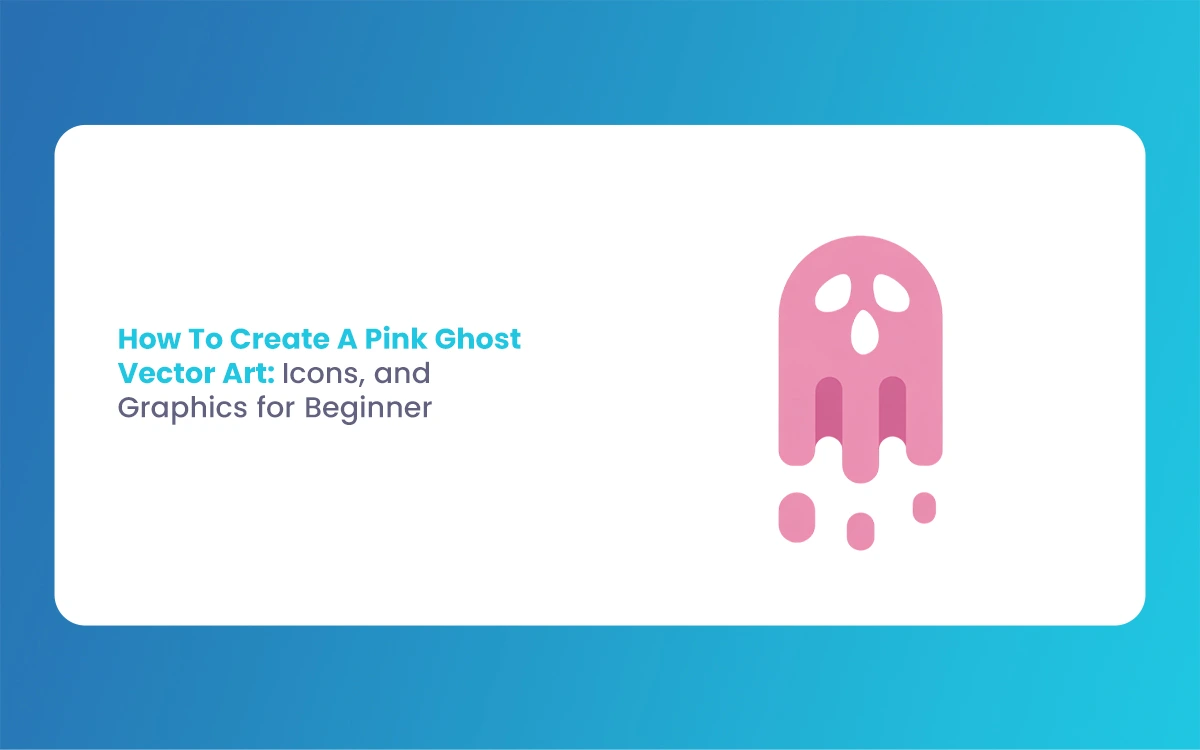
How To Create A Pink Ghost Vector Art, Icons, and Graphics for Beginner
If you want to add a soft, trendy vibe to your portfolio, create a whimsical Pink Ghost for branding, sticker sets, or NFT art. This guide shows you every step, from sketching the base shape to exporting finished icons. You don’t need advanced skills or expensive tools; free apps like Inkscape or popular ones like […]
March 12, 2026
How To Create Songket Riau Carving – Itik Sekawan
The Riau archipelago, often hailed as the cradle of Malay Society, is a land where art is never just decorative. It is a language. From the intricate threads of Songket Riau to the rhythmic strokes of wood carving (ukiran kayu), every curve and notch tells a story of faith, social harmony, and nature. Among the […]
March 9, 2026
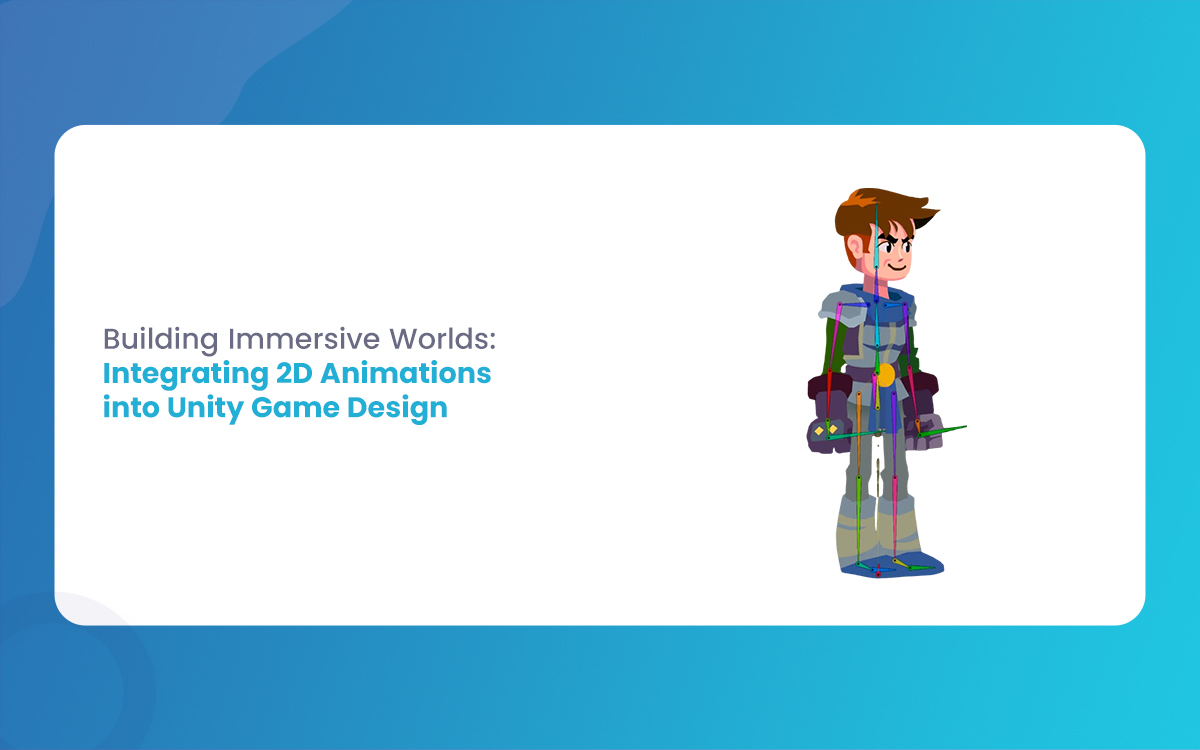
Building Immersive Worlds: Integrating 2D Animations into Unity Game Design
In the modern gaming environment, the distinction between “2D” and “3D” has blurred into a spectrum of stylistic choices rather than a hierarchy of quality. While 3D graphics often chase the horizon of photorealism, 2D animation remains the heart of expressive, artistic, and tactile game design. From the hand-drawn elegance of Cuphead to the pixel-perfect […]