The statistical creative environment has witnessed a revolutionary shift from traditional 2D artwork to providing 3D animation from 2D to 3D. For artists, game developers, and content creators looking to bridge this gap, Reallusion’s iClone and Character Creator come out as game-changing solutions. These powerful tools democratise 3D character creation, making it accessible to creators regardless of their technical background or previous 3D experience.
The ride from flat 2D designs to fully animated 3D characters has traditionally been a complex, time-consuming process requiring extensive technical knowledge, regardless of how, with the advent of user-friendly platforms like iClone and Character Creator, this transformation has become more intuitive and achievable than ever before. This complete guide will walk you through the entire process, from initial concept to final rendered animation.
Follow the Core Technologies
Character Creator: The Foundation of 3D Character Design
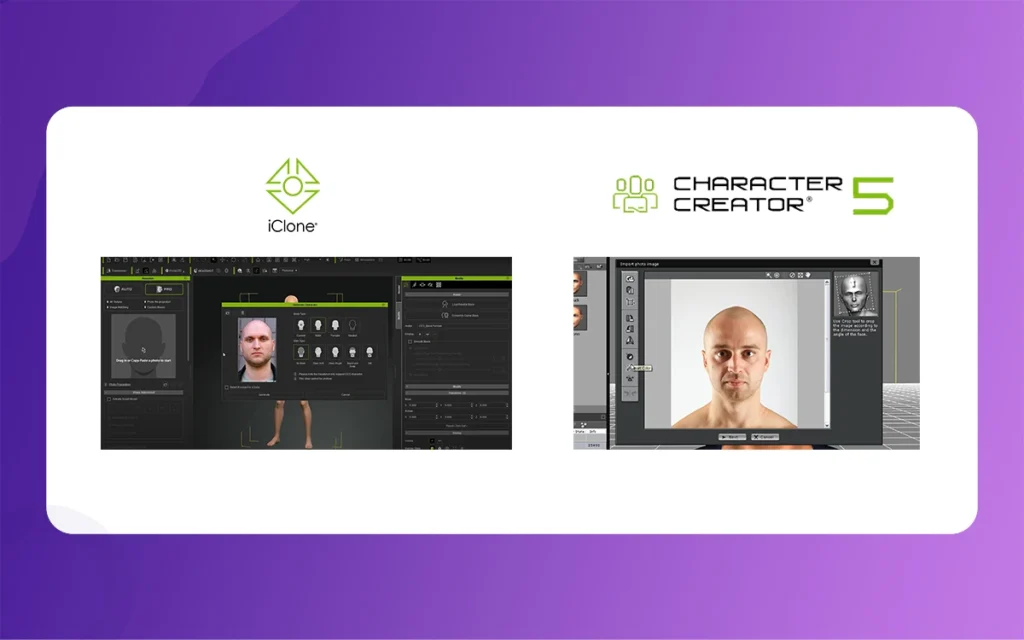
Character Creator (CC) serves as the cornerstone of the 3D character creation pipeline. This sophisticated yet accessible software specialises in building highly detailed and customizable 3D characters from the ground up. Unlike traditional 3D modelling software that requires extensive sculpting knowledge, Character Creator engages an intuitive morph-based system that allows users to create unique characters through slider adjustments and preset modifications.
2D to 3D By The Morphic Studio
The software’s strength lies in its complete approach to character development. Users can manipulate every aspect of their character’s appearance, from basic body proportions to intricate facial features. The morphing system is particularly powerful, enabling creators to blend different characteristics perfectly to achieve their desired look. This approach is, for the most part, beneficial for artists transitioning from 2D, as it provides immediate visual feedback and doesn’t require following complex 3D modelling principles.
Character Creator’s material and texture system further enhances its appeal. The software includes advanced skin rendering capabilities, realistic hair systems, and a vast library of clothing and accessories. These elements can be mixed, matched, and customised to create unique character designs that would take considerably longer to achieve through traditional 3D modelling methods.
iClone: Bringing Characters to Life
While Character Creator focuses on character creation, iClone specialises in the animation and scene composition aspects of 3D content creation. This real-time 3D animation software is designed to make character animation accessible to creators of all skill levels, from beginners to professional animators.
iClone’s real-time rendering capabilities set it apart from many traditional animation packages. Users can see their animations play back instantly, allowing for rapid iteration and creative experimentation. This immediate feedback loop is crucial for maintaining creative momentum and enables artists to focus on storytelling rather than technical constraints.
The software’s integration with Character Creator creates a perfect workflow that eliminates many traditional bottlenecks in 3D animation production. Characters created in Character Creator can be instantly transferred to iClone with all their rigging, morphs, and textures intact, ensuring consistency throughout the production pipeline.
The Step-by-Step Transformation Process
Phase 1: Preparation and Reference Gathering
The foundation of any successful 2D to 3D conversion lies in thorough preparation. While Character Creator cannot directly convert 2D images into 3D models, your 2D artwork serves as an adjective reference guide throughout the creation process.
Effective reference gathering involves collecting multiple views of your character when possible. Front, side, and three-quarter views provide the most complete reference for 3D creation. If you only have a single 2D image, consider creating additional sketches or finding supplementary reference material that captures the character’s proportions and features from different angles.
Pay particular attention to proportional connections in your 2D reference. Note the relative sizes of different body parts, facial feature positioning, and general character silhouette. These proportional connections will guide your morphing decisions in Character Creator and ensure your 3D character maintains the essence of your original 2D design.
2D to 3D By The Morphic Studio
Phase 2: Character Creation and Morphing
Beginning your Character Creator ride starts with selecting an appropriate base character. The software provides several starting templates, each with different proportions and characteristics. Choose the template that most closely matches your intended character design to minimise the amount of morphing required.
The morphing process itself is both an art and a science. Character Creator’s extensive morph library covers virtually every aspect of human anatomy. Start with major proportional adjustments—general body size, limb lengths, and torso proportions. These fundamental changes establish the character’s basic silhouette and should align with your 2D reference.
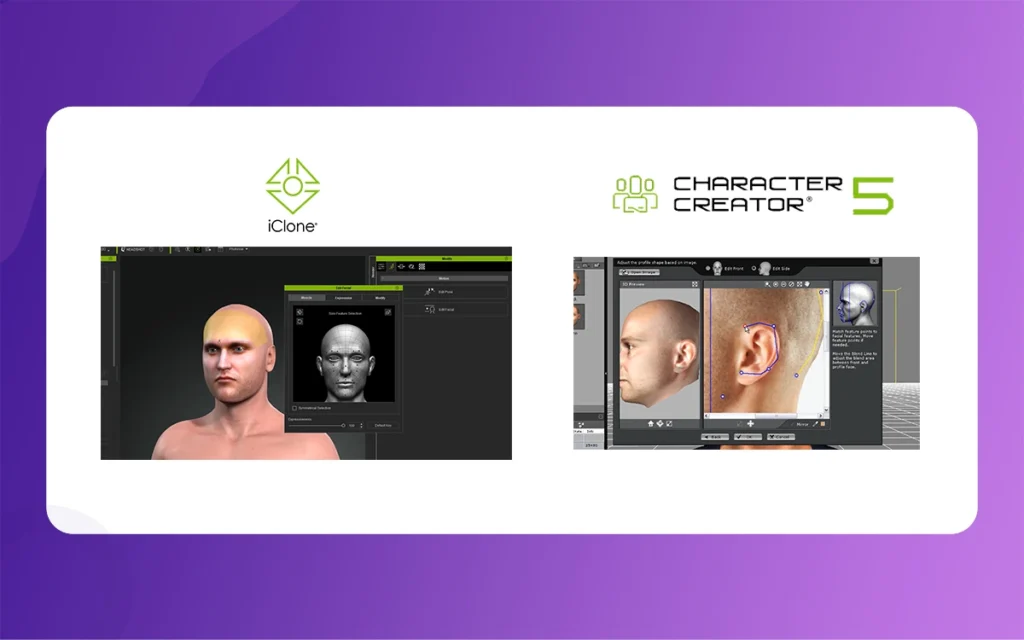
Facial morphing requires particular attention to detail. The software’s facial morphing system allows for precise control over individual features such as eye shape, nose structure, mouth form, and jaw line. Work systematically through each facial region, constantly referencing your 2D artwork to ensure accuracy. Think of how subtle adjustments often yield the most natural-looking results.
Phase 3: Texturing and Material Application
Once your character’s basic form is established, the texturing phase brings them to life. Character Creator’s material system offers extensive control over skin appearance, including colour, texture, and surface properties. The software includes preset skin types that can serve as starting points, but custom adjustments allow for perfect matching to your 2D reference.
Hair styling represents one of the most impactful aspects of character customisation. Character Creator’s hair system combines preset styles with extensive customisation options. You can adjust hair colour, density, length, and styling to match your 2D design. The software’s hair physics system ensures that hair movement looks natural during animation.
Clothing and accessory selection complete the character’s appearance. The extensive wardrobe library covers various styles and periods, while material editing tools allow for colour and texture customisation. Pay attention to how clothing fits your morphed character, as body shape changes may require clothing adjustments.
2D to 3D By The Morphic Studio
Phase 4: Animation and Scene Composition
The transition from Character Creator to iClone marks the beginning of the animation phase. The “Send to iClone” function creates a perfect transfer, maintaining all character data while preparing the character for animation.
iClone’s animation tools cater to different skill magnitudes and preferences. The motion library provides pre-built animations for common actions, while the timeline-based basic frame system allows for custom animation creation. Motion capture integration enables the use of professional-quality movement data, elevating the realism of your animations.
Scene composition in iClone extends further than character animation. The software’s environment tools allow for complete scene creation, including lighting setup, camera positioning, and prop placement. These elements work together to create 3D environments that showcase your characters effectively.
Advanced Techniques and Optimization Strategies
Workflow Optimization
Efficient workflow management significantly impacts project success. Develop a consistent naming convention for your characters and assets to maintain organisation across projects. Create character templates for recurring character types to accelerate future projects. Regularly save incremental versions of your work to prevent data loss and enable easy rollback to previous versions.
Utilise Character Creator’s preset system to your advantage. Create and save custom morphs, materials, and clothing combinations for reuse across projects. This approach not only saves time but also ensures consistency in your character designs.
Quality Control and Refinement
Professional-quality results require attention to detail throughout the creation process. Regularly test your characters in different lighting conditions within iClone to ensure they look good under various circumstances. Pay attention to edge cases such as extreme facial expressions or unusual poses that might reveal modelling issues.
Texture quality plays a crucial role in the final appearance. While Character Creator provides high-quality default textures, consider creating custom textures for unique character designs. Ensure texture resolution matches your intended output quality—higher resolutions for close-up shots, optimised resolutions for real-time applications.
2D to 3D By The Morphic Studio
Integration with External Platforms
Export Options and Compatibility
Character Creator’s export capabilities extend your creative possibilities further than the Reallusion ecosystem. The software supports industry-standard formats, including FBX, which ensures compatibility with major 3D software packages and game engines.
For Unreal Engine integration, specialised connectors streamline the workflow and optimise character data for real-time rendering. These connectors handle complex technical aspects such as bone mapping and material conversion, allowing artists to focus on creative work rather than technical troubleshooting.
Blender integration offers another avenue for advanced users who want to combine Character Creator’s ease of use with Blender’s powerful modelling and animation tools. The export process maintains rigging and morphs, enabling perfect workflow continuation in Blender.
Character Creator vs. Traditional 3D Modeling
Feature
Character Creator
Traditional 3D Modeling
Learning Curve
Beginner-friendly, intuitive interface
Steep, requires extensive training
Character Creation Speed
Rapid, morph-based system
Time-consuming, manual sculpting
Rigging Complexity
Automatic rigging included
Manual rigging required
Texture Application
Built-in materials and presets
Manual texture creation and UV mapping
Animation Ready
Export-ready for animation
Additional setup required
Customization Magnitude
High, within morph parameters
Unlimited, complete creative control
File Compatibility
Optimized for Reallusion ecosystem
Universal format support
Hardware Requirements
Moderate, real-time feedback
High-end workstations for complex models
Cost Consideration
Subscription-based pricing
Often one-time purchase with add-ons
Asset Library
Extensive built-in library
Relies on external resources
Learning Resources and Community Support
Official Training Materials
Reallusion provides complete learning resources through their official training platform. These materials cover everything from basic interface navigation to advanced animation techniques. The structured approach ensures progressive skill development and helps users avoid common pitfalls.
Video tutorials offer visual learning experiences that demonstrate techniques in real-time. These tutorials are particularly valuable for following complex procedures and seeing professional workflows in action. The official tutorial series covers both Character Creator and iClone, providing complete pipeline coverage.
Community and Third-Party Resources
The YouTube community has created extensive playlists dedicated to Character Creator and iClone instructions. These resources often provide alternative perspectives on common challenges and showcase creative techniques developed by the user community.
Community forums serve as valuable troubleshooting resources and creative inspiration sources. Experienced users frequently share tips, custom assets, and workflow improvements that can significantly enhance your creative process.
Troubleshooting Common Challenges
Technical Issues and Solutions
Performance optimisation becomes crucial when working with complex characters and scenes. Monitor system resources and adjust quality settings to maintain smooth operation. Character Creator and iClone both offer performance scaling options that balance quality with system responsiveness.
Texture and material issues can often be resolved through careful attention to file formats and resolution settings. Ensure imported textures meet software requirements and consider texture compression for performance-critical applications.
Creative Problem-Solving
When a 2D reference doesn’t translate perfectly to 3D, focus on capturing the essence rather than exact replication. Sometimes, stylistic interpretation yields better results than literal translation. Experiment with different approaches and don’t be afraid to deviate from your original concept if the results improve the final character.
Character proportions may need adjustment when viewed from different angles in 3D space. What looks correct from the front view might appear distorted from the side. Regularly rotate your character view during creation to ensure consistency from all angles.
2D to 3D By The Morphic Studio
Future Considerations and Industry Trends
Emerging Technologies
The integration of artificial intelligence and machine learning into 3D character creation continues to evolve. Future versions of Character Creator and iClone may incorporate AI-assisted morphing and animation features that further streamline the creative process.
Real-time ray tracing technology promises to enhance rendering quality while maintaining interactive performance. This advancement will enable more realistic lighting and material representation during the creative process.
Industry Applications
The demand for 3D content continues to grow across various industries. Gaming, film, virtual reality, and social media platforms increasingly rely on 3D characters and animations. Mastering tools like Character Creator and iClone positions creators for success in these expanding markets.
Virtual production techniques, popularised by major film studios, are becoming more accessible to independent creators. iClone’s real-time rendering capabilities align well with these emerging production methods.
Finally
The transition from 2D to 3D animation represents a significant creative leap that opens new possibilities for storytelling and visual expression. iClone and Character Creator provide an accessible pathway for this transformation, removing traditional barriers and enabling creators to focus on their artistic vision rather than technical constraints.
Success with these tools depends on following their strengths and integrating them effectively into your creative workflow. Character Creator excels at rapid character development and customisation, while iClone provides powerful animation and scene composition capabilities. Together, they form a complete solution for 3D content creation.
The investment in learning these tools pays dividends across multiple project types and course paths. Whether you’re an independent artist, game developer, or content creator, the skills developed through Character Creator and iClone remain relevant and valuable in the ongoing energetic statistical environment.
As you embark on your 2D to 3D ride, think of how proficiency comes through practice and experimentation. Start with simple projects to build familiarity with the interface and workflows. Gradually increase complexity as your skills develop, always maintaining focus on the creative goals that drive your work.
The future of statistical content creation continues to evolve, but the fundamental principles of good character design and storytelling remain constant. iClone and Character Creator provide the technical foundation; your creativity and artistic vision provide the soul. Together, they enable the creation of compelling 3D characters that engage audiences and bring stories to life in ways that were previously accessible only to large studios with extensive resources.
Hold the learning process, grip the available resources, and most importantly, enjoy the creative ride from 2D concept to 3D reality. The tools are in your hands—the only limit is your imagination.
Building Immersive Worlds: Integrating 2D Animations into Unity Game Design
In the modern gaming environment, the distinction between “2D” and “3D” has blurred into a spectrum of stylistic choices rather than a hierarchy of quality. While 3D graphics often chase the horizon of photorealism, 2D animation remains the heart of expressive, artistic, and tactile game design. From the hand-drawn elegance of Cuphead to the pixel-perfect […]
March 6, 2026
Mastering Skeletal Animation in Unity: A Complete Guide for Developers
Imagine breathing life into a lifeless 3D model, watching it stride confidently across your game world or execute a flawless combat combo. That’s the magic of Skeletal Animation in Unity, a powerhouse system that powers everything from indie platformers to AAA blockbusters. At its heart, skeletal animation grips rigs and Unity’s Mecanim framework to deform […]
March 5, 2026
A Professional’s Handbook to Rigging and Animating 2D Assets in Unity
Game development is always changing, and the difference between 2D and 3D workflows is becoming less clear. If you have experience with 3D tools like Blender, Maya, or 3ds Max, Unity’s Animating 2D Assets package can help you make the switch to 2D more easily. Rather than using frame-by-frame sprite swapping, many developers now use […]