Animation has always been a captivating medium, bringing stories to life through moving images. With the advent of digitized tools, creating animations has become more accessible than ever. One such tool that has gained popularity among beginners is Pencil 2D Animation. This free, open-source software provides an intuitive plat configuration for aspiring animators to dive into the world of 2D animation. The Morphic Studio expert will help you to understand how to use Pencil 2D Animation software, covering everything from getting started to creating your first animation and leveraging advanced features.
Get Started with Pencil 2D Animation
How to Installation and Setup
Before diving into animation, you’ll need to install Pencil 2D Animation on your computer. Follow these steps:
Step#1.Visit the official Pencil 2D Animation D website.
Step#2.Negotiate to the download section.
Step#3.Choose the appropriate version for your operating system (Windows, macOS, or Linux).
Step#4.Download and run the installer.
Step#5.Follow the on-screen instructions to complete the installation.
Once installed, launch Pencil 2D to begin your animation ride.
How to Understand the User Interface
Upon opening Pencil 2D Animation, you’ll be greeted with a clean and straightforward interface. Familiarize yourself with the following basic elements:
Menu Bar: Located at the top, providing access to various functions and settings.
Timeline: Positioned at the bottom, displaying your animation frames.
Dockable Windows: Found on the left and right sides, housing tools, colors, and settings.
Canvas: The central expanse where you’ll create your animations.
Take some time to Investigate these elements, as they configuration the foundation of your animation workflow.
Pencil 2D Animation
How to Create Your First Animation With Pencil 2D Animation
Now that you’re familiar with the interface, let’s create a simple animation to get you started.
How to Set Up Your Project
Step#1.Create a new project by selecting File > New.
Step#2.Adjust the canvas size by double-clicking on the camera layer in the timeline.
Step#3.Set your desired frame rate (FPS) under Edit > Preferences > Timeline.
Draw Your First Frame
Step#1.Ensure you’re on the bitmap layer and frame 1 in the timeline.
Step#2.Select the pencil tool from the toolbar.
Step#3.Choose a color from the color palette.
Step#4.Draw a simple shape, such as a circle, in the middle of the canvas.
How to Add Basic frames and Create Motion
Step#1.Move to frame 2 in the timeline.
Step#2.Click the “Add Basic frame” button or press F6.
Step#3.Draw another circle slightly to the right of the first one.
Step#4.Repeat this process for several frames, gradually moving the circle across the canvas.
Preview Your Animation
Use the playback controls at the bottom of the timeline to preview your animation.
Adjust the timing or add more frames as needed to refine the motion.
Congratulations! You’ve just created your first Pencil 2D Animation.
Essential Tools and Features
To enhance your animation skills, familiarize yourself with these essential tools and features:
Draw Tools
Pencil: For freehand drawing with adjustable size and opacity.
Eraser: To remove unwanted parts of your drawings.
Brush: For creating smooth, pressure-sensitive strokes.
Fill: To quickly color large expanses.
Layers
Pencil 2D offers two types of layers:
Bitmap Layer: For raster graphics and traditional frame-by-frame animation.
Vector Layer: For creating smooth, scalable graphics.
Use layers to organize different elements of your animation and create depth.
Onion Skinn
Onion skinning is a crucial feature that allows you to see the previous and next frames while drawing. To enable it:
Step#1.Click the onion skin icon in the toolbar.
Step#2.Adjust the number of visible previous and next frames in the onion skin settings.
This feature helps maintain consistency and smooth motion in your animations.
Timeline Management
Master these timeline functions to streamline your workflow:
Add/Remove Frames: Use the + and – buttons to add or remove frames.
Copy/Paste Frames: Right-click on a frame to copy and paste it.
Extend/Shorten Frame Duration: Click and drag the edge of a frame in the timeline.
Advanced Techniques
As you become more comfortable with Pencil 2D Animation, Investigate these advanced techniques to raise your animations:
Tween
Tweening allows you to create smooth transitions between basic frames automatically. While Pencil 2D Animation doesn’t have built-in tweening, you can achieve a similar effect by:
Creating basic frames for the start and end positions of an object.
Manually drawing intermediate frames to create smooth motion.
Lip Sync
For character animations with dialogue:
Step#1.Import your audio file into Pencil 2D Animation.
Step#2.Use the wave configuration in the timeline to identify basic mouth positions.
Step#3.Create separate layers for the character’s body and mouth.
Step#4.Animate the mouth layer to match the audio.
Rotoscope
Rotoscoping involves tracing over live-action footage to create realistic animations:
Import a video file into Pencil 2D Animation.
Create a new layer above the video layer.
Trace over each frame of the video to create your animation.
Exporting and Sharing Your Animation
Once you’ve completed your animation, it’s time to share it with the world:
Step#1.Go to File > Export > Movie/Video.
Step#2.Choose your desired configuration at (e.g., MP4, AVI, GIF).
Step#3.Adjust export settings such as resolution and frame rate.
Step#4.Select a save location and export your animation.
Step#5.Tips for Improving Your Animation Skills
To continue growing as an animator, consider these tips:
Study real-world movement and physics to make your animations more believable.
Practice gesture drawing to capture the essence of motion quickly.
Experiment with different frame rates to achieve various effects.
Join networked animation communities to share your work and get feedback.
Analyze professional animations to learn new techniques and styles.
Finally
Pencil 2D Animation offers a fantastic entry point into the world of 2D animation. By mastering its tools and features, you can bring your creative visions to life. Remind that animation is both an art and a skill—it takes time and practice to improve. Stay patient, keep experimenting, and most importantly, have fun with your animations!
Table: Pencil 2D Basic board Shortcuts for Improved Workflow
Function
Basic board Shortcut
New File
Ctrl + N
Open File
Ctrl + O
Save File
Ctrl + S
Undo
Ctrl + Z
Redo
Ctrl + Shift + Z
Cut
Ctrl + X
Copy
Ctrl + C
Paste
Ctrl + V
Select All
Ctrl + A
Deselect All
Ctrl + D
Play/Stop Animation
Enter
Go to Previous Frame
,
Go to Next Frame
.
Add Frame
F6
Duplicate Frame
F5
Remove Frame
Shift + F5
Toggle Onion Skin
O
Pencil Tool
P
Eraser Tool
E
Select Tool
V
Move Tool
Q
Hand Tool (Pan)
H
Zoom In
Ctrl + +
Zoom Out
Ctrl + –
Reset Zoom
Ctrl + 0
This table provides a quick reference for essential basic board shortcuts in Pencil 2D Animation. Memorizing these shortcuts can significantly speed up your animation workflow, allowing you to focus more on creativity and less on navigating menus.
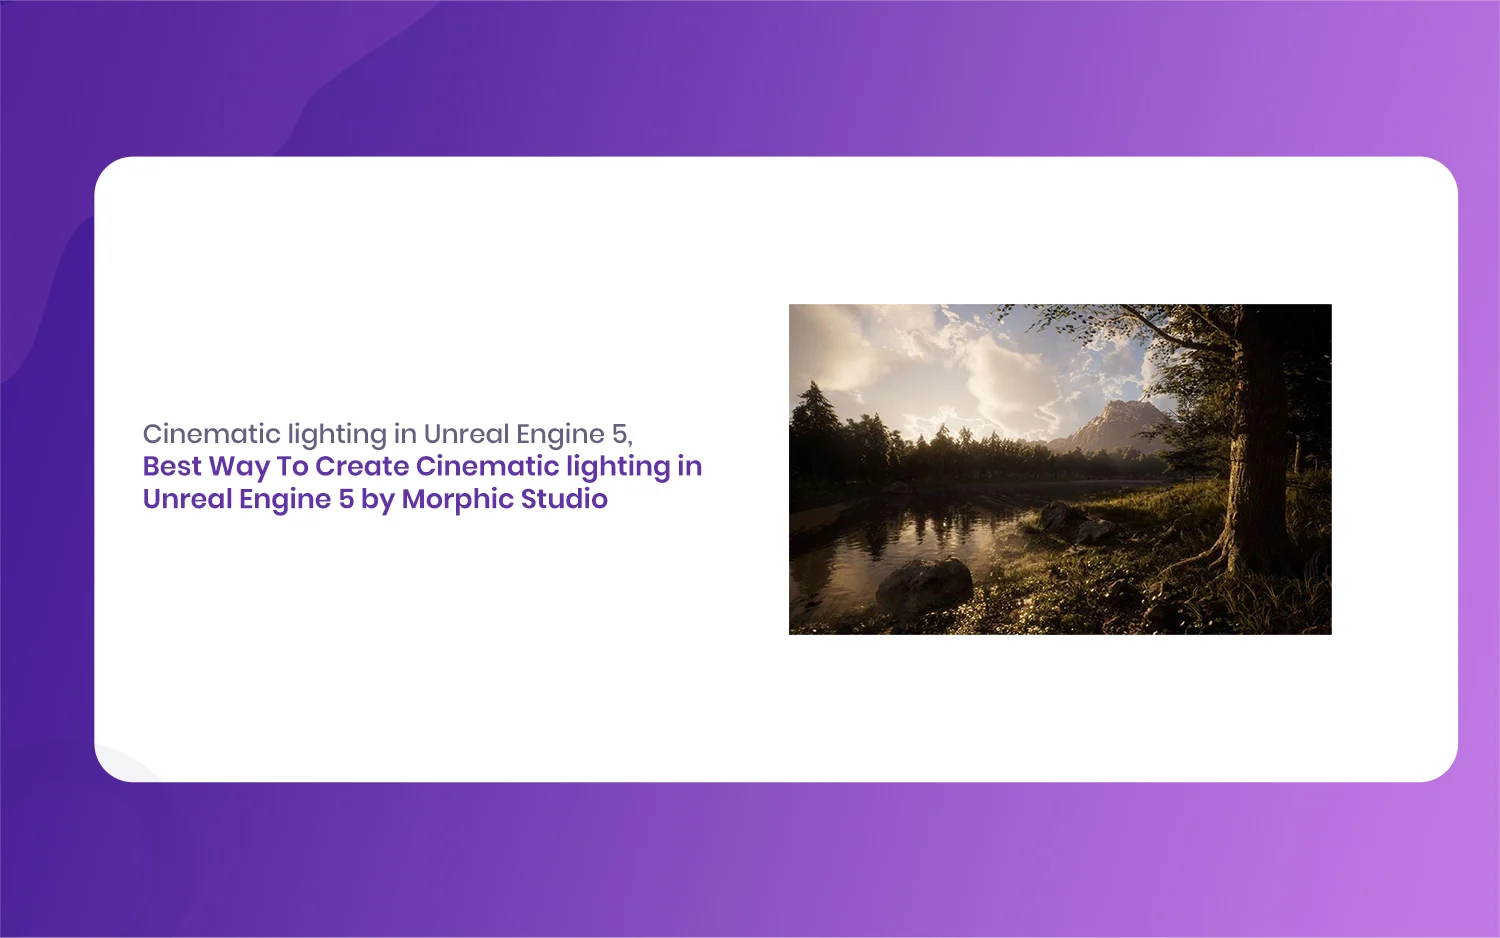
Best Way To Create Cinematic lighting in Unreal Engine 5 by Morphic Studio [Tutorial]
The Magic of Cinematic lighting in Unreal Engine 5 Have you ever looked at a beautifully rendered game or a virtual film set and wondered how they make it look so incredibly real? Well, the answer almost always comes down to the lighting. Today, we are going to take a look at the magic of […]
July 20, 2026
How To Add Lighting Realistic Rainy Weather in Unreal Engine 5 [Tutorial]
Lighting a stormy environment in Unreal Engine 5 is one of the most rewarding challenges for any 3D environment or lighting artist. Many beginners think that adding rain is as simple as spawning a splash particle system and turning down the sun, but the real secret lies in how light interacts with moisture, clouds, and […]
July 18, 2026
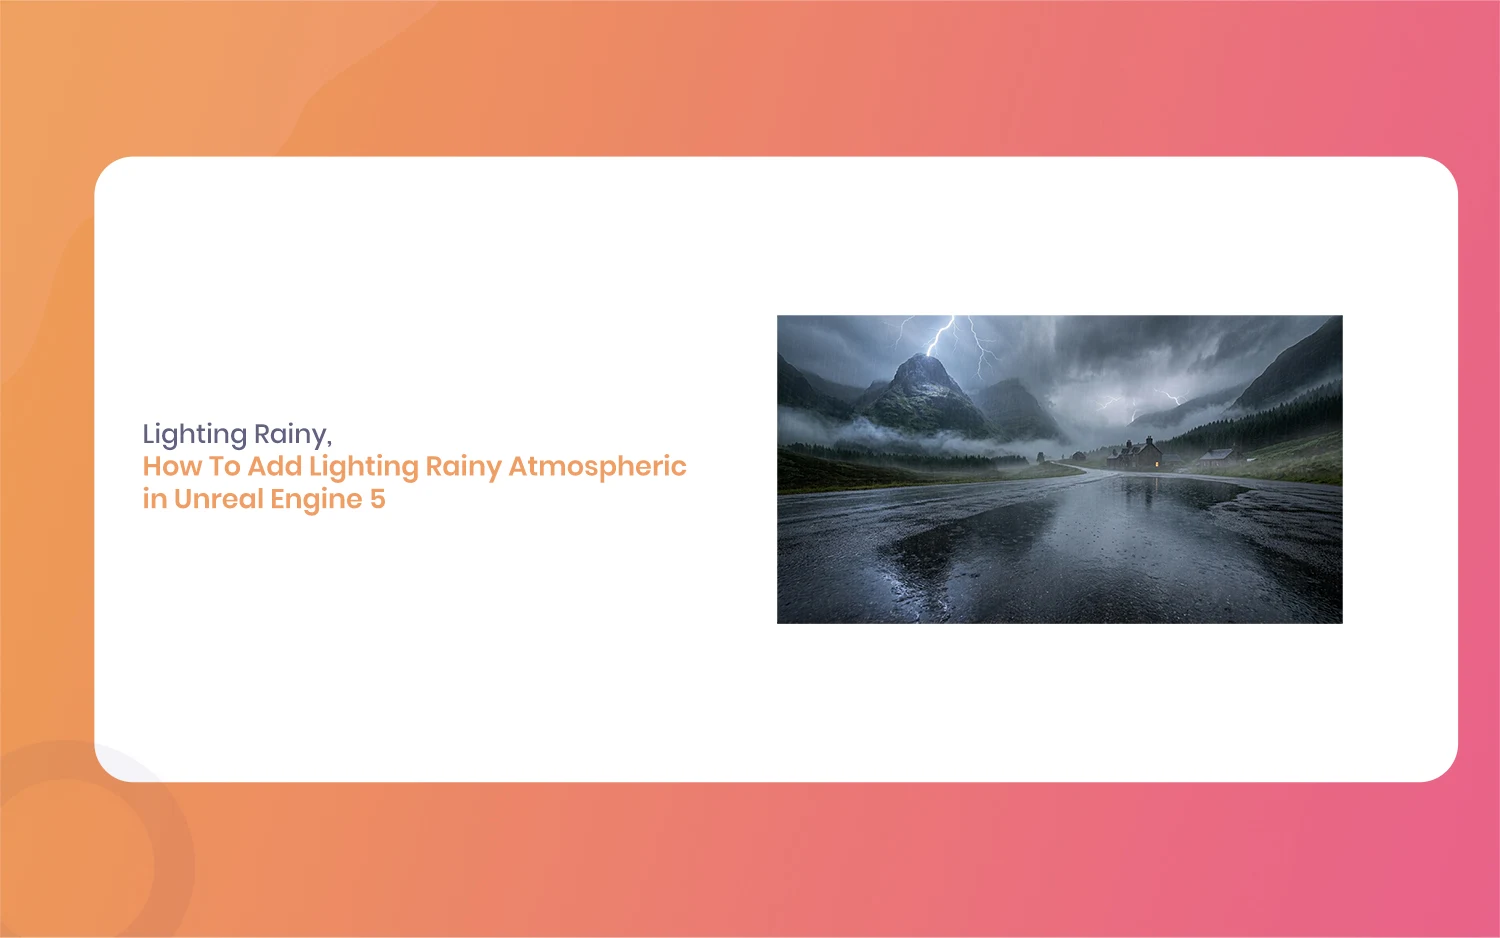
How To Add Lighting Rainy Atmospheric in Unreal Engine 5 [Tutorial]
Hello everyone, and welcome to this new guide. If you are a game developer or a 3D artist, you probably know how important weather is. Creating a moody scene can completely change how a player feels. Today, we are going to look at something very specific. We are going to learn how to add Lighting […]