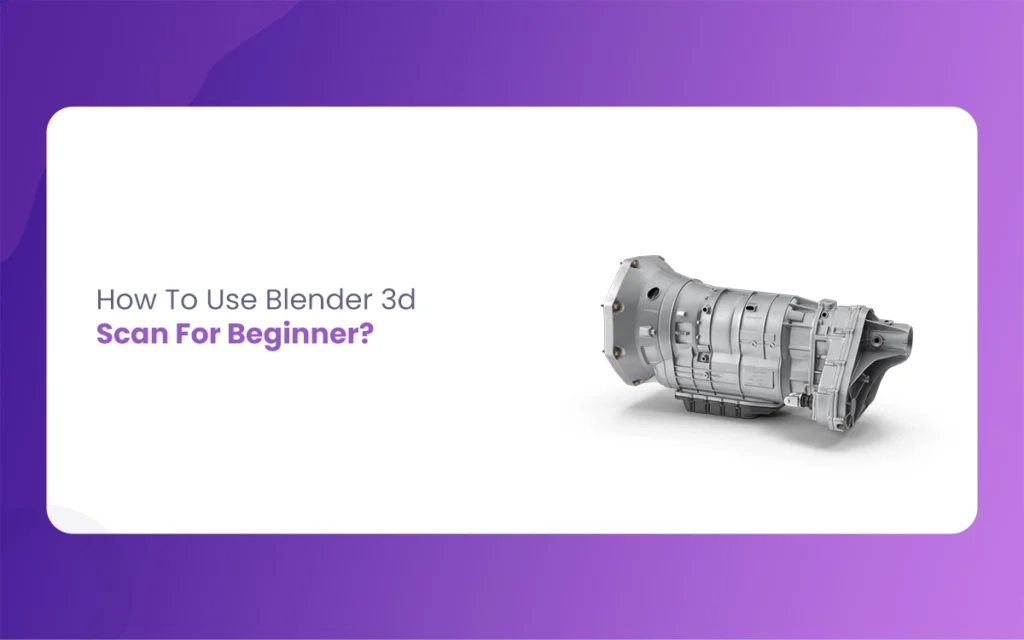
3D scanning has revolutionized the way we capture and recreate physical objects in the statistical world. In whatever way, raw Blender 3D Scan often requires cleanup and optimization before they become usable. The Morphic Studio shares the process of using Blender, a powerful open-source 3D software, to clean and enhance your Blender 3D Scan.
Follow the Basics of 3D Scan Processing
Before diving into the technical aspects, it’s essential to follow that 3D scan processing involves converting raw scan data into a workable 3D model. This process requires attention to detail and patience, for the most part for beginners. The goal is to transform potentially imperfect scan data into a clean, usable 3D model while preserving the original object’s basic features.
Essential Equipment and Software Requirements
To successfully work with Blender 3D Scan, you’ll need:
Component
Requirement
Notes
Computer
Modern CPU with dedicated GPU
Minimum 8GB RAM suggested
Blender Version
2.8 or higher
Latest version preferred for best features
Storage Space
10GB minimum
For software and working files
Input Formats
STL, OBJ, PLY
Most common 3D scan formats
Mouse
3-button mouse
Essential for efficient navigation
Step-by-Step Guide to Processing Your 3D Scan
1. Importing and Preparing Your 3D Scan
The ride begins with properly importing your scan data into Blender. This crucial first step sets the foundation for all subsequent work. Start by launching Blender and familiarizing yourself with the interface.
Furthermore, proper preparation involves:
Clearing the default scene by pressing A to select all objects and then X to delete them
Setting up your workspace by switching to the “Layout” workspace
Configuring your viewport settings for optimal visibility
2. Initial Setup and Navigation
Once you’ve imported your scan, Become proficient in navigation is crucial. Blender uses a unique navigation system that, while initially challenging, becomes intuitive with practice. Essential navigation controls include:
Middle mouse button for orbital rotation Shift + middle mouse button for panning Mouse wheel for zooming Numpad 1, 3, and 7 for front, side, and top views respectively
3. Cleaning and Optimizing the Mesh
This phase focuses on improving the quality of your 3D scan. The process involves several basic steps:
Mesh Inquiry
Begin by examining your imported model for common issues:
Holes in the mesh
Non-manifold geometry
Inverted normal
Duplicate vertices
Basic Cleanup Operations
After identifying issues, proceed with these cleanup steps:
Remove duplicate vertices:
Select all vertices (A)
Press M and select “By Distance”
Fix mesh orientation:
Recalculate normal (Shift + N)
Verify consistent face orientation
4. Advanced Mesh Refinement
Once basic cleanup is complete, move on to more sophisticated refinement techniques:
Using the Sculpt Mode
Sculpt mode offers powerful tools for refining your mesh:
Smooth brush for evening out rough expanse
Grab brush for adjusting specific regions
Clay strips for adding or removing material
Applying Modifiers
Blender’s modifier system provides non-destructive ways to improve your mesh:
Subdivision Surface Modifier:
Increases mesh density
Smooths out sharp edges
Shrinkwrap Modifier:
Conforms mesh to target surface
Helps in filling holes
5. Optimizing for Final Use
The final stage involves preparing your model for its intended use:
Retopology
For complex models, retopology might be necessary:
Create a new, clean mesh following the original’s contours
Focus on efficient edge flow
Maintain detail while reducing polygon count
UV Unwrapping
If texturing is required:
Mark seams at appropriate edges
Unwrap the mesh for proper texture mapping
Optimize UV layout for efficient texture space usage
Blender 3D Scan By The Morphic Studio
Best Practices and Common Pitfalls
Best Practices
Regular saving and versioning of your work
Working with a copy of the original scan
Using appropriate modifier stacks
Maintaining realistic detail magnitudes
Common Pitfalls to Avoid
Over-smoothing that loses important details
Incorrect modifier ordering
Ignoring non-manifold geometry
Skipping the cleanup phase
Advanced Tips for Better Results
To achieve professional-quality results:
Use Reference Images
Import reference photos of the original object
Range them properly in your viewport
Use them to verify accuracy
Hold Blender’s Add-ons
3D Print Toolbox for mesh inquiry
Hard Ops for hard surface modeling
Mesh: F2 for better topology tools
Finally
Become proficient in Blender 3D Scan opens up numerous possibilities in 3D modeling, from creating game assets to preparing models for 3D printing. While the learning curve might seem steep initially, the systematic approach define in this guide provides a solid foundation for beginners.
Think of that becoming proficient at 3D scan processing takes time and practice. Start with simple projects and gradually work your way up to more complex ones. Keep exploring Blender’s features and stay updated with the latest tools and techniques in the field.
2D Character Animation for Explainer Videos: 7 Proven Secrets to Captivating Audiences | The Morphic Studio
Are you struggling to keep your audience engaged when explaining a complex product or service? You are definitely not alone. In today’s fast paced statistical environment, grabbing attention is hard, but holding it is an entirely different challenge. This is exactly where the magic of visual storytelling comes into play. If you want to make […]
July 31, 2026
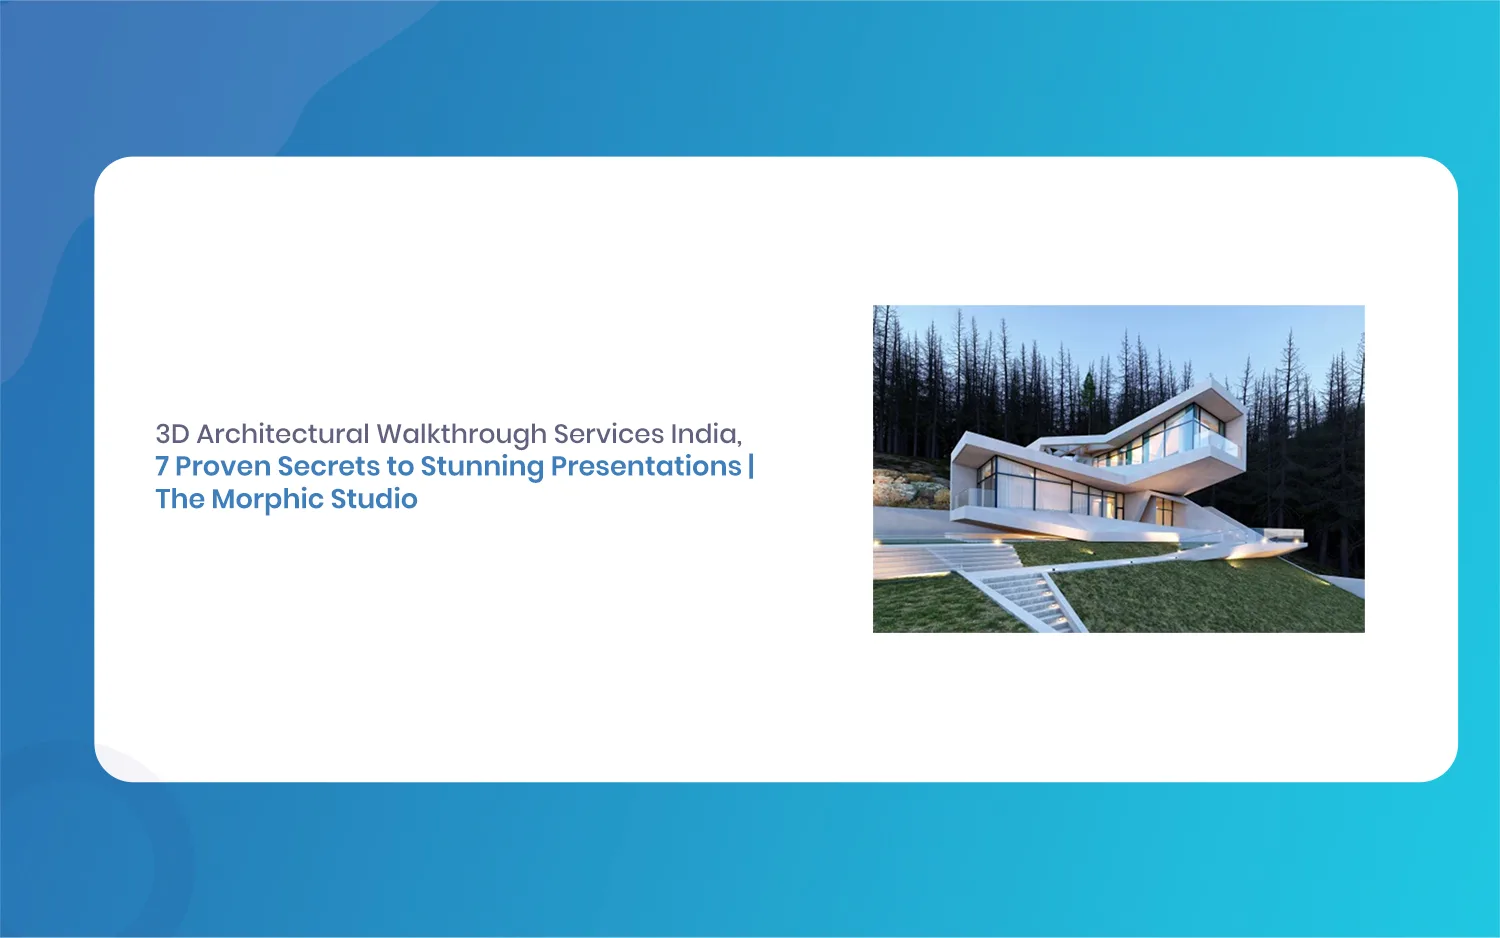
3D Architectural Walkthrough Services India: 7 Proven Secrets to Stunning Presentations | The Morphic Studio
Welcome to the absolute future of real estate and architectural presentations. As we step deeper into 2026, 3D Architectural Walkthrough Services India the way we showcase properties has completely changed. Gone are the days when a simple, flat image could win over an investor or a homebuyer. Today, audiences crave movement, emotion, and realism. They […]
July 29, 2026
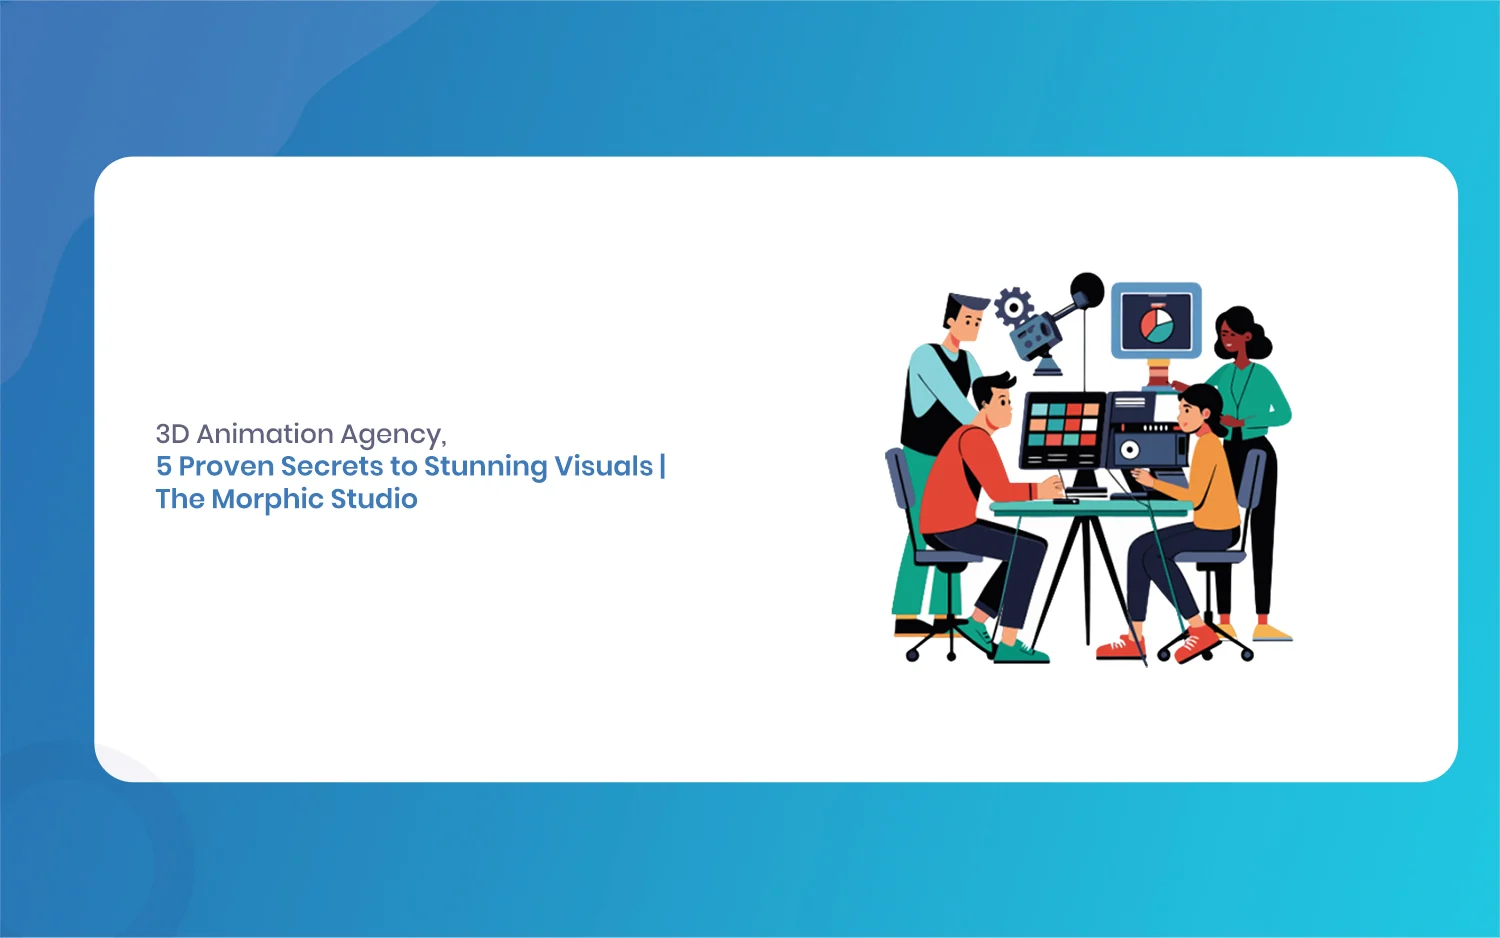
3D Animation Agency: 5 Proven Secrets to Stunning Visuals | The Morphic Studio
Welcome to the future of statistical art. In 2026, the statistical environment is changing faster than ever before. If you want to grab the attention of your audience, you need more than just simple flat images or basic videos. People today expect providing, breathtaking visuals that tell a compelling story. This is exactly where a […]