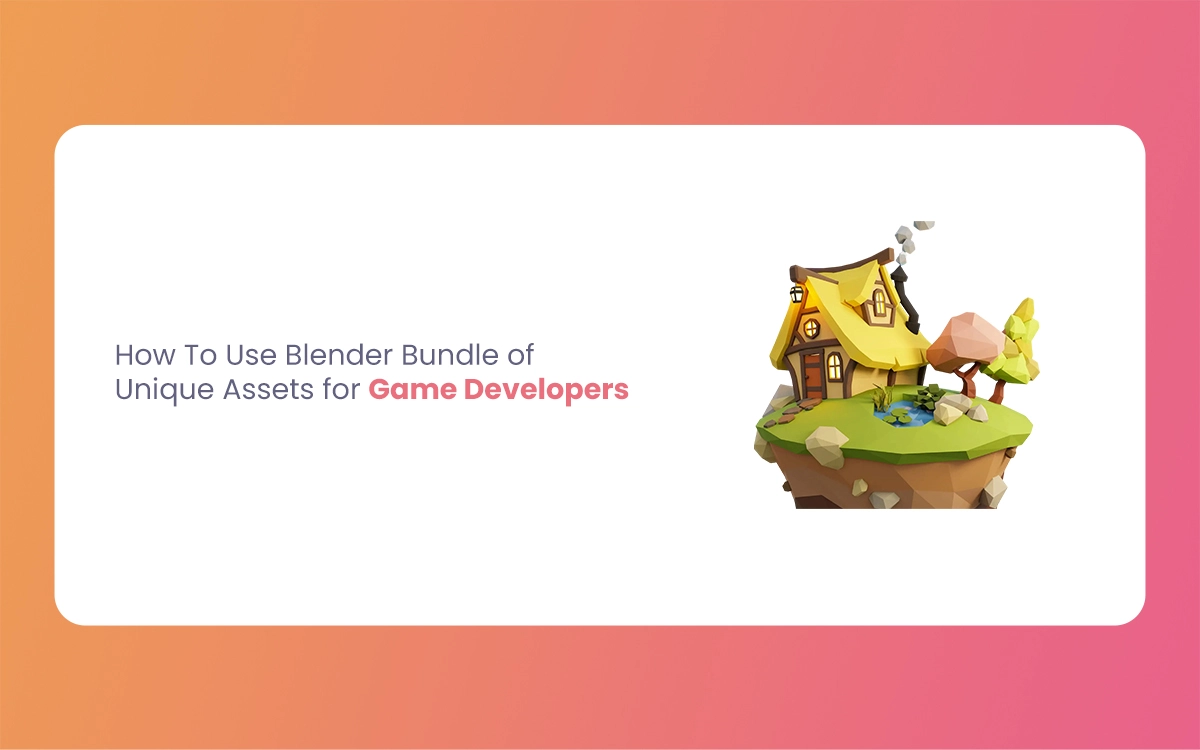
Game development is a complex process that demands both creativity and technical skills. One way to streamline this process is by utilizing asset Blender Bundle—collections of pre-made 3D models, materials, and textures that can significantly accelerate development. Blender, as one of the most powerful free 3D creation suites, serves as an excellent platform for working with these assets before implementing them in your game engine.
The Morphic Studio shares information about the workflow of using Blender Bundle asset bundles effectively in your game development projects, from import to final integration.
Importing Assets into Blender
The first step in utilizing asset Blender Bundle is getting them into your Blender environment. Blender offers strong and healthy importing capabilities that make this process straightforward.
Accessing the Asset Browser
Before importing, ensure that Blender’s Asset Browser is accessible:
Open Blender and negotiate to the “Editors” menu at the top of any panel
Select “Asset Browser” from the dropdown menu
Alternatively, you can change any panel to the Asset Browser by clicking the icon in the panel’s upper-left corner and selecting “Asset Browser”
Bulk Import Process
For efficient workflow, importing multiple assets simultaneously is preferable:
In the Asset Browser, locate and click the “Import” button
Negotiate to your asset bundle folder
Select the files you wish to import (.blend, .fbx, .obj, etc.)
Configure import settings based on your needs:
Choose between importing as individual objects or as a combined mesh
Set scale and orientation options
Configure bone and animation options for rigged models
Click “Import” to bring the assets into your Blender scene
Post-Import Organization
After importing:
Assets will appear in your Asset Browser, categorized by type if properly tagged
Review the imported assets in your scene or Collection panel
Consider creating a dedicated collection for your imported assets to keep your scene organized
Organizing and Customizing Assets
Proper organization is crucial for efficient workflow, for the most part when working with numerous assets.
Grouping and Parenting
To keep your scene manageable:
Create empty objects to serve as parent containers (Shift+A > Empty > Plain Axes)
Select related assets, then select the empty object last
Press Ctrl+P and choose “Object” to parent the assets to the empty
Name your empty objects descriptively (e.g., “Environment_Props,” “Characters,” “Vehicles”)
This hierarchical organization makes it easier to select, move, and modify groups of related assets together.
Adjusting Asset Origins
Proper origin placement ensures assets position correctly in your game engine:
Select the asset you wish to adjust
Set the 3D cursor to the desired origin point (typically at the base of the object or at its center)
Right-click and select “Set Origin” > “Origin to 3D Cursor”
For consistent placement, consider placing all similar assets’ origins at their base center points
Customization Techniques
Most asset bundles will require some customization to fit your game’s attractive:
Mesh Editing:
Enter Edit Mode (Tab basic) to modify vertices, edges, and faces
Use tools like bevel, extrude, and loop cut to refine shapes
Consider the modular nature of game assets when making edits
Applying Modifiers:
Add modifiers like Subdivision Surface for smoother surfaces
Use Array for repeating elements
Apply Bevel modifiers for realistic edge says
Think of to apply modifiers before exporting to game engines
UV Adjustments:
Enter UV Editing workspace to review and adjust texture coordinates
Ensure UV islands are properly unwrapped and spaced
Pack UVs efficiently to maximize texture resolution
Texturing and Material Assignment
High-quality textures and materials are essential for making your assets visually appealing.
Working with the Shader Editor
Open the Shader Editor in a panel
Select your asset to view its material
If no material exists, create one by clicking “New”
Build your material node network based on your texturing needs:
Connect Image Texture nodes to your Principled BSDF shader
Adjust parameters like roughness, metallic, and specular qualities
Implementing PBR Materials
Physically Based Rendering (PBR) provides realistic materials that respond accurately to lighting:
Gather or create your PBR texture maps:
Base Color/Albedo (diffuse color information)
Roughness (surface smoothness)
Normal (surface detail without adding geometry)
Metallic (metallic vs. non-metallic surfaces)
Ambient Occlusion (subtle shadowing in recesses)
Height/Displacement (geometric detail)
Connect these maps to the appropriate inputs in your Principled BSDF shader:
Base Color map to Base Color input
Roughness map to Roughness input
Normal map through a Normal Map node to Normal input
Metallic map to Metallic input
For complex materials, consider using mix shaders to blend multiple material types
Texture Baking
For performance optimization, baking high-resolution details onto low-poly models is essential:
Create both high-poly (detailed) and low-poly (game-ready) versions of your asset
Set up proper UVs on the low-poly version
Select the high-poly object first, then the low-poly object
In the Render Properties panel, select the Bake type (Normal, Diffuse, etc.)
Configure bake settings such as ray distance and cage size
Click “Bake” to generate texture maps that capture high-poly details
Blender Bundle By The Morphic Studio
Optimizing Assets for Game Engines
Game assets must be optimized for real-time rendering to ensure smooth gameplay.
Polygon Reduction
Lower polygon counts improve performance:
Select your asset and enter Edit Mode
Use the Decimate modifier to reduce polygon count while preserving shape:
Set the Ratio to gradually reduce faces (typically 0.5-0.8 for moderate reduction)
Use Planar mode for flat surfaces
Alternatively, use the Retopology tools for manual optimization:
Create a new object
Enable Snap to Face with Project Individual Elements
Manually create a new, optimized topology over the original model
UV Unwrapping
Clean UVs ensure proper texture application:
Select your model and enter Edit Mode
Select all faces (A basic)
Under the UV menu, choose an appropriate unwrapping method:
“Unwrap” for organic shapes
“Smart UV Project” for complex mechanical objects
“Cube Projection” for cube-like objects
In the UV Editor, organize UV islands to maximize texture space
Minimize UV stretching and overlapping
Normal Map Baking
Creating normal maps from high-poly models:
Place your high-poly and low-poly models in the same position
Select the high-poly model first, then the low-poly model
In the Render Properties panel, set Bake Type to “Normal”
Set Ray Distance appropriate to your model scale
Enable “Selected to Active”
Click “Bake” to generate the normal map
Save the resulting image for use in your game engine
Exporting Assets
Properly exporting assets ensures compatibility with your target game engine.
Export Format Selection
Choose the appropriate format based on your game engine:
Game Engine
Suggested Format
Alternative Format
Unity
FBX
OBJ, GLTF/GLB
Unreal Engine
FBX
OBJ, GLTF/GLB
Godot
GLTF/GLB
OBJ, FBX
Custom Engines
OBJ
FBX, GLTF/GLB
WebGL Applications
GLTF/GLB
OBJ
Export Settings Configuration
Select the objects you want to export
Go to File > Export and choose your format
Configure the following settings:
Scale: Typically 1.0 for most engines
Forward/Up Axes: Adjust based on your engine (Z-up for Blender, Y-up for many game engines)
Include: Selected Objects only
Geometry: Apply Modifiers, Smooth Groups, Edge Creases as appropriate
Animation: Include if needed
Save the export to your project’s assets folder
Pre-Export Checklist
Before finalizing your export:
Verify object origins are correctly positioned
Apply all modifiers (Ctrl+A > “Visual Geometry to Mesh”)
Ensure UVs are properly unwrapped and non-overlapping
Check that materials are correctly assigned
Verify polygon count is appropriate for your target platform
Ensure object names are clear and follow your project’s naming conventions
Importing into Game Engines
The process varies slightly between engines, but follows similar principles.
Unity Import Process
Drag your exported files into Unity’s Project window
Select the imported model and configure in the Inspector:
Scale Factor: Adjust if needed (typically 1.0)
Generate Colliders: Enable for environmental objects
Material Creation: Choose between Model, Legacy, or Standard
For materials:
Create Material assets in Unity
Assign your baked textures to appropriate channels
Adjust material properties like smoothness and metallic values
Unreal Engine Import Process
Import using the Content Browser (Import or drag and drop)
In the import dialog:
Set appropriate scale
Configure skeletal mesh settings if applicable
Set material import options
For materials:
Create Material assets in the Material Editor
Connect texture maps to appropriate inputs
Create Master Materials and Material Instances for efficiency
Godot Import Process
Drag files into Godot’s FileSystem panel
Configure import settings:
Adjust scale and orientation
Set up animation and armature options if needed
For materials:
Create SpatialMaterial or ShaderMaterial resources
Connect texture maps to appropriate parameters
Adjust material properties like roughness and metallic values
Final Tweaks and Integration
The final step involves placing your assets in the game world and make certain they work as expected.
Placement and Scene Integration
Position assets in your game scenes according to your design
Group related assets using the engine’s organizational tools
Set up appropriate lighting to showcase your assets effectively
Create prefabs/blueprints/scenes of common asset arrangements for reuse
Performance Testing
Ensure your assets perform efficiently:
Monitor frame rate when multiple assets are present
Check for draw calls and batch where possible
Verify LOD (Magnitude of Detail) setup if implemented
Test on target hardware to ensure performance meets requirements
Visual and Functional Refinement
Adjust materials in-engine if necessary
Verify that collisions work properly for interactive objects
Ensure animations blend correctly if applicable
Check assets under different lighting conditions
Verify asset scale relative to player character or other reference objects
Complete Asset Management Workflow Table
Phase
Blender Actions
Game Engine Actions
Basic Considerations
Asset Import
• Access Asset Browser • Use bulk import feature • Configure import settings • Organize in collections
• Import files in engine-specific format • Configure import settings • Set up initial organization
Using Blender Bundle can significantly streamline your game development process, allowing you to focus more on gameplay and unique features rather than building every asset from scratch. The basis for success lies in establishing a systematic workflow that transitions smoothly from Blender to your game engine.
By following the steps define in this guide, you can efficiently:
Import assets into Blender
Organize and customize them to fit your game’s needs
Apply professional texturing and materials
Optimize them for game performance
Export them correctly for your target engine
Integrate them perfectly into your game world
Think of that asset Blender Bundle is meant to be a starting points—don’t hesitate to customize them to make them uniquely yours. With practice, you’ll develop an efficient pipeline that allows you to grip these resources while maintaining your game’s distinctive style and vision.
The most successful game developers find the right balance between utilizing ready-made assets and creating custom elements, allowing them to work efficiently without sacrificing their creative vision.
Brochure design agency: 10 Unbeatable Tips to Massively Boost Conversions, The Morphic Studio
Welcome to The Morphic Studio. If you think Brochure design agency are a thing of the past, you might want to reconsider. In the fast paced statistical world of 2026, a physical or well crafted statistical brochure is a powerful tool to stand out. It gives your brand a premium feel and builds deep trust […]
July 10, 2026
CGI Video Animation Company In Ahmedabad: 10 Mind-Blowing Trends to Massively Boost Sales, The Morphic Studio
This is exactly where a professional CGI video animation company in Ahmedabad comes into the picture. Videos created with computer graphics just have a special way of pulling people right in. At The Morphic Studio, we have seen first hand how 3D graphics can completely change a brand. It does not matter if you sell […]
July 9, 2026
Logo animation company: 10 Jaw-Dropping Styles to Skyrocket Engagement, The Morphic Studio
The statistical world is moving faster than ever before. In the year 2026, having a simple picture for your brand is just not enough to grab the attention of your audience. This is exactly where the magic of movement comes into play. This is why choosing the right creative partner is so incredibly important for […]