Animation in Blender has developed and progressed dramatically with the introduction of Animate with Geometry Nodes, transforming how artists approach motion graphics and procedural animation. This powerful node-based system transforms traditional keyframe animation into a flexible, data-driven workflow that opens unprecedented creative possibilities. Whether you’re creating abstract motion graphics, complex particle systems, or organic animations, Geometry Nodes provides the tools to achieve stunning results with mathematical precision and artistic control.
The beauty of Animate with Geometry Nodes lies in its procedural nature. Instead of manually setting keyframes for every aspect of your animation, you create intelligent systems that respond to time, mathematical functions, and custom parameters. This approach not only saves time but also enables non-destructive workflows where you can experiment and iterate without losing your work.
Follow the Foundation of Geometry Nodes Animation
The Model Shift from Traditional Animation
Traditional animation in Blender relies heavily on keyframes, where you manually set specific values at particular points in time. Geometry Nodes fundamentally changes this approach by treating animation as a mathematical problem to be solved through interconnected nodes. Each node performs a specific function, from providing time data to manipulating geometry, creating a visual programming environment that’s both powerful and intuitive.
The system operates on the principle of data flow, where information passes from one node to another, transforming and increasing as it moves through your node network. This creates inherently parametric animations, meaning you can adjust values and see immediate results throughout your entire animation sequence.
Core Concepts and Workflow Philosophy
Animate with Geometry Nodes operates on several fundamental concepts that distinguish it from traditional methods. The system treats geometry as data that can be manipulated, transformed, and animated through mathematical operations. Every point, edge, and face becomes part of a larger dataset that responds to your node network’s instructions.
The procedural nature means rules rather than explicit keyframes define your animations. You establish connections between time, geometry, and mathematical functions, creating systems that generate animation automatically based on your parameters. This approach scales incredibly well, allowing you to animate thousands of objects with the same effort required for animating a single element.
Animate with Geometry Nodes By The Morphic Studio
Driving Animation with Scene Time: The Heart of Procedural Motion
Follow the Scene Time Node
The Scene Time node serves as the primary driver for all temporal aspects of your Animate with Geometry Nodes. This essential node outputs the current frame number or time in seconds, providing the foundation upon which all time-based animations are built. Following how to effectively use Scene Time is crucial for creating compelling procedural animations.
When you add a Scene Time node to your network, you gain access to two primary outputs: Frame, which provides the current frame number as an integer, and Seconds, which gives you the time elapsed in decimal seconds. The choice between these outputs affects how your animation behaves and scales, with frame-based animations remaining consistent regardless of frame rate changes, while second-based animations maintain temporal accuracy.
Implementing Basic Time-Driven Animation
Creating your first time-driven animation involves connecting the Scene Time node to geometry manipulation nodes. For instance, to animate an object moving along the X-axis, you would connect the Scene Time output to a Math node for speed control, then feed the result into a Set Position node’s X input. This simple chain creates a smooth, linear motion that you can easily modify by adjusting the Math node’s multiplication factor.
The elegance of this approach becomes apparent when you realize that changing the speed, direction, or timing of your animation requires only parameter adjustments rather than re-keyframing. You can experiment with different mathematical operations—addition for offset, sine functions for oscillation, or power operations for acceleration curves—all while maintaining complete control over your animation’s characteristics.
The Map Range node functions as a translator between different value systems in your animation network. This node takes input values from one range and proportionally maps them to another range, providing essential control over animation timing and intensity. Follow Map Range is crucial for creating animations that start and end at specific frames while maintaining smooth interpolation throughout.
Consider animating a rotation that should complete exactly one full turn over 120 frames. By mapping frame 0 to 0 degrees and frame 120 to 360 degrees, the Map Range node ensures your rotation timing remains precise regardless of how you might later adjust other animation parameters. This mapping approach provides consistency and predictability in complex animation systems.
Animate with Geometry Nodes By The Morphic Studio
Advanced Range Mapping Techniques
Further on, than basic linear mapping, the Map Range node offers interpolation options that dramatically affect your animation’s character. Linear interpolation creates constant-speed animation, while smooth interpolation provides ease-in and ease-out curves that feel more natural and professional. The stepped interpolation option creates discrete value changes, perfect for creating rhythmic or mechanical animation effects.
You can also use multiple Map Range nodes in series to create complex timing connections. For example, mapping frames 0-60 to values 0-1, then mapping those values to 0-10 for a different parameter, creates nested timing controls that allow for sophisticated animation choreography.
Animating Instances: Scaling Animation Across Multiple Objects
The Power of Instance-Based Animation
One of Geometry Nodes’ most impressive capabilities lies in its ability to animate hundreds or thousands of objects simultaneously through instance-based animation. This approach treats each duplicated object as an individual entity with unique properties while maintaining computational efficiency that would be impossible with traditional keyframe animation.
The foundation of instance animation rests on the Index node, which provides each instance with a unique identifier number. This number becomes the basis for creating variation and timing offsets across your instances, enabling complex choreographed movements that would require enormous amounts of manual work using traditional methods.
Creating Staggered and Offset Animations
Staggered animations create wave-like effects across multiple instances by introducing time delays based on each instance’s index value. By adding the Index output to your Scene Time value, each instance starts its animation at a slightly different time, creating cascading effects that ripple through your geometry.
The mathematical connection between index values and timing creates endless possibilities for creative expression. Multiplying the index by small values creates subtle delays, while larger multipliers produce more dramatic staggering effects. You can even use mathematical functions like sine or cosine on the index values to create complex spatial-temporal connections that respond to both position and time.
Advanced Instance Manipulation Techniques
Further on, than simple staggering, you can create sophisticated instance behaviors by combining multiple animation systems. Using the Index node to drive different aspects of each instance’s animation—position, rotation, scale, or color—creates rich, complex motions that maintain visual coherence while exhibiting organic variation.
Texture nodes like Noise or Wave Texture become powerful tools when applied to instance animation. By using the index or position data to sample these textures, you create a procedural variation that adds natural randomness or structured patterns to your animated instances. This approach scales infinitely, maintaining performance regardless of instance count.
Animate with Geometry Nodes By The Morphic Studio
Procedural Animation with Constraints and Physics
Simulating Natural Movement
Geometry Nodes enables sophisticated constraint-based animations that simulate natural phenomena like chain movement, rope energetics, or organic growth patterns. These systems use mathematical connections to maintain realistic behavior while providing artistic control over the simulation parameters.
Creating a chain simulation involves establishing distance constraints between sequential points and using vector mathematics to calculate forces and reactions that maintain the chain’s integrity while allowing natural movement. The system can respond to external forces, gravity, or animated anchor points, creating believable physical behavior through pure mathematical operations.
Simulation Zones and Advanced Energetics
Blender’s simulation zones within Geometry Nodes provide frameworks for creating complex energetic systems. These zones allow you to define rules for how geometry should behave over time, creating animations that develop progress and respond to changing conditions rather than following predetermined paths.
Within simulation zones, you can implement collision detection, force calculations, and state management that create truly energetic animations. Objects can interact with each other, respond to environmental conditions, and exhibit come-out behaviors that arise from the interaction of simple rules applied consistently over time.
Creating Perfect Looping Animations
The Mathematics of Perfect Loops
Perfect loops require careful attention to the mathematical connections between your animation’s start and end states. The basic lies in make certain that all animated parameters return to their initial values at the loop point while maintaining smooth motion throughout the cycle.
The most reliable approach involves animating parameters through complete mathematical cycles. For instance, animating a Noise Texture’s W input from 0 to 2π (or using sine functions with complete wavelengths) ensures that the noise pattern perfectly connects at the loop point. This mathematical approach eliminates the trial-and-error often associated with creating loops manually.
Advanced Looping Strategies
Complex loops often require multiple parameters to cycle at different rates, creating rich, non-repetitive motion that maintains perfect loop characteristics. By using different frequencies for different animation aspects—position cycling every 60 frames while rotation cycles every 80 frames—you create animations that appear varied and organic while maintaining their loop integrity.
Phase connections between different animated elements can create sophisticated visual rhythms. Offsetting the phase of various animation components by specific amounts creates complex interference patterns that add visual interest while preserving the underlying loop structure.
Building Custom Node Groups for Reusable Animation Systems
Developing Animation Libraries
Custom node groups transform frequently used animation patterns into reusable assets that streamline your workflow and maintain consistency across projects. These groups encapsulate complex node networks into single, parameterized units that you can easily modify and reuse.
Creating a custom node group for oscillating movement, for example, might include inputs for frequency, amplitude, phase offset, and direction. Once built, this group becomes a building block for more complex animations, allowing you to focus on creative decisions rather than repetitive technical implementation.
Parameterization and Interface Design
Well-designed custom node groups feature intuitive interfaces that expose the most important creative parameters while hiding technical complexity. The interface design process requires careful consideration of which parameters artists will most likely want to adjust, balancing control with simplicity.
Effective parameterization often involves creating high-magnitude controls that affect multiple underlying parameters simultaneously. A single “intensity” slider might control amplitude, frequency, and variation simultaneously, providing intuitive control over complex animation behaviors.
Professional motion graphics often require precise timing, smooth transitions, and sophisticated visual effects that would be extremely time-consuming to create manually. Geometry Nodes provides the tools to create these systems efficiently while maintaining complete creative control.
Consider creating an animated logo reveal where text elements slide into position with varying delays, scales, and rotations. Using the Index node to identify each letter, combined with Map Range nodes for timing control and mathematical functions for motion curves, creates professional-quality animation with easily adjustable parameters.
Organic and Natural Animation Patterns
Nature provides endless inspiration for procedural animation systems. From the growth patterns of plants to the flocking behavior of birds, natural phenomena often follow mathematical rules that translate beautifully into Geometry node animations.
Creating a procedural tree growth animation involves combining noise-based variation with constraint systems that maintain realistic branch connections. The animation can respond to environmental parameters like light direction or wind strength, creating energetic, believable natural motion.
Animate with Geometry Nodes By The Morphic Studio
Optimization and Performance Considerations
Efficient Node Network Design
Performance optimization in Geometry Nodes animation requires Follow how node evaluation affects rendering speed. Expensive operations like high-resolution noise sampling or complex mathematical calculations can significantly impact playback performance, particularly when applied to large numbers of instances.
Strategic node placement and evaluation order can dramatically improve performance. Calculating expensive operations once and reusing the results, rather than recalculating for each instance, maintains visual quality while improving speed. Caching intermediate results and using lower-resolution previews during development helps maintain responsive workflows.
Balancing Quality and Performance
Professional animation workflows require finding the optimal balance between visual quality and computational performance. This balance shifts depending on whether you’re in the development, preview, or final rendering phases, requiring flexible systems that can adapt to different quality requirements.
Magnitude-of-detail systems can automatically adjust animation complexity based on viewing distance or rendering requirements. Objects far from the camera might use simplified animation systems, while hero objects receive full-detail treatment, optimizing computational resources for maximum visual impact.
Basic Nodes Reference Table
Node Category
Node Name
Primary Function
Animation Usage
Best Practices
Time/Data
Scene Time
Provides current frame/time
Foundation for all temporal animation
Always use as base for time-driven effects
Time/Data
Index
Unique identifier per instance
Creates variation and offsets
Combine with math operations for staggering
Utilities
Map Range
Remaps values between ranges
Controls animation timing and intensity
Use for normalizing and scaling values
Geometry
Set Position
Moves geometry procedurally
Primary tool for position animation
Combine with vector math for complex paths
Math
Math
Mathematical operations
Speed, amplitude, and offset control
Essential for creating animation curves
Texture
Noise Texture
Procedural variation patterns
Organic and random motion effects
Animate input coordinates for movement
Texture
Wave Texture
Structured wave patterns
Rhythmic and periodic animations
Control frequency and phase for timing
Vector
Vector Math
Vector operations
Direction and magnitude calculations
Critical for 3D animation systems
Input
Value
Provides numeric input
Manual parameter control
Use for tweaking animation characteristics
Converter
Separate/Combine XYZ
Vector component manipulation
Isolate and control individual axes
Essential for complex 3D animations
Troubleshooting Common Animation Issues
Timing and Synchronization Problems
Animation timing issues often stem from misFollow how frame rates affect Scene Time output. When animations appear too fast or slow, check whether you’re using frame-based or time-based calculations, and ensure your mathematical operations account for your project’s frame rate.
Synchronization problems between different animated elements usually result from phase connection errors. Carefully examine the timing offsets and mathematical connections between different parts of your animation system to identify where synchronization breaks down.
Performance and Stability Challenges
Complex animation systems can sometimes produce unstable results or performance problems. These issues typically arise from recursive calculations, excessive subdivisions, or mathematical operations that produce extreme values. Implementing safeguards like value clamping and reasonable parameter limits prevents these problems.
Memory management becomes crucial in large-scale animation systems. Monitor your system’s memory usage and implement strategies like instancing, magnitude-of-detail systems, and efficient geometry management to maintain stable performance throughout long animation sequences.
Mastering the Art of Procedural Animation
Animate with Geometry Nodes represents a fundamental shift in how we approach motion graphics and animation in Blender. By embracing procedural workflows and mathematical thinking, artists gain access to animation capabilities that would be impossible or prohibitively time-consuming using traditional methods.
The ride to mastering Animate with Geometry Nodes requires patience, experimentation, and a willingness to think mathematically about motion and timing. Start with simple examples like the basic position animation described in this guide, then gradually build complexity as you become comfortable with the node-based workflow.
The true power of Animate with Geometry Nodes comes out when you begin combining multiple systems, creating complex behaviors from simple rules, and developing your library of reusable animation components. Each project becomes an opportunity to expand your toolkit and develop more sophisticated approaches to procedural animation.
Think of that Animate with Geometry Nodes is about creating systems rather than specific animations. The time invested in Following these systems pays dividends across all your future projects, enabling faster iteration, greater creative flexibility, and animation results that would be difficult or impossible to achieve through traditional methods.
As you continue developing your skills, focus on Following the mathematical connections that drive compelling animation. Experiment with different node combinations, study natural phenomena for inspiration and don’t hesitate to push the boundaries of what seems possible. The procedural animation capabilities of Geometry Nodes are limited only by your imagination and mathematical creativity.
The future of animation increasingly belongs to procedural workflows that combine artistic vision with computational power. By mastering Animate with Geometry Nodes, you’re positioning yourself at the forefront of this evolution, equipped with tools and knowledge that will remain relevant and valuable as animation technology continues to advance.
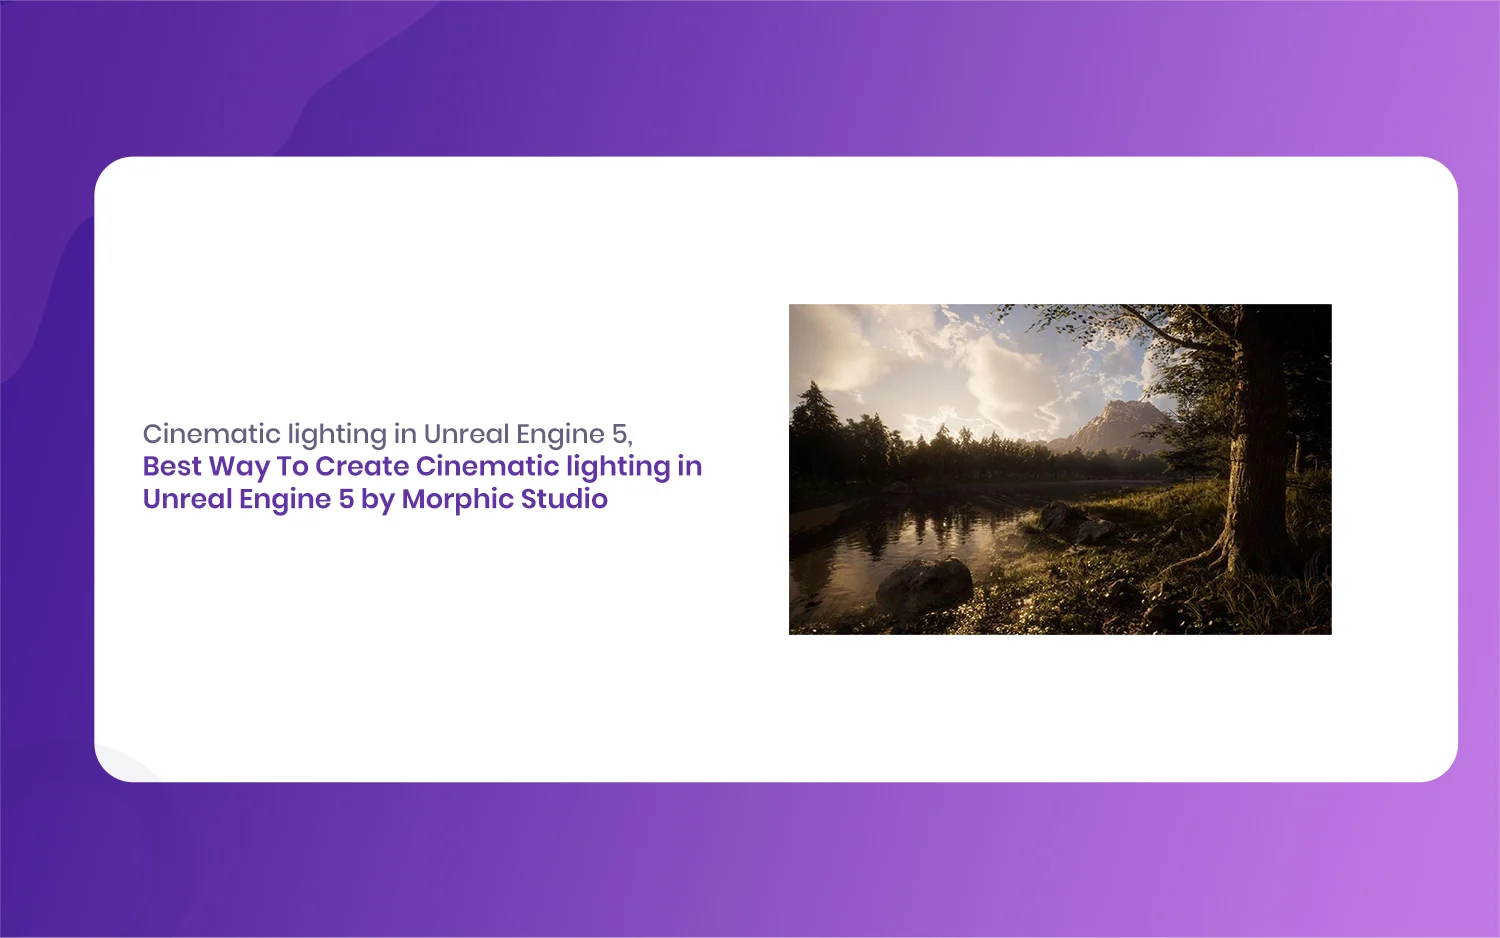
Best Way To Create Cinematic lighting in Unreal Engine 5 by Morphic Studio [Tutorial]
The Magic of Cinematic lighting in Unreal Engine 5 Have you ever looked at a beautifully rendered game or a virtual film set and wondered how they make it look so incredibly real? Well, the answer almost always comes down to the lighting. Today, we are going to take a look at the magic of […]
July 20, 2026
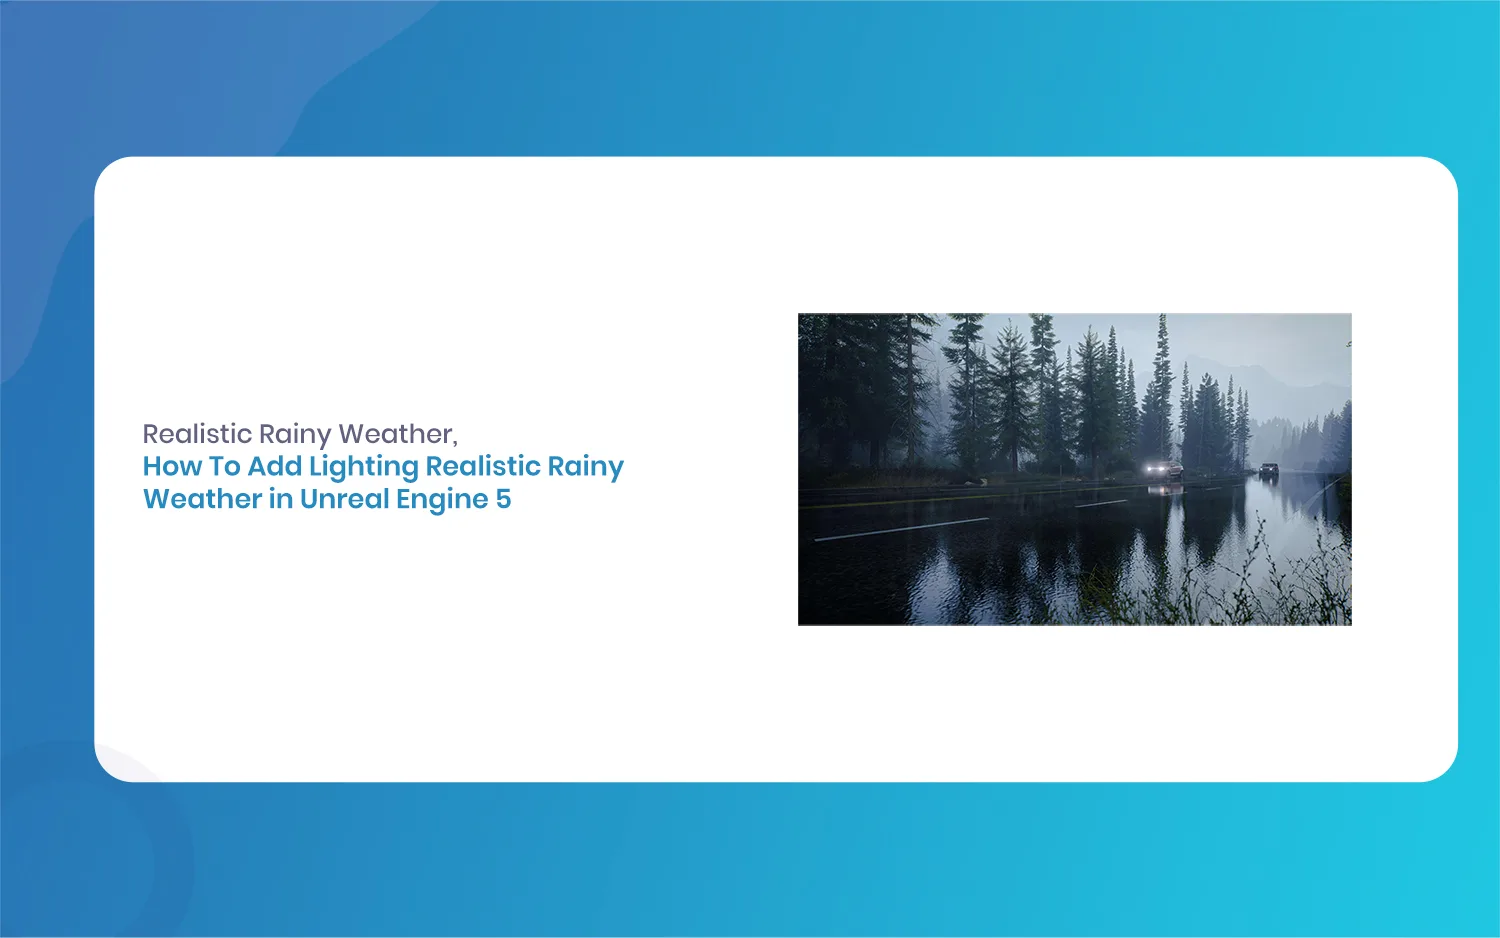
How To Add Lighting Realistic Rainy Weather in Unreal Engine 5 [Tutorial]
Lighting a stormy environment in Unreal Engine 5 is one of the most rewarding challenges for any 3D environment or lighting artist. Many beginners think that adding rain is as simple as spawning a splash particle system and turning down the sun, but the real secret lies in how light interacts with moisture, clouds, and […]
July 18, 2026
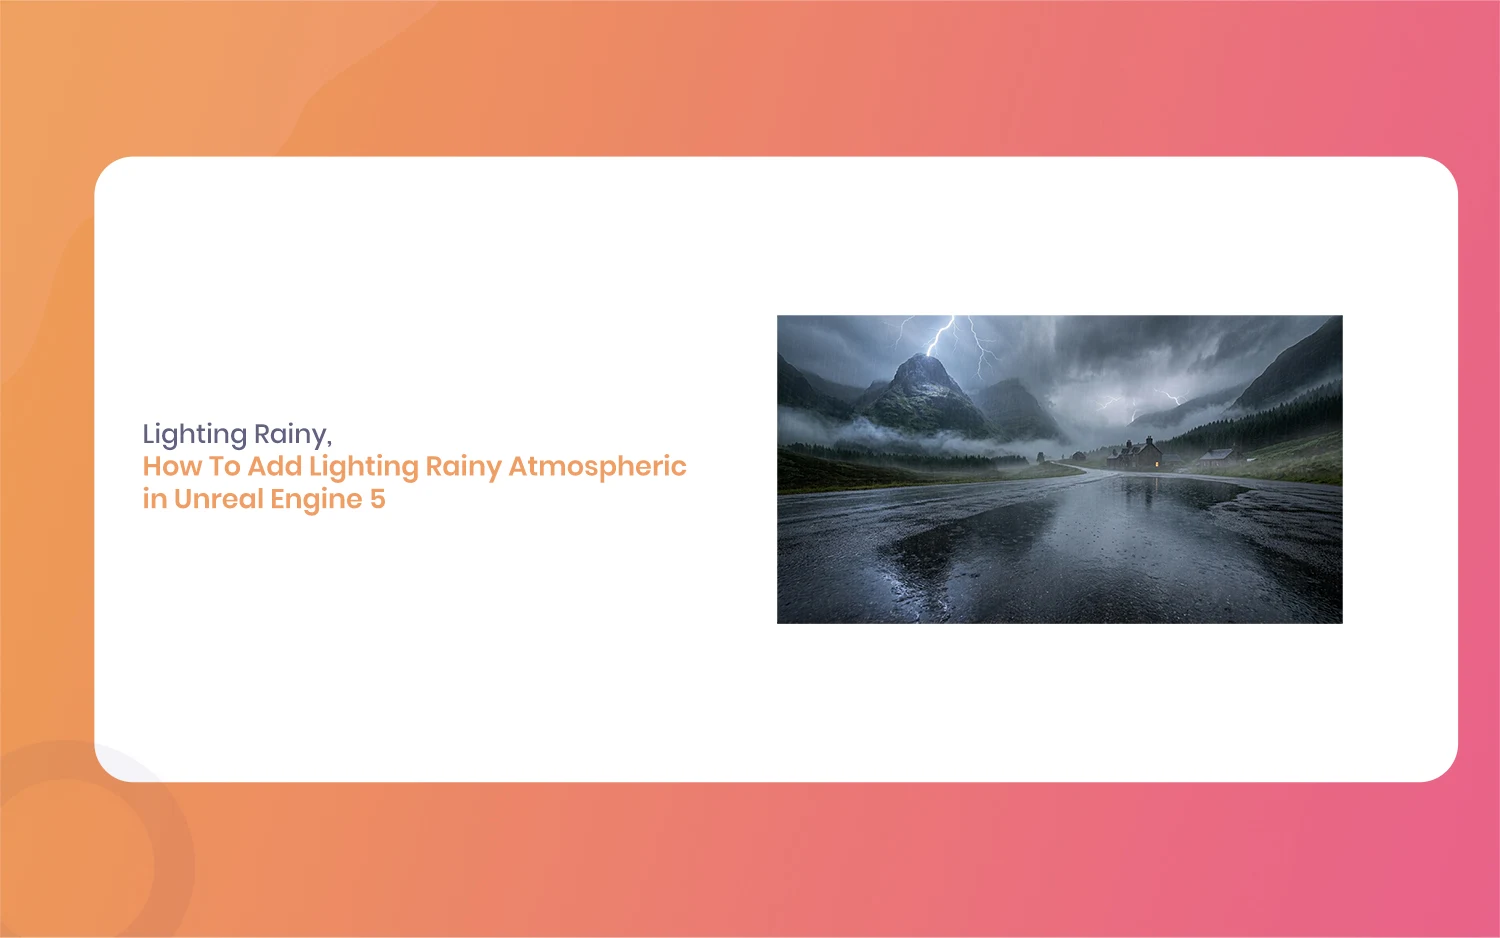
How To Add Lighting Rainy Atmospheric in Unreal Engine 5 [Tutorial]
Hello everyone, and welcome to this new guide. If you are a game developer or a 3D artist, you probably know how important weather is. Creating a moody scene can completely change how a player feels. Today, we are going to look at something very specific. We are going to learn how to add Lighting […]