Transitions are the secret sauce that can transform a good video edit into a professional-looking masterpiece. Adobe Premiere Pro Transitions is crucial for creating smooth, engaging visual narratives. The Morphic studio shares you the information about adding, customizing, and leveraging transitions to raise your video editing skills.
Follow Adobe Premiere Pro Transitions
Transitions are visual effects that bridge the gap between two video clips, helping to:
Create visual continuity
Convey emotional or narrative shifts
Enhance the general storytelling experience
Add professional polish to your video projects
Types of Transitions
Adobe Premiere Pro offers a variety of built-in transitions, each serving a unique purpose:
Transition Type
Best Used For
Emotional Impact
Cross Dissolve
Smooth scene changes
Subtle, gentle transition
Fade
Indicating time passage
Contemplative, reflective mood
Wipe
Directional scene shifts
Energetic, purposeful movement
Push
Energetic scene transitions
Momentum, progression
Zoom
Emphasizing dramatic moments
Dramatic, attention-grabbing
Step-by-Step Guide to Installing Transitions
1. Downloading Transitions
Sources for Transitions
Adobe Premiere Pro built-in library
Third-party transition packs
Professional plugin collections (e.g., Boris FX Sapphire)
Installation Process
Download transition files (typically in .zip format)
Unzip the downloaded package
Locate the Premiere Pro project files within the package
2. Importing Transitions into Premiere Pro
Detailed Import Steps
Launch Adobe Premiere Pro
Negotiate to File > Import
Select the transition project file
Choose Import Entire Project
Confirm the import, which typically creates a new folder in your project panel
Pro Tip: Always organize your imported transitions into clearly labeled folders for easy access.
3. Previewing Transitions
Before applying transitions to your project:
Right-click the transition in the project panel
Select Open in Source Monitor
Review the transition’s visual characteristics
Assess its suitability for your specific video style
Applying Transitions: Practical Techniques
Basic Transition Application
Method 1: Drag and Drop
Open the Effects Panel (Window > Effects)
Expand the Video Transitions folder
Locate desired transition
Drag transition between two adjacent timeline clips
Method 2: Basic board Shortcuts
Video Transitions: Control + D
Audio Transitions: Control + Shift + D
Advanced Transition Techniques
Duration Manipulation
Hover over transition edges
Click and drag to adjust length
Fine-tune transition speed and impact
Custom Transition Creation
Combine multiple video effects
Integrate sound effects
Create unique, personalized transitions
Pro Tips for Transition Mastery
Performance Considerations
Use transitions sparingly
Match transition style to video content
Maintain consistent transition theme
Troubleshooting Common Issues
Ensure no gaps between clips
Check transition compatibility
Verify video and audio sync
Adobe Premiere Pro Transitions By The Morphic Studio
Third-Party Transition Plugins
Advice Plugins
Boris FX Sapphire
Red Giant Effects Suite
NewBlue Transitions
BorisFX Continuum
Benefits of Third-Party Plugins:
Advanced transition effects
Unique visual styles
Professional-grade options
As Per The Morphic Studio
Mastering Adobe Premiere Pro Transitions is an art form that combines technical skill and creative vision. Following the nuances of different transition types, learning efficient application techniques, and exploring advanced options, you can transform your video edits from basic to extraordinary.
Basic Takeaways
Transitions are more than visual effects; they’re storytelling tools
Practice and experimentation lead to transition mastery
Always prioritize narrative flow over flashy effects
Final Advice
Start with built-in transitions
Gradually take a look at third-party plugins
Continuously refine your transition technique
Think of: The best transitions are often the ones viewers barely notice – perfect, elegant, and purposeful.
How To Become Expert In PSD Layers By Morphic Studio
Introduction The region statistical design, mastering PSD Layers (Photoshop Document) layers, is a fundamental skill that separates novice designers from seasoned professionals. With the advent of advanced tools like Morphic Studio, the traditional approach to layer management has developed and progressed significantly, offering designers unprecedented control and efficiency in their creative workflows. PSD layers serve […]
July 9, 2025
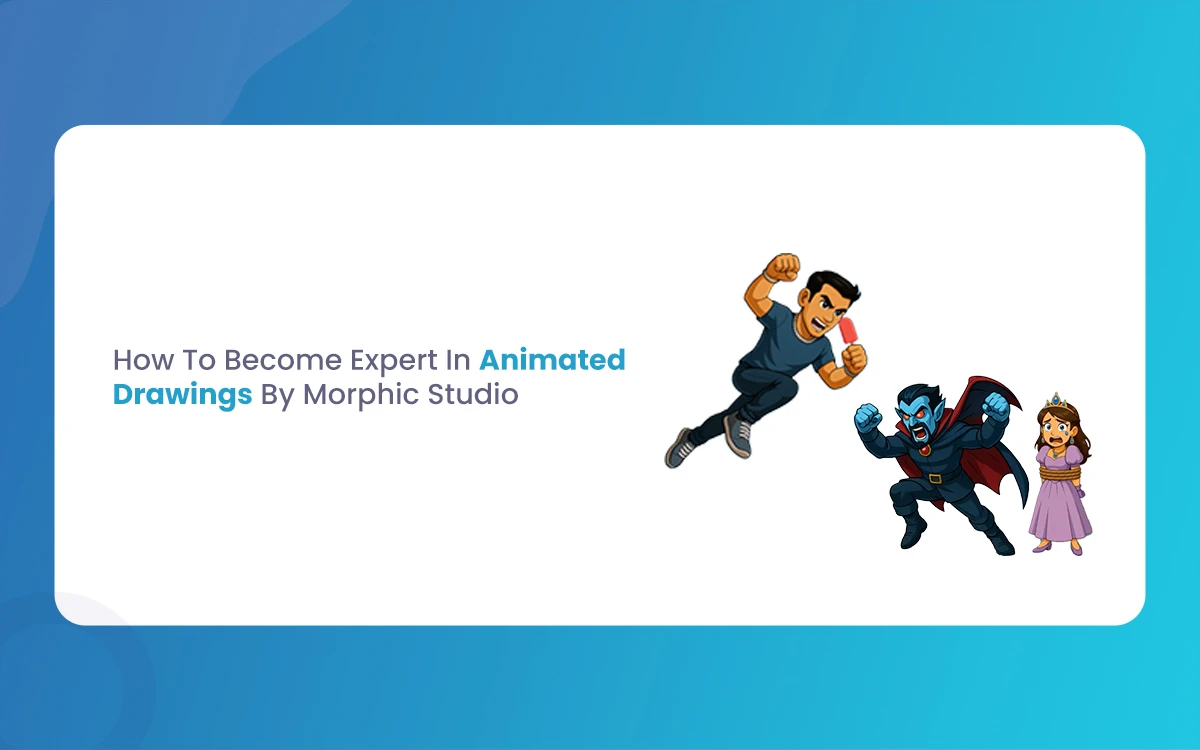
How To Become Expert In Animated Drawings By Morphic Studio
The world of animation has undergone a revolutionary transformation with the advent of artificial intelligence. Gone are the days when creating smooth, professional Animated Drawings required years of traditional training and painstaking frame-by-frame work. Morphic Studio stands at the forefront of this animation revolution, offering creators an AI-powered platform that democratises the art of animated […]
July 8, 2025
How to Use Iconography in Design Art For Beginner and Advanced
In today’s statistical-first world, effective communication often happens in milliseconds. Users scan interfaces, make split-second decisions, and negotiate complex systems with remarkable speed. At the heart of this rapid communication lies Iconography—the art and science of visual symbols that transcend language barriers and cultural differences. Whether you’re designing your first mobile app or refining a […]