Lighting a stormy environment in Unreal Engine 5 is one of the most rewarding challenges for any 3D environment or lighting artist. Many beginners think that adding rain is as simple as spawning a splash particle system and turning down the sun, but the real secret lies in how light interacts with moisture, clouds, and foggy air.If you leave your direct lights at default intensity, your scene will just look like a bright summer afternoon with strange drops falling from the sky. In this tutorial, we will walk step by step through creating lighting for Realistic Rainy Weather in Unreal Engine 5, using dynamic lighting tools like Lumen, Exponential Height Fog, and material roughness parameters.
Why Realistic Rainy Weather Lighting Depends on Atmosphere First
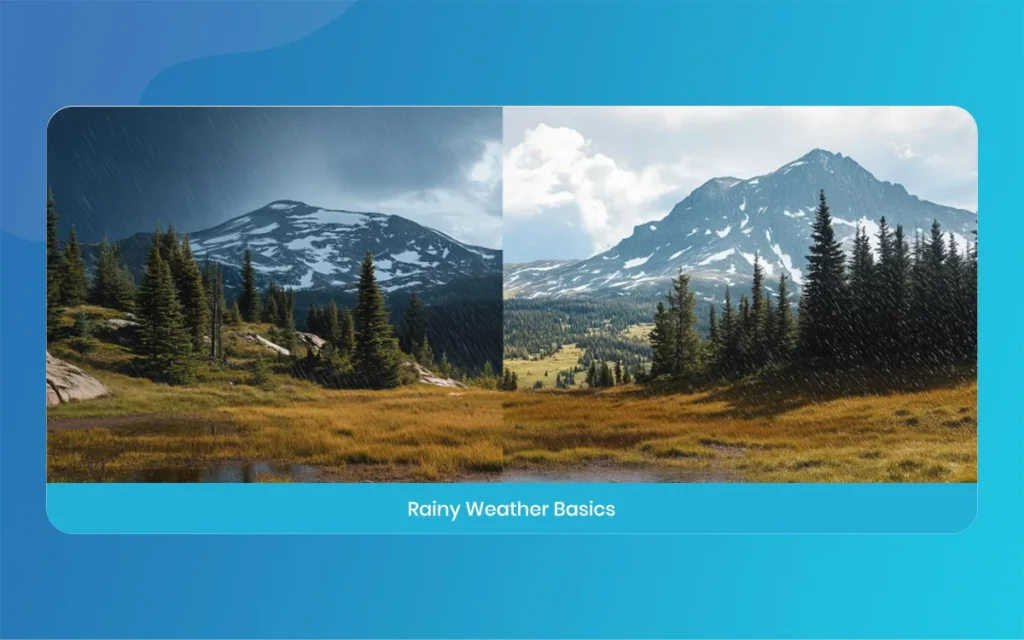
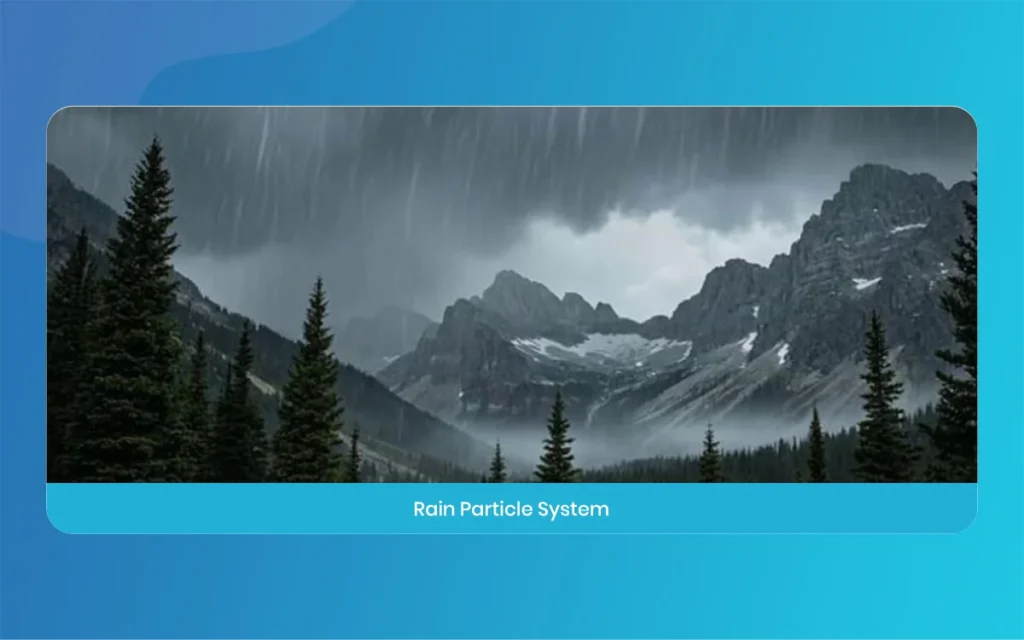
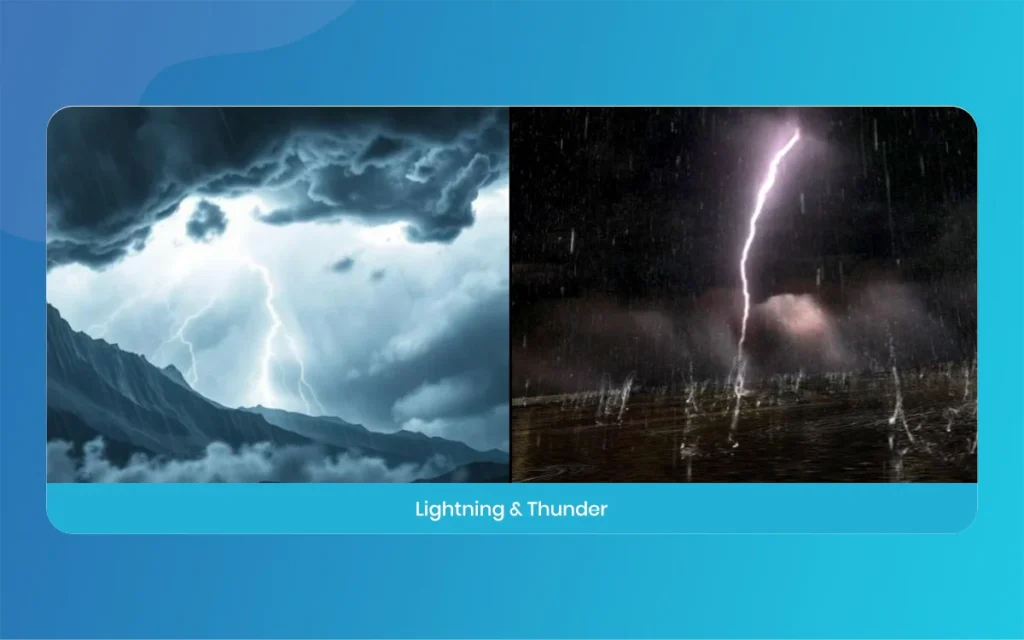
When you step outside during a heavy downpour, light behaves completely differently than it does on a clear day. The massive cloud layer overhead scatters sunlight in every direction, turning the sky into a giant, soft light box. There are almost no sharp shadows, and direct sunlight is heavily muted.
To capture true atmospheric depth in Unreal Engine 5, you have to prioritize global atmosphere before adding any local lamps or character lights. If your sky feels too bright or your shadows feel too crisp, no amount of rain particle effects will save the shot. We need to build a moody, diffused base so every puddle reflection and wet surface highlight stands out cleanly.
Realistic Rainy Weather
Step 1 – Setting Up Sky Atmosphere and Overcast Clouds for Realistic Rainy Weather
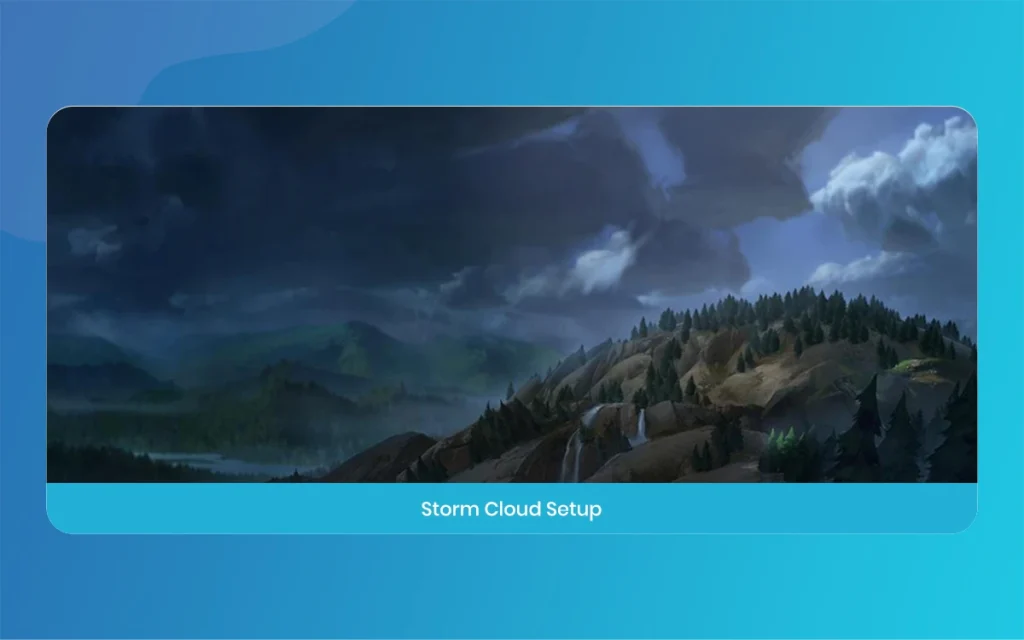
The first step in setting up Realistic Rainy Weather is controlling what is happening above your scene. Start by placing or selecting the Sky Atmosphere and Volumetric Cloud actors in your World Outliner. By default, Unreal Engine loads a crisp sky with light cloud cover, which we need to modify immediately.
Open the details panel for your Volumetric Clouds or cloud material instance. Increase the cloud coverage and cloud density parameters until the blue sky is completely blocked out. You want a heavy, dark gray canopy that looks heavy with rain. If you are using popular sky blueprints like Ultra Dynamic Sky, dial the rain cloud slider up to maximum. This creates the giant soft diffuser you need for realistic overcast illumination.
Step 2 – Calibrating Directional and Sky Lights for Realistic Rainy Weather
Now that the sky is covered, your sun light will still be far too strong if left at default settings. Select your Directional Light in the Outliner. The default intensity in Unreal Engine is usually set high, around 10 to 100 Lux depending on your template. For a stormy setting, drop this intensity value down drastically, somewhere between 0.5 and 2.0 Lux.
Next, tweak the color of your Directional Light toward a cool, muted slate gray or soft bluish shade. This instantly removes the warm golden tone of sunlight and gives your level a cold feeling.
Now select your Sky Light. Because Lumen calculates real time indirect bounces, make sure your Sky Light is set to Realtime Capture. The Sky Light will now gather ambient gray light from your dark clouds and distribute it evenly across shaded areas, keeping the entire scene balanced without super dark, pitch black shadows.
Realistic Rainy Weather
Step 3 – Using Volumetric Fog to Build Depth in Realistic Rainy Weather
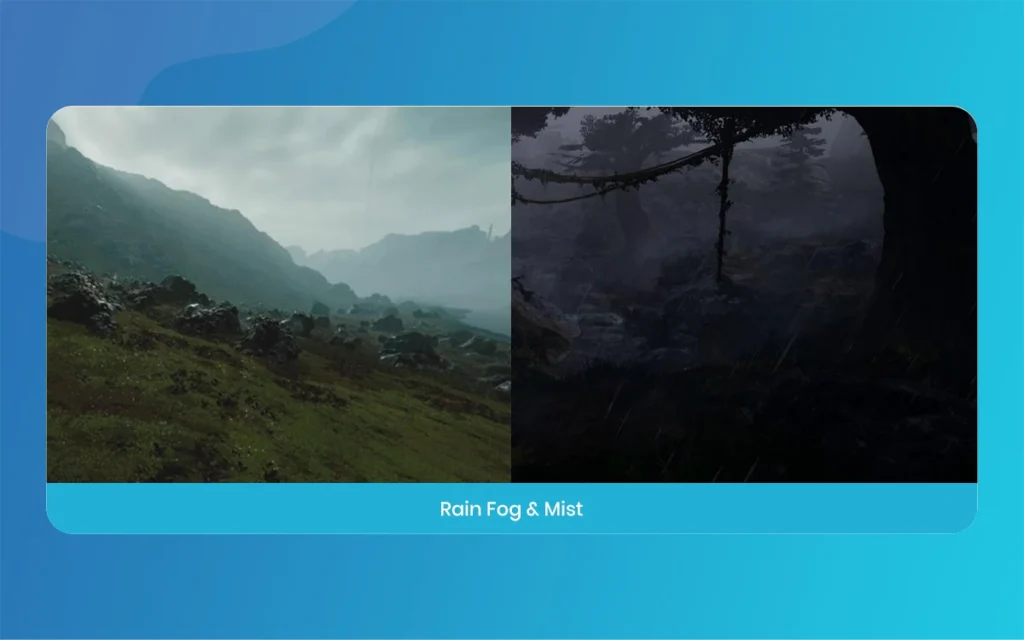
Rainy air is thick with suspended water droplets and mist, which means volumetric fog is essential for selling Realistic Rainy Weather. Add an Exponential Height Fog actor to your level if one is not already present, and enable the Volumetric Fog option in its settings panel.
Once Volumetric Fog is turned on, light beams from street lamps or vehicle headlights will scatter through the moisture in the air. Adjust the Fog Density to a moderate level, typically between 0.02 and 0.05, so distant objects fade softly into the haze without turning your entire screen into a wall of white.
Set the Fog Scattering Color to a cool, dark tint. This prevents the fog from glowing too brightly under ambient light. The fog acts as a visual separator, pushing background buildings further away and bringing your foreground focal points forward.
Realistic Rainy Weather
Step 4 – Tweaking Shaders and Wet Ground Materials for Realistic Rainy Weather
Having rain fall from the sky is only half of the equation. If your concrete, wood, and metal surfaces look completely bone dry, the illusion falls apart instantly. Rain alters material properties in two distinct ways, making surfaces darker and making them significantly smoother.
Controlling Roughness and Puddles Across Assets
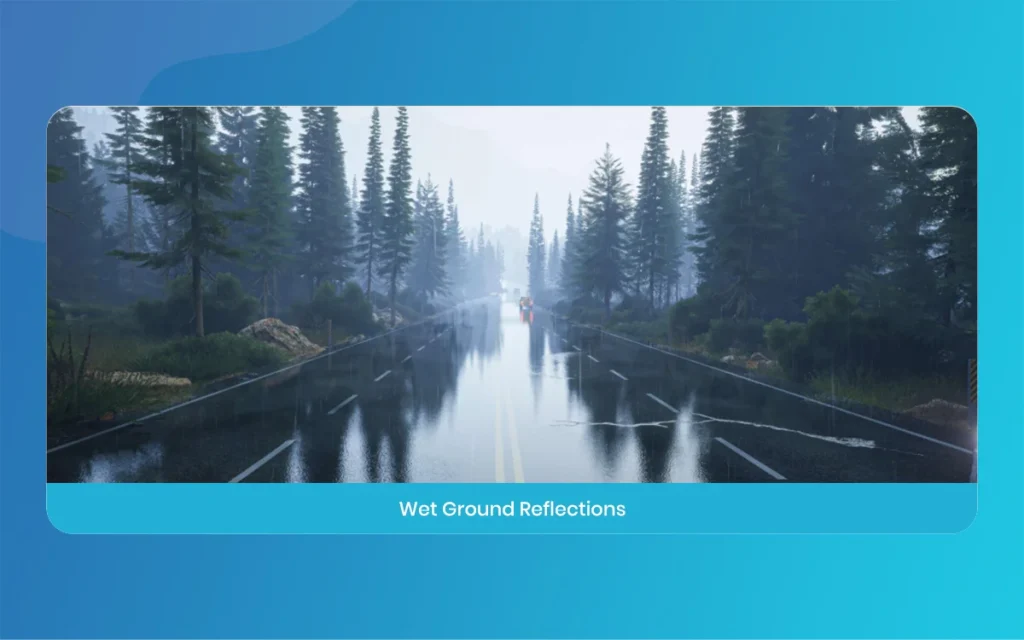
To make dry materials appear wet, you need to modify their Roughness and Base Color values. When water coats a porous surface like stone or asphalt, it fills in micro gaps and darkens the color value while lowering the roughness toward zero, which creates sharp mirror reflections.
Instead of manually editing every single material instance in your project, create a Material Parameter Collection with a scalar value named Wetness. You can link this parameter into a blend node inside your master materials. When the Wetness value increases, it automatically multiplies the Base Color by a factor of roughly 0.7 to darken it, while blending the Roughness down toward 0.05.
For standing water, layer in noise textures to isolate flat surfaces like road ditches or sidewalk corners. This breaks up uniform sheen and gives you distinct puddles that reflect nearby artificial lights and sky clouds with crisp clarity.
Realistic Rainy Weather
Step 5 – Adding Fill Lights and Post Process Tweaks for Realistic Rainy Weather
Because overcast skies diffuse light so heavily, scenes can sometimes end up looking flat or washed out. To bring shape and definition back to your environment or characters, you can strategically place local fill lights.
If you have a key character or prop in your scene, place a couple of dim Rect Lights or Point Lights behind or beside them to act as rim lights. Set these lights to cast soft, cool highlights along the edges of wet clothing or armor. This creates separation between the subject and the gloomy background.
Finally, add a Post Process Volume set to Infinite Extent. Under the Color Grading settings, nudge the Temperature slightly down toward cool blue tones, around 5500K to 6000K. Bump the Contrast up slightly to ensure black values in deep shadows stay rich, giving your final image a cinematic finish.
Realistic Rainy Weather
Essential Lighting Settings Breakdown for Realistic Rainy Weather
When setting up your scene, keeping track of all the numeric values across light actors can be tricky. Below is a detailed breakdown of the exact starting values you should use across key components when building lighting for Realistic Rainy Weather in Unreal Engine 5.
Directional Light Intensity: Set this value very low, between 0.5 Lux and 2.0 Lux. Standard daytime scenes use values of 10 to 100 Lux, but stormy scenes require minimal direct sunlight to maintain a dark, overcast mood.
Directional Light Temperature & Color: Use a light gray-blue tint or set the Kelvin temperature around 6500K to 7500K. This replaces warm solar tones with cold, stormy atmosphere.
Sky Light Recapture: Set the Sky Light to Realtime Capture with Lumen enabled. This allows ambient skylight to softly bounce off gray clouds into ground shadows.
Exponential Height Fog Density: Set the base fog density between 0.02 and 0.04. This adds natural atmospheric distance without overwhelming foreground details.
Volumetric Fog Scattering: Enable Volumetric Fog and set the scattering color to a dark blue-gray tint. This ensures artificial light sources like street lamps create localized light shafts in the misty air.
Material Roughness Range: Blend wet ground surfaces down to a roughness range of 0.02 to 0.10. Dry materials sit around 0.5 to 0.8, so reducing roughness is what generates wet puddle reflections.
Post Process Temperature & Contrast: Adjust global white balance to a cool 5800K, and raise midtone contrast slightly to prevent ambient fog from washing out your dark tones.
Realistic Rainy Weather
Rendering High Quality Renders with Movie Render Queue
Once your lighting, volumetric fog, and wet materials look solid, it is time to export high quality stills or cinematic sequences. Relying on default viewport screenshots will lose fine details like rain streaks and puddle reflections.
Open the Movie Render Queue and load your camera sequence. Under setting configurations, add Deferred Render, High Quality Media output, and Anti-Aliasing overrides. Set Spatial Sample Count to around 8 and Temporal Sample Count to 4 or 8.
Make sure to enable Engine Warm Up Count and set it to 60 or 100 frames. This gives your Niagara rain particles, volumetric cloud simulations, and Lumen reflection caches enough time to settle properly before rendering the very first frame. The result is a clean image free of noise, ghosting, or flickers.
Realistic Rainy Weather
Final Thoughts on Mastering Realistic Rainy Weather in UE5
Building believable weather in Unreal Engine 5 is all about balancing physical atmosphere with subtle lighting accents. By dimming your main sun, pushing cloud density up, adding volumetric fog, and darkening wet ground shaders, you can turn any dry environment into a dramatic downpour.
Take time to experiment with localized light sources, tune your puddle masks, and check your camera exposures. With these techniques in hand, your scenes will carry all the moody realism needed to captivate your audience. Happy lighting!
Augmented Reality News: 7 Exclusive Breakthroughs for an Incredible Year | The Morphic Studio
Navigating the Latest Augmented Reality News Environment Welcome to another exciting deep dive into the statistical universe brought to you by The Morphic Studio. If you have been keeping up with tech headlines lately, you already know that statistical overlays and spatial computing are changing how we interact with our physical surroundings. The year 2026 […]
September 1, 2026
VR Horror Games: 13 Incredible Titles for a Brutal Scare – The Morphic Studio
Welcome to the ultimate guide for anyone looking to test their nerves inside a headset. When you strap a display to your face, flat screen rules no longer apply. VR Horror Games You are no longer watching a character run from danger on a distant monitor, because you are right there in the middle of […]
August 31, 2026
Meta Quest 4 Release Date: The Master Guide to 2026’s Most Incredible VR | The Morphic Studio
Virtual reality has traveled a long road over the last few years. We have moved from bulky, tethered headsets that needed expensive gaming computers to sleek, standalone machines that fit right inside a small travel backpack. If you follow immersive technology here at The Morphic Studio, you already know that Meta has been leading the […]