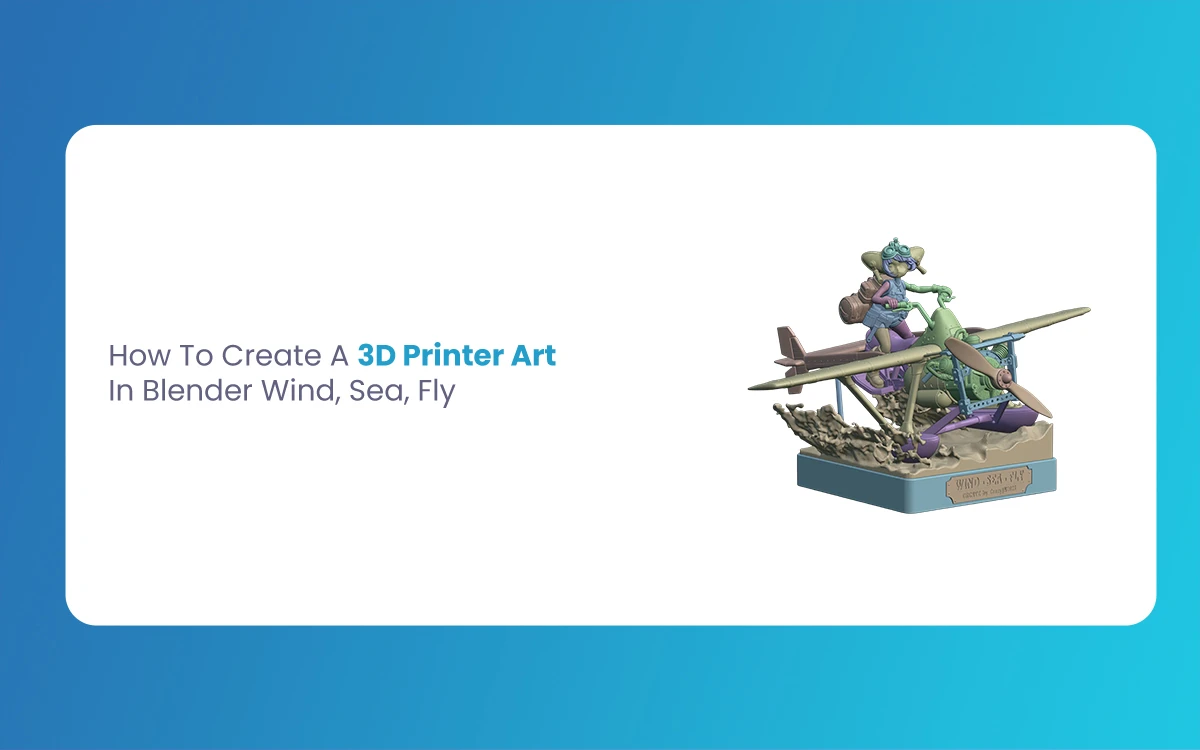
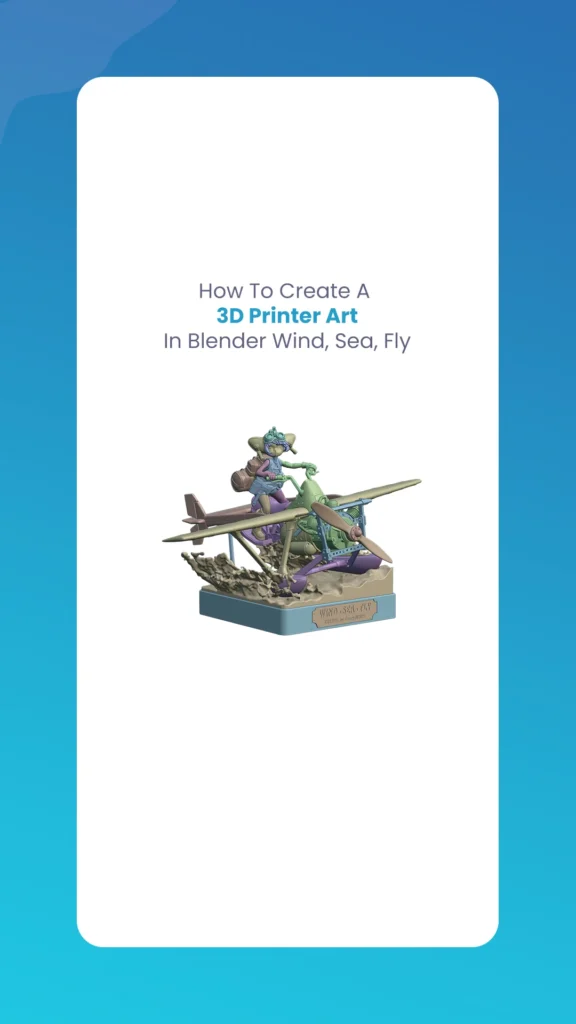
The intersection of statistical art and physical creation has never been more accessible than it is today. With powerful 3D modeling software like Blender and increasingly affordable 3D printers, artists can now transform their statistical visions into tangible sculptures. This complete guide will walk you through creating stunning 3D Printer Art in Blender, explicitly focusing on the energetic themes of wind, sea, and fly.
These three elements represent some of nature’s most fluid and energetic forces, making them both challenging and rewarding subjects for 3D art. Wind suggests movement and invisibility made visible through its effects on other objects. The sea embodies power, rhythm, and endless motion. Flight captures freedom, grace, and the defiance of gravity. Together, these themes offer rich possibilities for creating compelling 3D-printed sculptures that capture motion in static form.
Follow the Fundamentals
The Challenge of Static Motion
One of the primary challenges in creating 3D printed art based on wind, sea, and fly is capturing energetic movement in a static medium. Unlike statistical animations or traditional paintings, 3D-printed sculptures must convey emotion through form, texture, and implied movement. This requires careful consideration of how shapes, curves, and surfaces can suggest the forces they represent.
Blender’s Simulation Capabilities
Blender’s strength lies in its sophisticated simulation systems. The cloth simulator can recreate the effects of wind on fabric and flexible materials. The ocean modifier generates realistic wave patterns and water surfaces. Particle systems can simulate flocks of birds or floating debris. These tools allow artists to create naturalistic motion that can then be frozen into printable geometry.
Conceptualizing Your Artistic Vision
Wind: The Invisible Made Visible
Wind is perhaps the most abstract of our three themes because it’s invisible by nature. We only see wind through its effects on other objects. In 3D art, this presents unique opportunities:
Flowing Fabric: Imagine curtains billowing in a strong breeze, their curves and folds telling the story of air currents. The fabric’s form becomes a map of the wind’s path and intensity.
Floating Objects: Leaves, papers, or light mass debris caught in updrafts create energetic compositions that suggest both the wind’s power and its playful nature.
Energetic Shapes: Abstract forms that seem to stretch and flow can represent wind itself, using curved surfaces and streaming geometries to suggest invisible currents.
Sea: Power and Rhythm
The ocean offers rich visual metaphors and dramatic forms:
Wave Formations: From gentle swells to towering breakers, waves provide natural sculptural forms that are both beautiful and powerful.
Stormy Waters: Turbulent seas with foam, spray, and chaotic surfaces can create dramatic, emotionally charged pieces.
Floating Elements: Objects riding the waves—boats, buoys, or debris—add scale and narrative to ocean scenes.
Fly: Freedom and Grace
Flight represents liberation from earthly constraints:
Bird Forms: Whether realistic or stylized, birds in flight capture grace and freedom. Consider energetic poses that show wings catching air currents.
Insect Movement: The delicate forms of butterflies or the purposeful flight of bees offer different scales and types of movement.
Abstract Flight: Geometric or organic forms that seem to defy gravity can represent the essence of flight without literal representation.
Setting Up Your Blender Workspace
Essential Add-ons and Tools
Before beginning your project, ensure you have the necessary tools enabled in Blender:
3D Print Toolbox: This crucial add-on helps identify and fix common 3D printing issues. Enable it through Edit > Preferences > Add-ons > Mesh: 3D Print Toolbox.
Extra Objects: Provides additional mesh primitives that can serve as starting points for your models.
Animation Nodes (optional): For more complex procedural animations that can be baked into static geometry.
Workspace Configuration
Set up your workspace for efficient modeling and simulation work. Consider using multiple viewports—one for modeling, one for simulation preview, and one for print analysis. This allows you to see your work from different perspectives simultaneously.
Modeling Techniques for Each Theme
Creating Wind Effects
Cloth Simulation Setup
Start with a basic plane or create a more complex starting shape like a bag or curtain. The basic to convincing wind effects lies in the cloth simulation settings:
Subdivide your mesh adequately (at least 10-15 cuts per axis) to allow for realistic deformation. Too few subdivisions will result in unrealistic, angular folds.
Apply cloth physics with appropriate mass and structural stiffness settings. Lighter materials should have lower mass values, while stiffer fabrics need higher structural values.
Add wind forces using Blender’s force fields. Position the wind force strategically to create the desired flow patterns. Experiment with different strengths and directions to achieve natural-looking movement.
Advanced Wind Techniques
Vertex Groups: Use vertex groups to control which parts of your cloth are affected by different forces. This allows you to pin certain areas while letting others flow freely.
Multiple Wind Sources: Combine several wind forces with different parameters to create complex air current patterns that produce more interesting and realistic results.
Crafting Sea Elements
Ocean Modifier Mastery
The Ocean modifier is Blender’s primary tool for creating realistic water surfaces:
Base Geometry: Start with a well-subdivided plane. The subdivision magnitude affects both the detail of your waves and the complexity of the final mesh, so balance detail with 3D printing requirements.
Wave Parameters: Adjust the resolution, size, and choppiness values to create different types of water conditions. Higher choppiness values create more dramatic, storm-like conditions.
Foam and Details: While foam effects may not translate directly to 3D printing, you can use the foam data to drive displacement or create separate geometric elements.
Creating Floating Objects
Objects that interact with the ocean surface require special consideration:
Shrinkwrap Modifier: Use this to keep objects like boats or buoys properly positioned on the water surface.
Vertex Groups: Create vertex groups on your floating objects to control which parts are affected by the water surface and which remain rigid.
Wing Geometry: Birds’ wings have complex curves that change dramatically between the upstroke and downstroke. Choose a energetic moment in the flight cycle that shows the wing’s full extension and curve.
Body Positioning: The body’s angle relative to the wings tells a story about the type of flight—soaring, flapping, diving, or landing.
Multiple Birds: Create flocks by duplicating and varying your bird models, positioning them to suggest coordinated movement.
Abstract Flight Concepts
Not all flying elements need to be literal:
Flowing Ribbons: Create ribbon-like forms that seem to dance in air currents, suggesting movement without depicting specific objects.
Geometric Formations: Arrays of geometric shapes that seem to rise or float can create powerful abstract representations of flight.
Simulation and Baking Process
Running Simulations
Once your scene is set up with appropriate modifiers and forces, you’ll need to run the simulations to generate the final geometry:
Frame Range: Set an appropriate frame range for your simulation. Longer simulations allow for more natural settling of cloth and ocean elements.
Cache Management: Blender caches simulation data to improve playback performance. Manage these caches carefully, for the most part for complex scenes.
Iteration Process: Don’t expect perfect results on the first try. Simulation work is iterative—adjust parameters, re-run simulations, and refine until you achieve the desired attractive.
Baking Simulations to Geometry
Before 3D printing, all simulations must be converted to static geometry:
Apply Modifiers: Go through each object and apply all modifiers in the correct order. This converts procedural effects into actual mesh geometry.
Timing Selection: Choose the best frame from your simulation that captures the most energetic or attractiveally pleasing moment.
Backup Versions: Always save versions of your file before applying modifiers, in case you need to make adjustments.
3D Print Preparation
Mesh Analysis and Repair
The 3D Print Toolbox provides essential analysis tools:
Manifold Edges: Ensure all edges are manifold (each edge connects exactly two faces). Non-manifold geometry causes print failures.
Wall Thickness: Check that all parts of your model meet minimum thickness requirements for your printer and material.
Overhangs: Identify areas that may need support structures during printing.
Common Issues and Solutions
Intersecting Geometry: Objects that pass through each other can cause slicing problems. Use Boolean operations or manual editing to resolve intersections.
Loose Vertices: Remove any vertices that aren’t connected to faces, as they can cause export issues.
Scale Considerations: Ensure your model is appropriately sized for both your printer’s build volume and the desired final size.
Print Optimization Strategies
Optimization Area
Technique
Benefit
Support Reduction
Orient models to minimize overhangs
Reduces support material and post-processing
Detail Preservation
Balance subdivision magnitudes with print resolution
Maintains important details while preventing over-complexity
Structural Integrity
Add internal supports or thicken thin areas
Prevents breakage during and after printing
Assembly Design
Split complex models into printable parts
Allows for larger or more complex final pieces
Surface Finish
Consider print layer direction relative to model features
Improves surface quality and reduces visible layer lines
Advanced Techniques and Artistic Considerations
Combining Elements
The most compelling pieces often combine all three themes:
Narrative Composition: Create scenes where wind affects the sea surface while birds negotiate through both elements.
Scale Connections: Use dramatic scale differences to create visual impact—tiny birds against massive waves, or enormous wind-blown fabric dwarfing small floating objects.
Material Suggestions: Even though 3D prints are typically single-material, you can design geometry that suggests different materials through texture and form.
Artistic Stylization
While realism is one approach, consider stylistic alternatives:
Low-Poly Attractive: Simplified, faceted forms can be more suitable for 3D printing while creating a distinctive artistic style.
Organic Smoothness: Use subdivision surface modifiers to create flowing, organic forms that emphasize the fluid nature of your themes.
Geometric Abstraction: Break down natural forms into geometric components that suggest rather than literally depict the original subjects.
Export and Slicing Considerations
File Format Selection
Choose the appropriate export format based on your workflow:
STL: The most common format for 3D printing, STL files contain only geometric information.
OBJ: Includes additional information like texture coordinates, useful if you plan to paint or finish your prints with color.
3MF: A newer format that can include color, texture, and print settings information.
Slicing Software Integration
Different slicing software packages have varying capabilities:
Support Generation: Some slicers are better at automatically generating supports for complex geometries.
Print Quality Settings: Higher resolution settings can capture fine details but increase print time significantly.
Material Considerations: Different materials (PLA, ABS, PETG, resin) have different requirements for overhangs, supports, and cooling.
Post-Processing and Finishing
Cleaning and Smoothing
Most 3D prints require some post-processing:
Support Removal: Carefully remove support material without damaging delicate features.
Surface Smoothing: Sand or chemically smooth surfaces to reduce layer lines and improve finish quality.
Detail Enhancement: Use carving tools or additional manual work to enhance fine details that may have been lost in printing.
Assembly and Display
If your piece was printed in multiple parts:
Joining Methods: Consider how parts will be assembled—glue, mechanical fasteners, or friction fits.
Base Design: Create or design bases that complement your artwork and provide stable display options.
Lighting Considerations: Think about how your piece will be lit, as 3D printed surfaces can create interesting shadow patterns.
Troubleshooting Common Issues
Simulation Problems
Cloth Not Responding: Check that you have adequate subdivisions and that cloth physics are properly applied.
Ocean Too Rough or Smooth: Adjust the ocean modifier’s scale and choppiness parameters.
Forces Not Working: Ensure force fields are properly positioned and have sufficient strength settings.
Print Preparation Issues
Mesh Errors: Use Blender’s mesh analysis tools and the 3D Print Toolbox to identify and fix problems.
Scale Problems: Double-check units and scale before export to ensure proper sizing.
Support Requirements: Analyze your model for overhangs and plan support strategies before printing.
Finally
Creating 3D Printer Art in Blender that captures the energetic themes of wind, sea, and fly represents a unique fusion of statistical artistry and physical craftsmanship. The process requires both technical skill in using Blender’s simulation tools and artistic vision to transform energetic natural forces into compelling static forms.
The basis for success lies in following that 3D printed art operates under different constraints than purely statistical work. Every curve, surface, and detail must be physically realizable while still conveying the energy and movement of your chosen themes. This constraint, rather than limiting creativity, often pushes artists toward more innovative and thoughtful solutions.
Through careful planning, iterative simulation work, and attention to 3D printing requirements, you can create pieces that seem to capture motion in stone—or plastic. Whether your goal is realistic representation or abstract interpretation, the combination of Blender’s powerful tools and 3D printing technology opens up new possibilities for artistic expression.
The ride from statistical simulation to physical sculpture is one of translation and interpretation. Each step in the process—from initial concept through simulation, optimization, printing, and finishing—offers opportunities to enhance and refine your artistic vision. The result is artwork that exists simultaneously in the statistical and physical realms, bridging the gap between virtual creativity and tangible experience.
As 3D printing technology continues to progress, with improvements in resolution, materials, and accessibility, the possibilities for this type of hybrid statistical-physical art will only expand. The techniques and principles defined in this guide provide a foundation for exploring these possibilities. Still, the ultimate expression will come from your creative vision and willingness to experiment with the unique capabilities of these powerful tools.
Best Way To Create Cinematic lighting in Unreal Engine 5 by Morphic Studio [Tutorial]
The Magic of Cinematic lighting in Unreal Engine 5 Have you ever looked at a beautifully rendered game or a virtual film set and wondered how they make it look so incredibly real? Well, the answer almost always comes down to the lighting. Today, we are going to take a look at the magic of […]
July 20, 2026
How To Add Lighting Realistic Rainy Weather in Unreal Engine 5 [Tutorial]
Lighting a stormy environment in Unreal Engine 5 is one of the most rewarding challenges for any 3D environment or lighting artist. Many beginners think that adding rain is as simple as spawning a splash particle system and turning down the sun, but the real secret lies in how light interacts with moisture, clouds, and […]
July 18, 2026
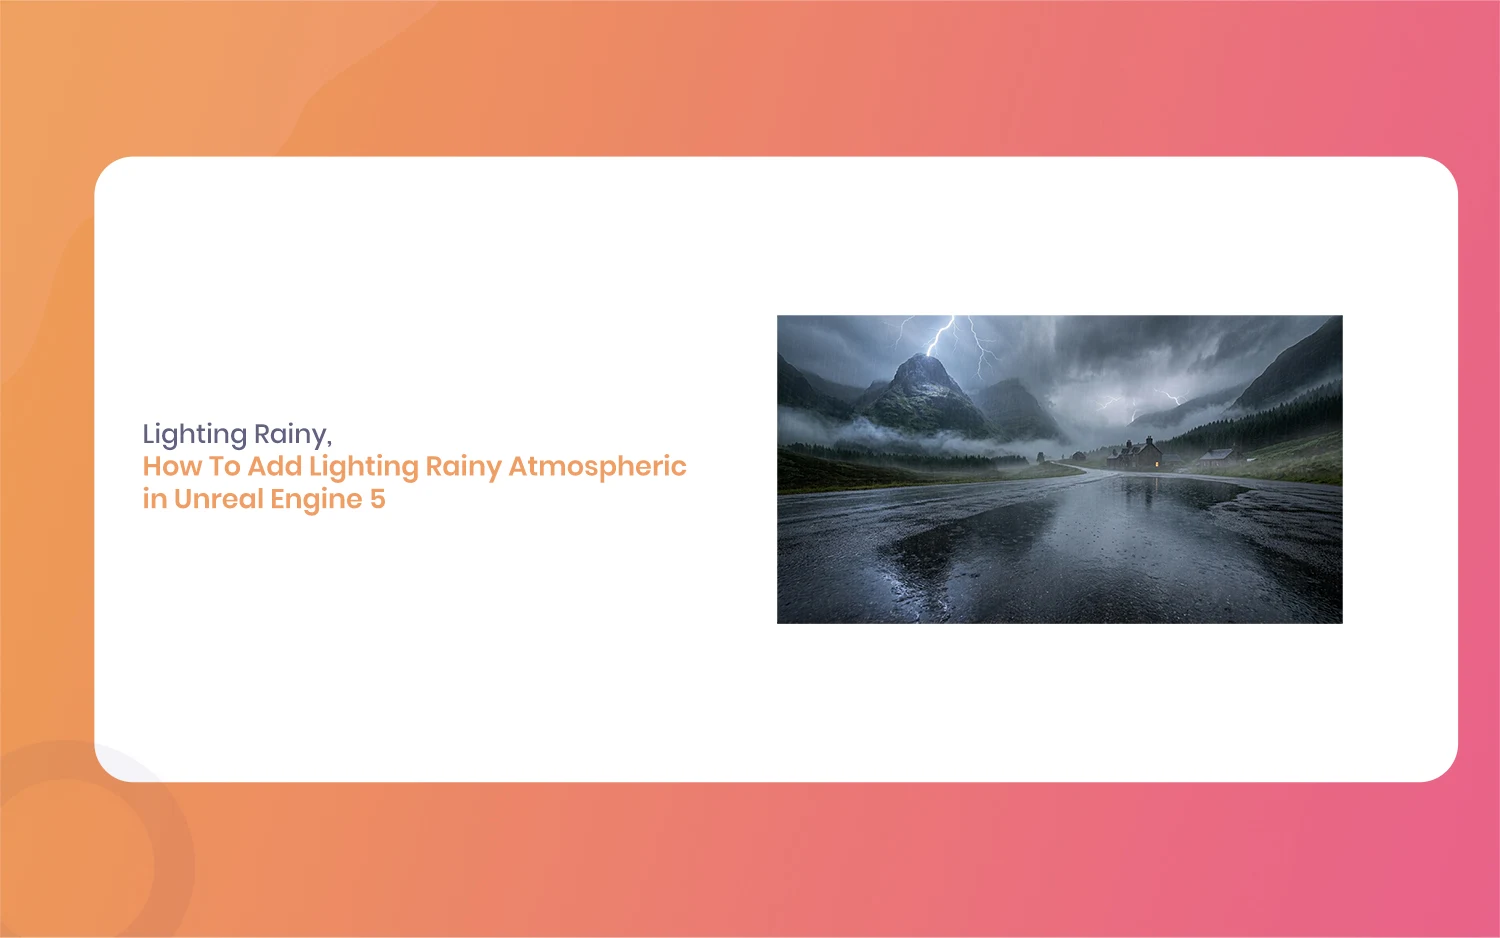
How To Add Lighting Rainy Atmospheric in Unreal Engine 5 [Tutorial]
Hello everyone, and welcome to this new guide. If you are a game developer or a 3D artist, you probably know how important weather is. Creating a moody scene can completely change how a player feels. Today, we are going to look at something very specific. We are going to learn how to add Lighting […]