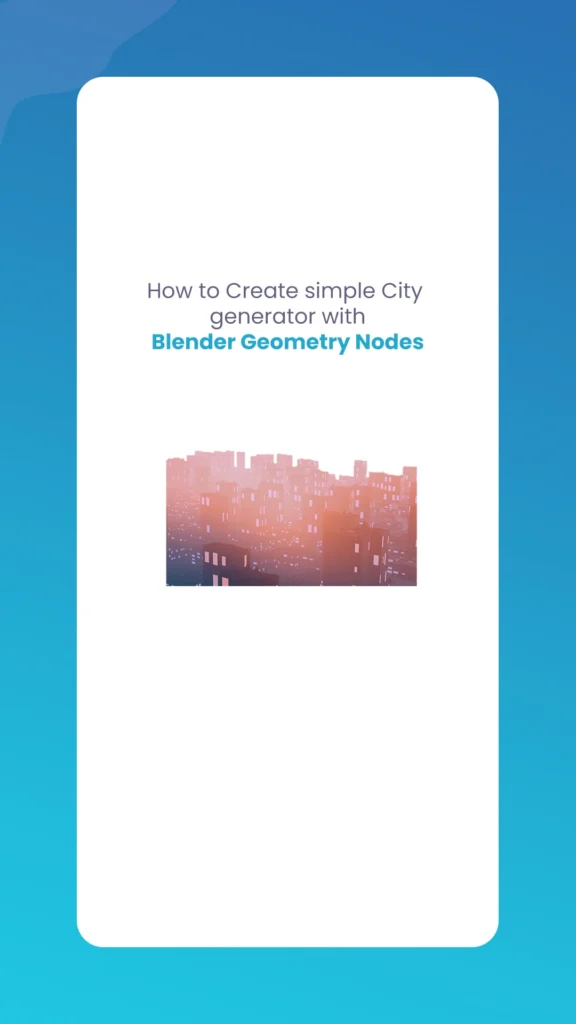
Procedural modelling has revolutionized how 3D artists approach complex scene creation, and nowhere is this more evident than architectural visualization and game development. Blender’s Geometry Nodes system offers a compelling yet accessible way to automate the creation of entire cityscapes. The Morphic Studio shares information about the effective Simple City Generator to create various urban layouts with just a few clicks.
Whether you’re a game developer looking to populate vast open worlds, an architectural visualizer needing quick urban context, or simply a 3D enthusiast wanting to explore procedural techniques, this tutorial will provide you with the foundation to create impressive city generators using Blender’s node-based system.
Simple City Generator By The Morphic Studio
Follow Geometry Nodes for City Generation
Geometry Nodes in Blender represent a paradigm shift from traditional modelling approaches. Instead of manually placing every building, road, and urban element, we create a system of rules and parameters that automatically generates these elements based on mathematical connections and random distributions.
The core concept behind procedural Simple City Generator lies in breaking down urban environments into their fundamental components: a base grid system representing city blocks, distribution points determining where buildings are placed, and instancing systems that populate these points with architectural elements. This approach mirrors fundamental urban planning principles, where cities typically develop on grid systems with logical spacing and zoning.
The beauty of this system lies in its flexibility and scalability. Once established, your Simple City Generator can create anything from small suburban neighbourhoods to sprawling metropolitan expanses by adjusting parameters. This non-destructive workflow means you can iterate quickly, experimenting with different layouts, building densities, and architectural styles without starting from scratch.
Setting Up Your Blender Workspace
Proper workspace preparation is crucial for an efficient workflow before diving into the technical aspects of geometry nodes. Begin by opening Blender and creating a fresh project environment. The default scene comes with several objects that won’t be needed for our Simple City Generator, so delete the default cube, light, and camera by selecting all objects and pressing the X basic, then confirming the deletion.
Next, add a mesh plane which will serve as the foundation for our city. Use the shortcut Shift + A to access the Add menu, negotiate to Mesh, and select Plane. This Plane represents the ground expanse where our city will be generated. Scale this Plane to match your desired city size – for this tutorial, a 12×12 meter plane provides a good balance between detail and performance.
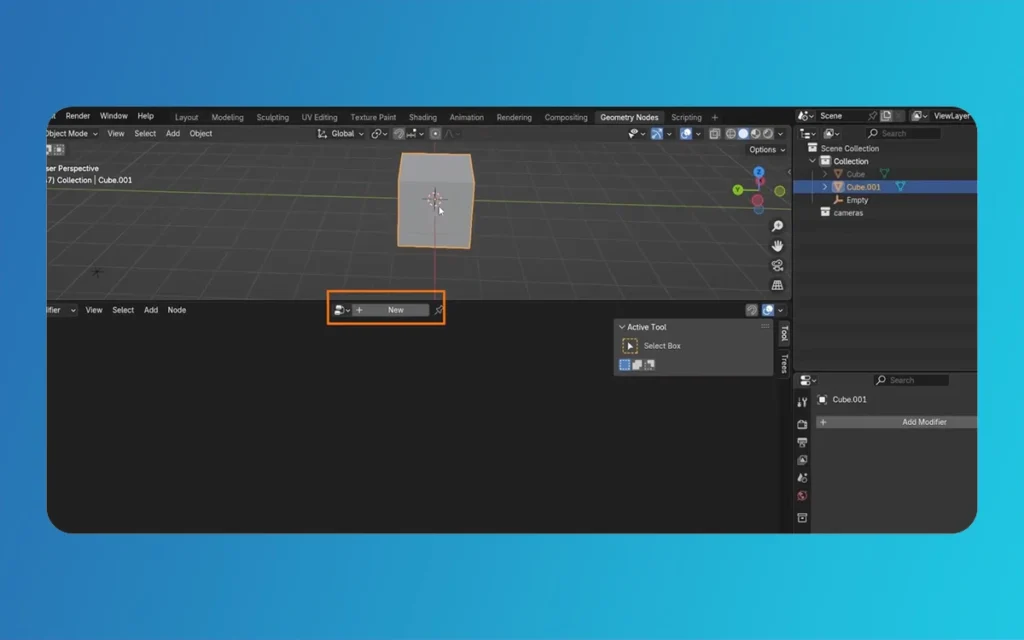
Position your viewport to get a clear overview of the work expanse. Switch to the Geometry Nodes workspace by clicking on the corresponding tab at the top of the Blender interface. This specialized workspace provides optimal panel layouts for node-based work, with easy access to the node editor, 3D viewport, and outliner simultaneously.
Simple City Generator By The Morphic Studio
Creating the Foundation Grid System
The grid system forms the backbone of any procedural city generator. Create a new Geometry Nodes modifier with your plane selected by clicking the “New” button in the Geometry Nodes editor. You’ll immediately see two essential nodes: Group Input and Group Output. All subsequent nodes must be connected between these two nodes to function correctly.
Add a Grid node by pressing Shift + A and navigating to Mesh → Primitives → Grid. Connect this grid node to the geometry input of your node group. The grid parameters are crucial for defining your city’s character. Set the grid size to approximately 15×15 meters with subdivisions of 6×6 to create a realistic city block structure. These dimensions can be adjusted based on your specific needs – larger grids create more spacious cities, while smaller grids result in denser urban environments.
The grid subdivisions determine how many potential building plots exist within your city expanse. Each subdivision represents a possible location for building placement, so consider the balance between detail and performance when setting these values. Higher subdivision counts create more building placement opportunities and increase computational overhead.
Simple City Generator By The Morphic Studio
Implementing Point Distribution for Building Placement
The next critical step involves creating distribution points and determining where buildings appear within your city grid. Add a “Distribute Points on Faces” node to your node setup. This node analyzes the geometry from your grid and creates points across the surface expanse, each representing a potential building location.
Connect the output of your grid node to the input of the “Distribute Points on Faces” node. The density of these points directly affects building placement – too few points result in sparse cities, while too many can create overcrowded environments. If the points are too sparse after initial setup, ensure your plane’s scale has been applied in Object Mode by pressing Ctrl + A and selecting “Apply Scale.”
The point distribution system provides the randomness essential for realistic city generation. Unlike manually placed objects, these distributed points create organic variation in building placement, mimicking the natural development patterns in real urban environments. The random nature of point distribution ensures that each generated city will have unique characteristics while maintaining general structural coherence.
Building Instance Systems for Urban Elements
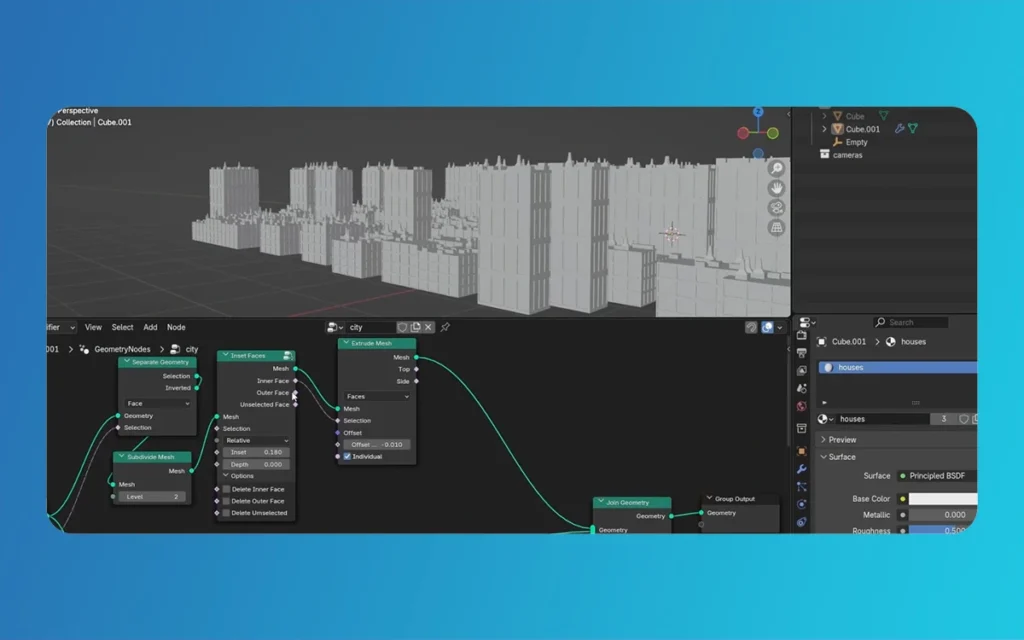
With distribution points established, the next phase involves creating the actual buildings that will populate your city. Begin by making a simple building mesh in your main scene – a basic cube scaled vertically works perfectly for initial testing. This building will be the template replicated across your distribution points.
Add an “Instance on Points” node to your Geometry Nodes setup. Connect the output from your “Distribute Points on Faces” node to the “Points” input of the “Instance on Points” node. For the geometry that will be instanced, drag your building mesh from the Outliner directly into the Geometry Nodes workspace, creating an Object Info node automatically. Connect the geometry output of this Object Info node to the “Instance” input of your “Instance on Points” node.
This instancing system is incredibly efficient because it reuses the same base geometry multiple times rather than creating separate mesh objects for each building. This approach maintains good performance even with thousands of buildings while keeping file sizes manageable. The instancing system also connects to the original building mesh, meaning updates to the base building automatically propagate to all instances throughout the city.
Simple City Generator By The Morphic Studio
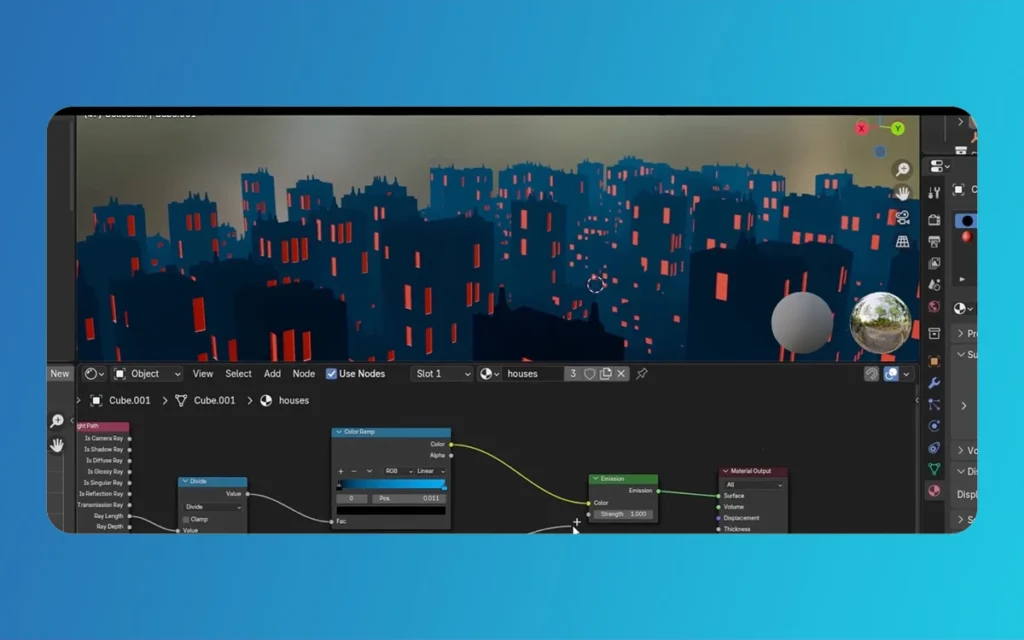
Adding Realistic Variation and Randomization
Real cities exhibit tremendous variation in building heights, sizes, and architectural styles. To replicate this organic diversity, incorporate randomization systems into your node setup. Add a “Random Value” node and configure it to output vector data representing scale variations. Connect this random value to the “Scale” input of your “Instance on Points” node.
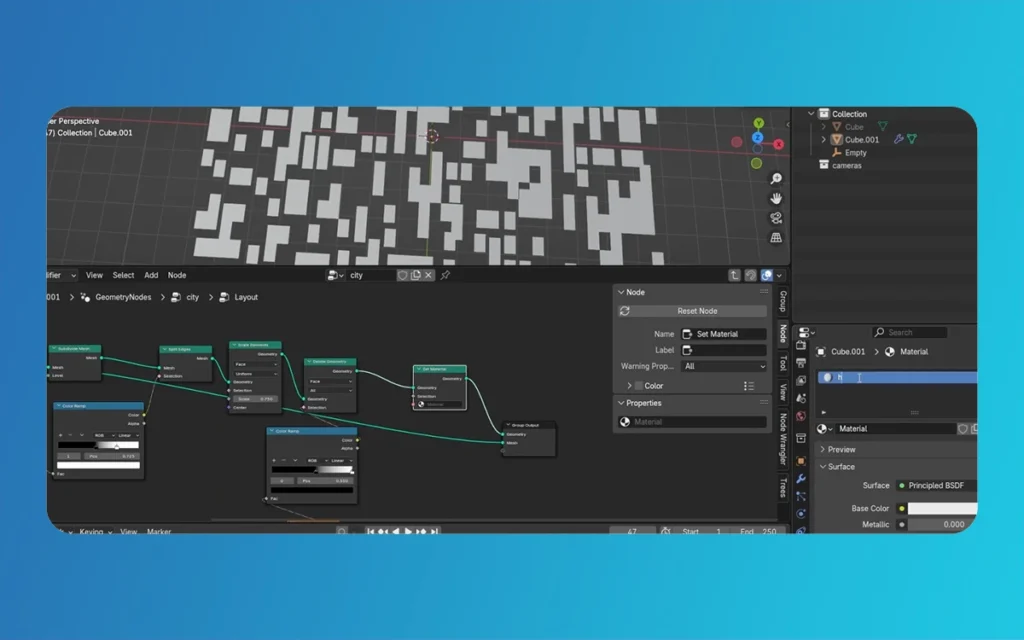
Introduce a “Noise Texture” node with a “ColorRamp” node for more sophisticated variation. The noise texture creates smooth, natural-looking variation patterns, while the ColorRamp allows precise control over how these variations translate to building characteristics. This combination can control not just building height but also determine which expanses of your city have higher or lower building density.
Experiment with different noise scales and ColorRamp settings to achieve various urban patterns. Large-scale noise creates distinct districts with different building heights, while smaller-scale noise produces more granular variation between neighbouring buildings. The ColorRamp’s control points can be adjusted to create specific distribution patterns, such as concentrating tall buildings in central expanses while lowering peripheral expenses.
Simple City Generator By The Morphic Studio
Ground Integration and Final Assembly
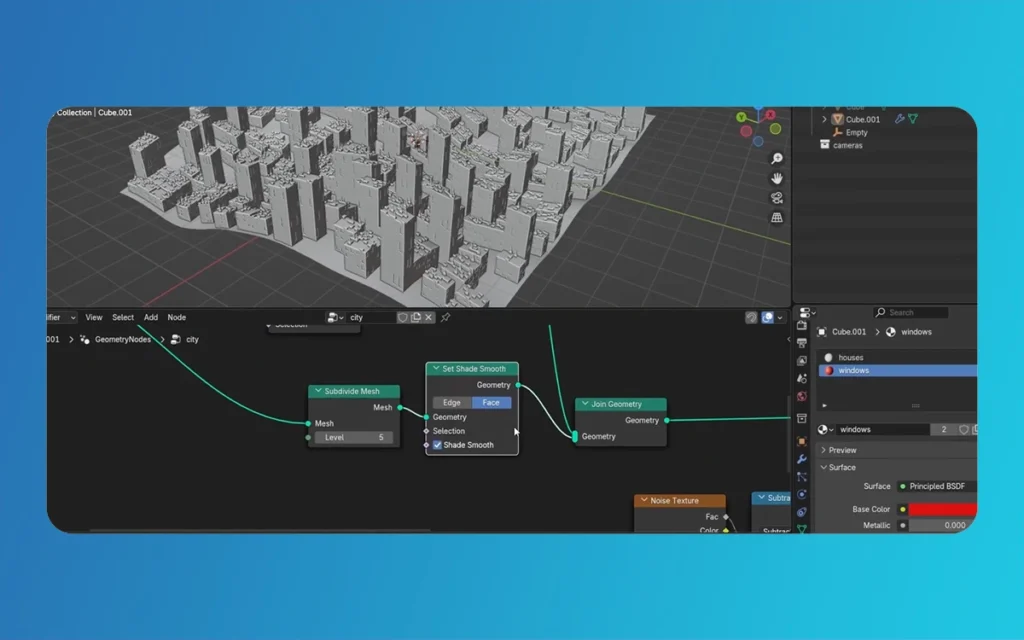
A convincing city generator requires more than just buildings—the ground plane and general scene integration are equally important. Use a “Join Geometry” node to combine your original grid (serving as the ground) with your installed buildings. This ensures that the terrain and buildings are output as a cohesive geometry.
Connect the original grid geometry and the output from your “Instance on Points” node to separate inputs of the “Join Geometry” node. The output of this join operation connects to your Group Output node, completing the basic city generator setup. This unified approach ensures that ground and buildings maintain proper spatial connections and can be manipulated as a single unit.
Consider using displacement modifiers or additional geometry nodes to add additional ground details, such as subtle height variations. These details, while small, contribute significantly to the general realism of your generated cities.
Advanced Enhancement Techniques
Once your basic city generator is functioning, numerous enhancement opportunities await exploration. Create multiple building assets with different architectural styles, then use random selection systems to choose which building type gets placed at each point. This approach creates more visually interesting and realistic cityscapes with architectural diversity.
Implement park and green space systems by creating expanses where buildings are excluded and replaced with trees or open spaces. Use additional point distribution systems with different parameters to populate these expanses with natural elements. Road generation represents another advanced enhancement – using curve-based systems to create street networks connecting different city districts.
Use similar instancing techniques to add detailed objects such as street furniture, vehicles, or signage. These elements, while small, dramatically increase the believability of your generated cities. Layer multiple distribution systems with different densities and rules to create complex, multi-faceted urban environments.
Simple City Generator By The Morphic Studio
Node Organization and Workflow Optimization
Node Category
Primary Nodes
Function
Performance Impact
Foundation
Grid, Plane
Base geometry creation
Low
Distribution
Distribute Points on Faces
Point placement logic
Medium
Instancing
Instance on Points, Object Info
Building replication
Low-Medium
Variation
Random Value, Noise Texture
Adding diversity
Medium
Combination
Join Geometry
Final assembly
Low
Enhancement
ColorRamp, Math nodes
Fine-tuning control
Low-Medium
Proper node organization becomes increasingly essential as your city generator grows in complexity. Group-related nodes use the node grouping functionality to create reusable components. Label your nodes clearly and use consistent naming conventions to maintain readability. Consider creating separate node groups for different city systems – one for buildings, another for roads, and another for vegetation.
Maintain clean node layouts with organized connections and minimal crossing wires. Use reroute nodes to manage complex connection patterns and frame nodes to visually group related functionality. These organizational practices become essential when sharing node-setups with others or returning to modify systems after extended periods.
Performance Considerations and Optimization
Simple City generators can quickly become computationally intensive, especially with large expanses or high building densities. Monitor Blender’s performance indicators and adjust parameters accordingly. The viewport display can be optimized by reducing the percentage of points displayed during editing and increasing it for final renders.
Consider using simplified geometry for instanced buildings during development, replacing them with detailed models only for final output. Implement magnitude-of-detail systems where distant buildings use simpler geometry than foreground elements. These optimizations ensure smooth workflow while maintaining visual quality where it matters most.
Memory usage is another important consideration, particularly when generating huge cities. Monitor system resources and consider breaking huge cities into multiple sections that can be generated and rendered separately, then combined in post-production if necessary.
Simple City Generator By The Morphic Studio
Troubleshooting Common Issues
Several common issues may arise during Simple City Generator development. If buildings don’t appear, verify that all node connections are proper and that the original building mesh exists in the scene. Scale-related problems often occur when the base plane’s scale hasn’t been applied—always apply transformations before beginning geometry node work.
Point distribution density problems typically stem from incorrect grid sizing or subdivision settings. Experiment with these parameters systematically to understand their connections. Performance issues usually indicate excessive geometry complexity or too many distribution points for the available system resources.
Building variation problems often result from incorrect random value ranges or improper ColorRamp setups. Start with extreme settings to verify the system works, then gradually adjust to achieve desired results. Connection errors between nodes are common – double-check that output types match input requirements.
Finally
Creating a procedural Simple City Generator with Blender’s Geometry Nodes opens up exciting possibilities for 3D artists and developers. This systematic approach to urban generation provides creative flexibility and technical efficiency, allowing rapid iteration and experimentation with different city layouts and architectural styles.
The techniques covered in this guide provide a solid foundation for more advanced procedural modelling projects. As you become comfortable with these basic concepts, consider exploring more sophisticated systems involving road networks, zoning systems, and architectural detail variation. The procedural modelling model extends beyond city generation, offering applications in environment design, architectural visualization, and game development.
Think of mastery as something that comes through experimentation and practice. Start with simple systems and gradually add complexity as your Follow grows. Save successful node setups as reusable assets, building a library of procedural tools to accelerate future projects. Investing in learning these procedural techniques pays dividends in creative possibilities and workflow efficiency.
The future of 3D content creation increasingly relies on procedural approaches, making these skills valuable for course development and creative expression. Continue exploring Blender’s extensive geometry node library and community resources to expand your procedural modeling capabilities beyond city generation into whatever domains inspire your creativity.
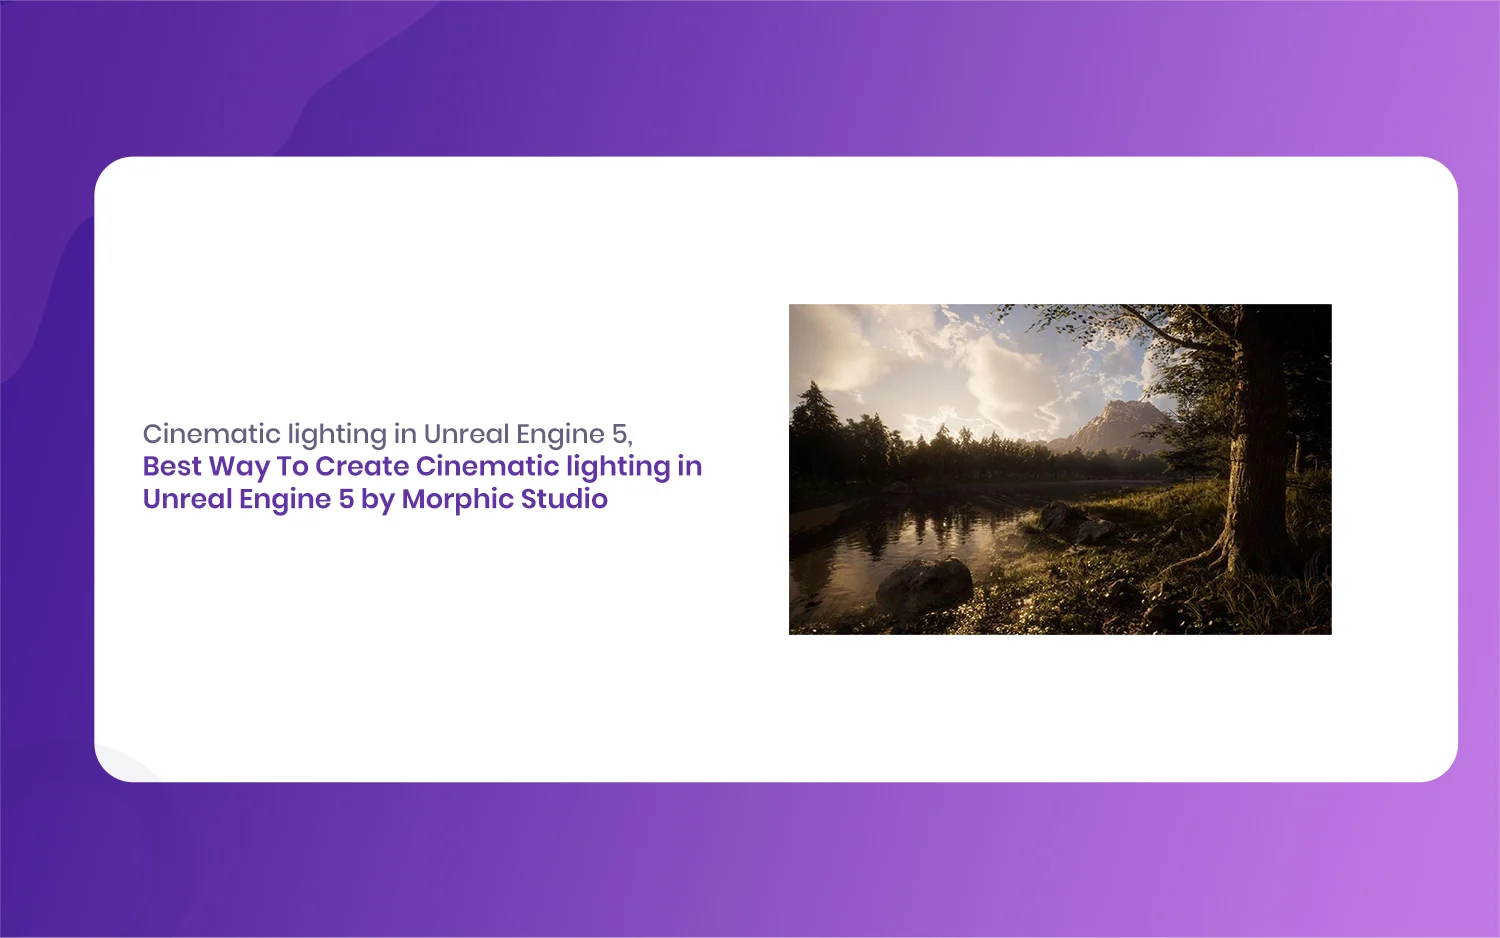
Best Way To Create Cinematic lighting in Unreal Engine 5 by Morphic Studio [Tutorial]
The Magic of Cinematic lighting in Unreal Engine 5 Have you ever looked at a beautifully rendered game or a virtual film set and wondered how they make it look so incredibly real? Well, the answer almost always comes down to the lighting. Today, we are going to take a look at the magic of […]
July 20, 2026
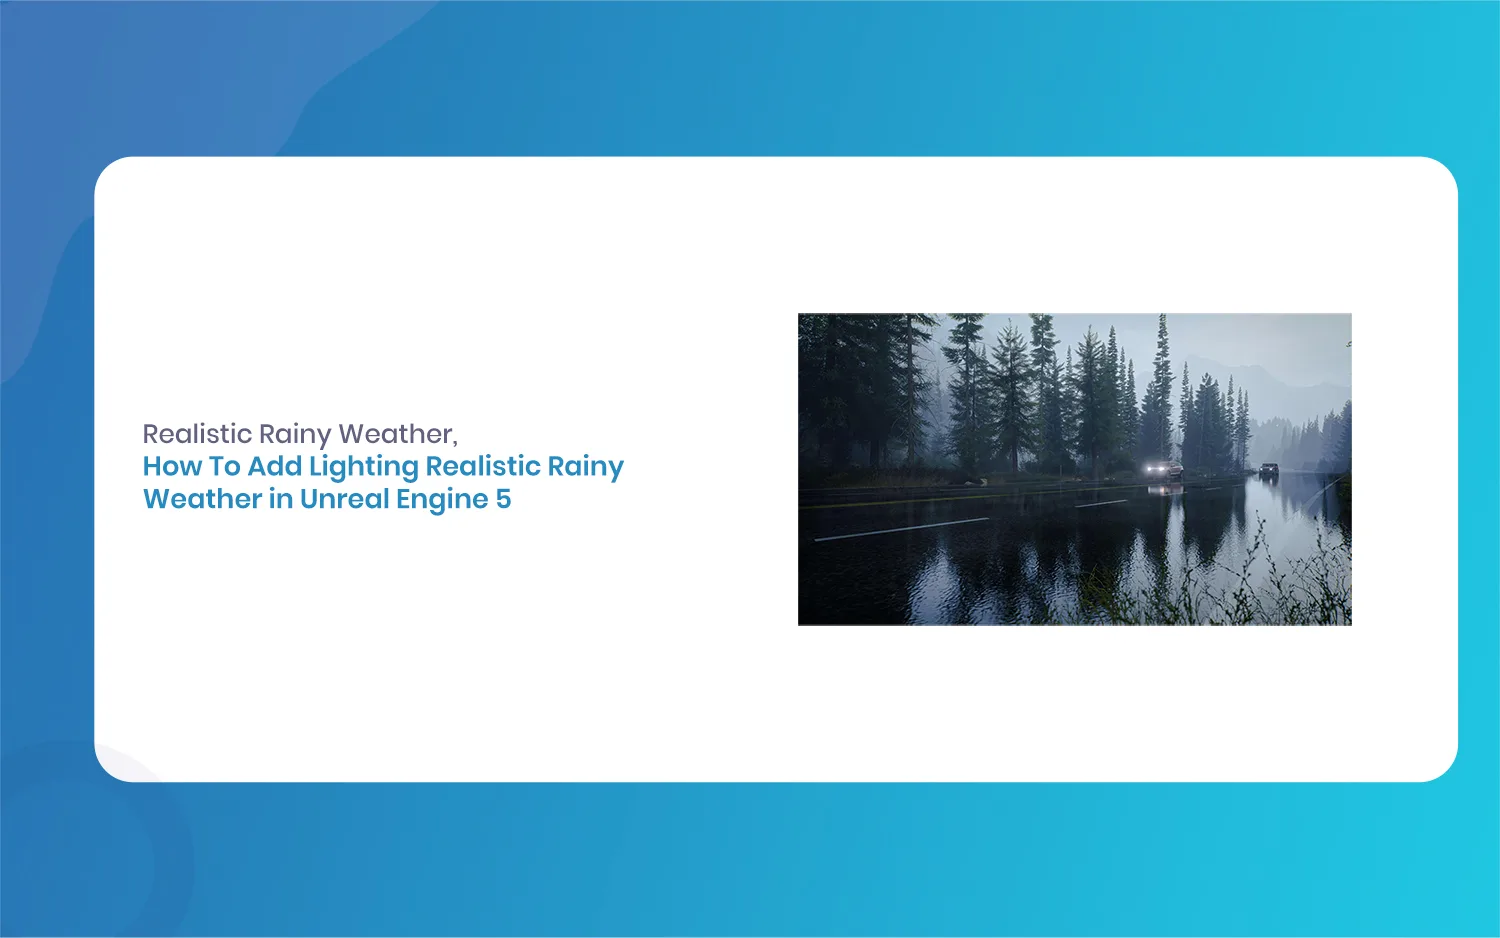
How To Add Lighting Realistic Rainy Weather in Unreal Engine 5 [Tutorial]
Lighting a stormy environment in Unreal Engine 5 is one of the most rewarding challenges for any 3D environment or lighting artist. Many beginners think that adding rain is as simple as spawning a splash particle system and turning down the sun, but the real secret lies in how light interacts with moisture, clouds, and […]
July 18, 2026
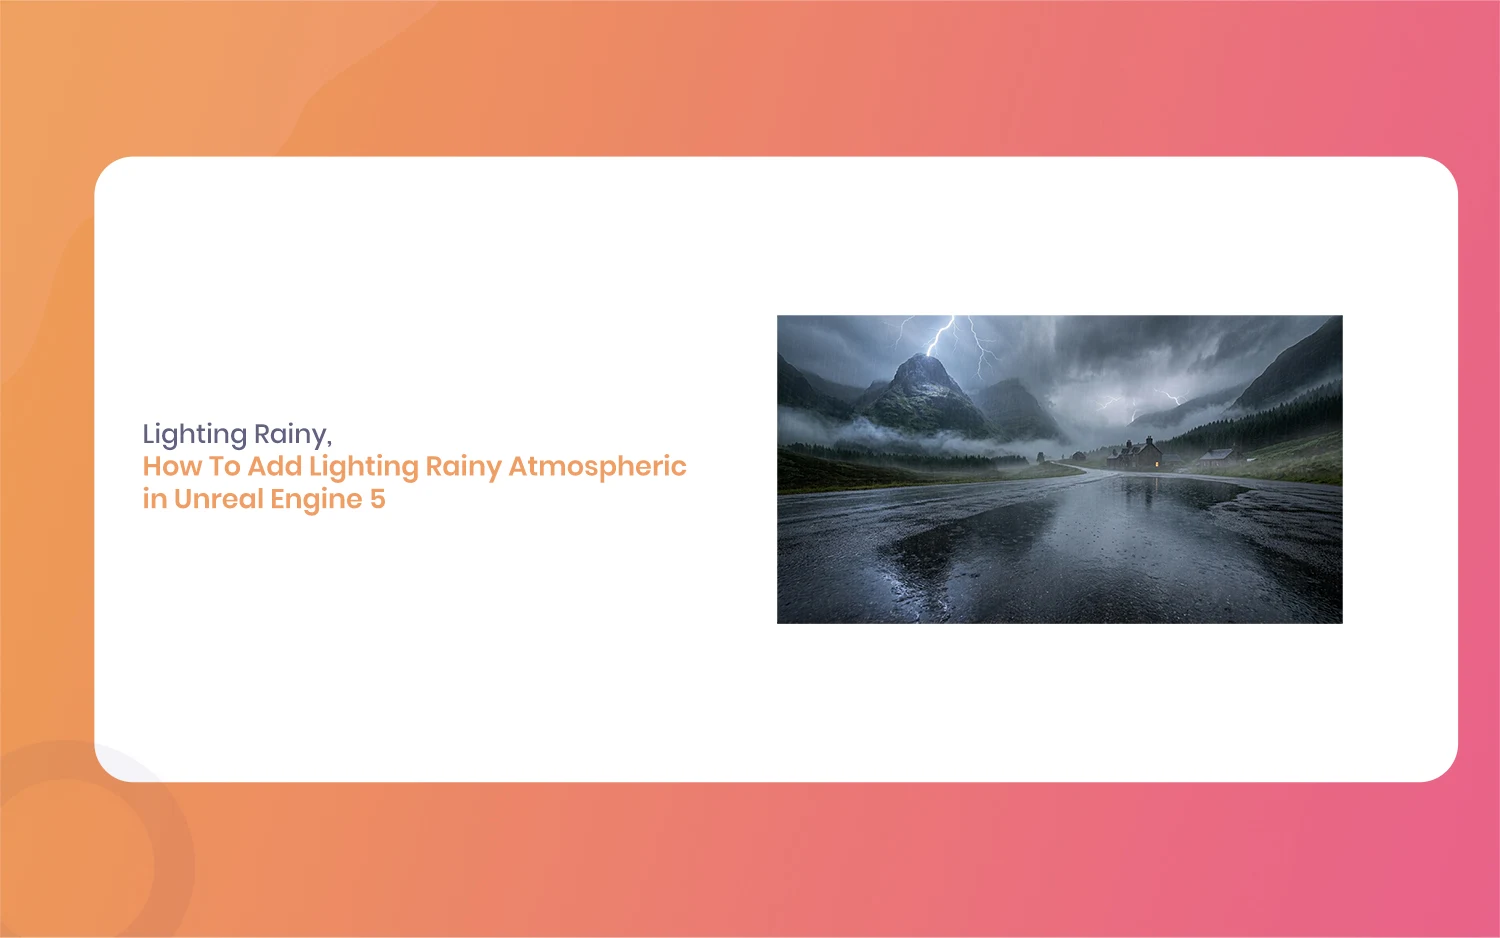
How To Add Lighting Rainy Atmospheric in Unreal Engine 5 [Tutorial]
Hello everyone, and welcome to this new guide. If you are a game developer or a 3D artist, you probably know how important weather is. Creating a moody scene can completely change how a player feels. Today, we are going to look at something very specific. We are going to learn how to add Lighting […]