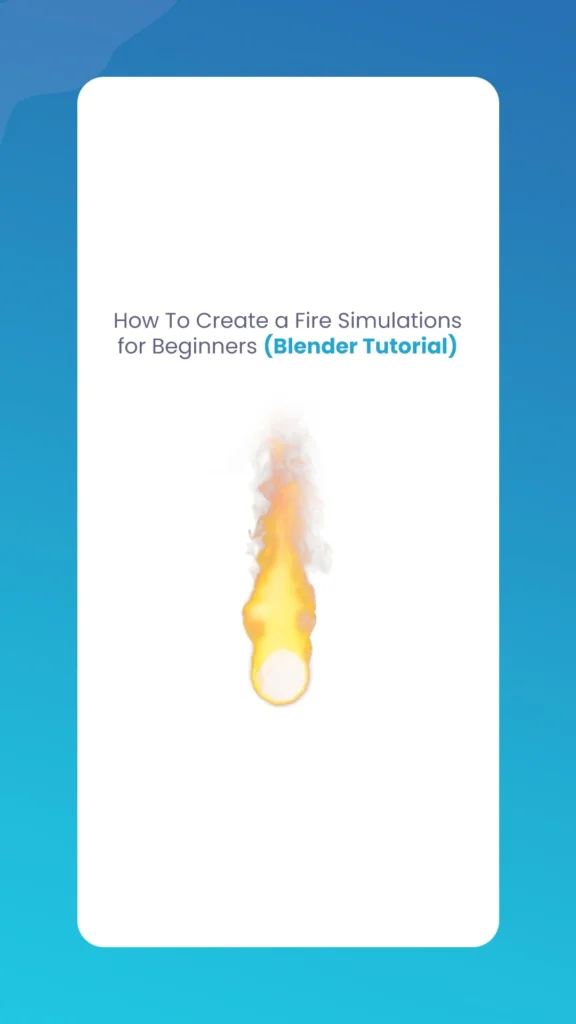
Fire has always been a fascinating element to recreate in 3D graphics, capturing the organic, ever-changing nature of flames while creating dramatic visual impact. Blender, the powerful open-source 3D creation suite, offers strong and healthy fire simulation tools that even beginners can master with some guidance. The Morphic Studio shares information about the complete process of how to create realistic Fire Simulations for Beginners, from basic setup to final rendering.
Fire simulations in Blender grip the software’s fluid energetics system, which can simulate not just liquids but also gases like smoke and fire. While this might sound technically complex, Blender’s user-friendly interface makes the process accessible even if you’re new to 3D modeling or physics simulations.
Follow Fire Simulation Basics
Before diving into the practical steps, it’s important to understand some fundamentals about how Blender handles fire simulations:
Basic Components
Emitter: The source of your fire (can be any object)
Domain: The 3D space where your simulation occurs
Resolution: Determines detail magnitude and simulation accuracy
Materials: Control how your fire looks visually
Hardware Considerations
Fire Simulations for Beginners can be resource-intensive. While you don’t need a professional workstation, a reasonably modern computer with at least 8GB RAM will provide a smoother experience. Start with lower resolution settings until you’re ready for final renders.
Fire Simulations for Beginners By The Morphic Studio
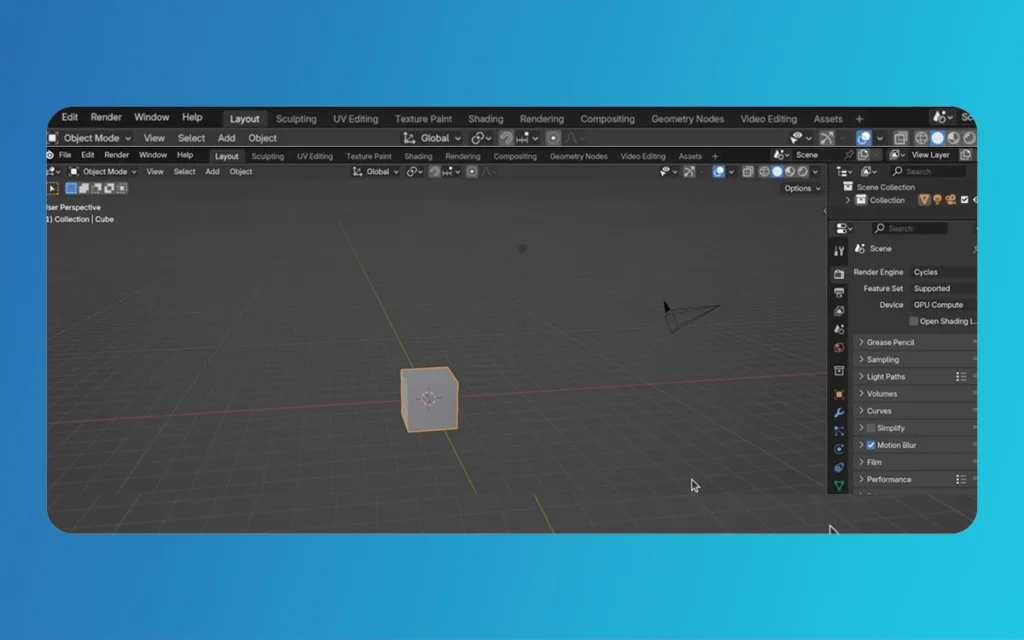
Step 1: Setting Up Your Scene
Let’s begin with creating a proper foundation for your fire simulation:
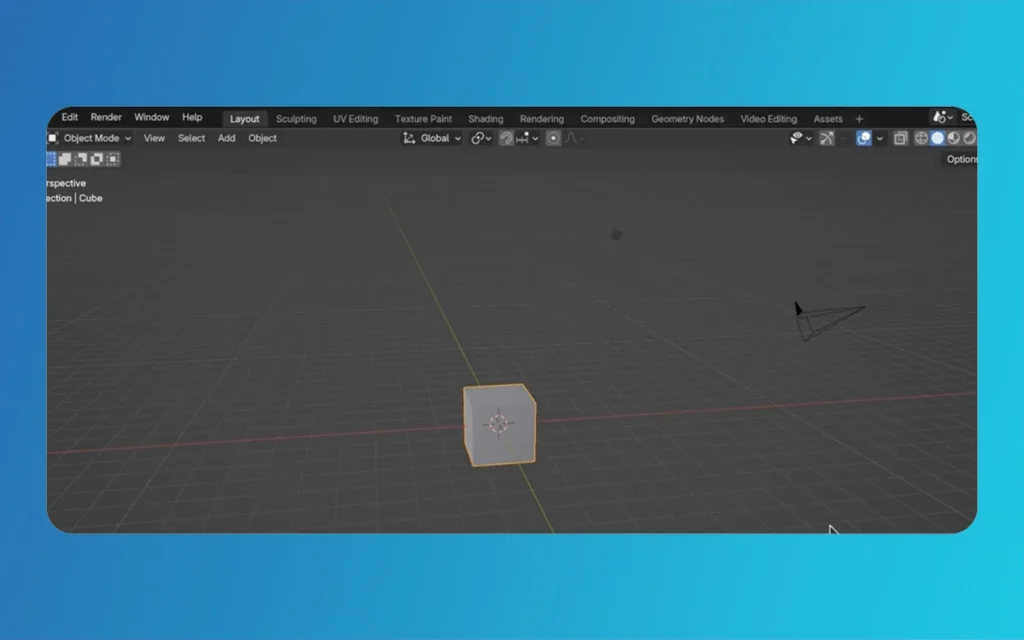
Launch Blender and start a new project
Delete the default cube by selecting it and pressing X (or Delete)
Set up your scene with:
Emitter: Add a sphere or icosphere (Shift+A → Mesh → Sphere)
Domain: Add a cube (Shift+A → Mesh → Cube)
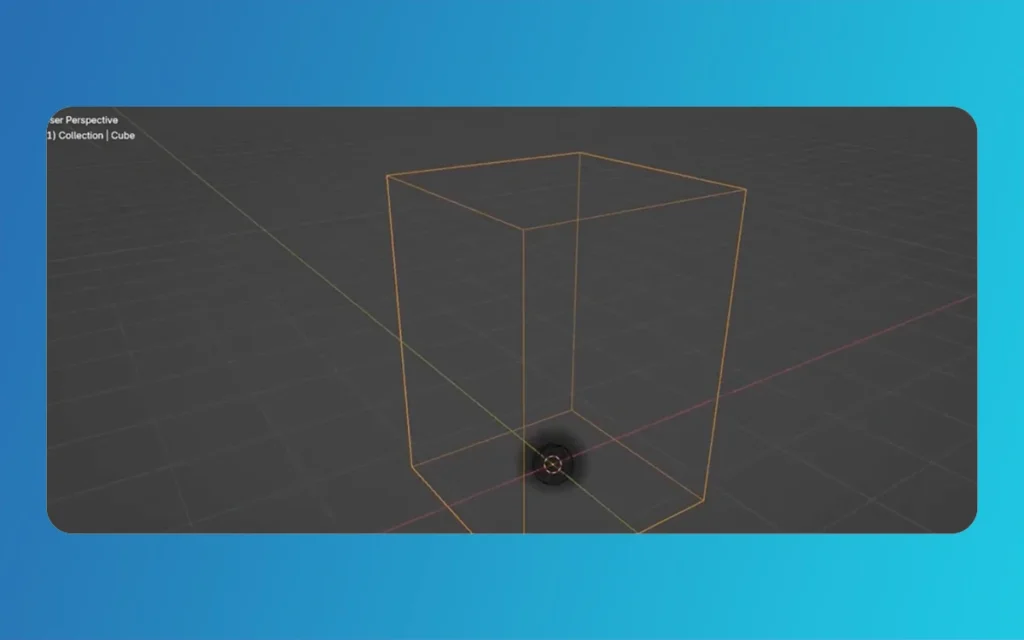
Positioning Your Objects
Scale the sphere to an appropriate size for your fire source
Position the cube so it completely surrounds your emitter
Scale the domain cube to be just large enough to contain your anticipated fire (keeping it compact improves performance)
Pro Tip
Name your objects meaningfully (e.g., “Fire_Emitter” and “Fire_Domain”) in the Outliner panel to keep your project organized, for the most part as you add more elements.
Step 2: Assigning Physics Properties
Now let’s configure the physics properties that will transform these static objects into a energetic fire simulation:
Setting Up the Emitter
Select your emitter object
Negotiate to the Physics Properties tab in the Properties panel
Click “Add” next to the Fluid section
Set the fluid type to “Flow”
Change the flow type to “Fire” (or “Fire + Smoke” for more realistic effects)
Adjust initial settings:
Flow Source: Usually “Mesh”
Surface Emission: Controls how much fire emits from the surface (start with 1.0)
Fuel: Determines fire intensity (start with 1.0)
Density: Affects smoke density if using Fire + Smoke
Configuring the Domain
Select your domain cube
Go to the Physics Properties tab
Add a Fluid modifier
Set the fluid type to “Domain”
Change the domain type to “Gas”
Configure initial settings:
Resolution Divisions: Start with 64 for testing, increase to 128-256 for final renders
Time Scale: Controls simulation speed (1.0 is real-time)
Check “Adaptive Domain”: Optimizes simulation area
Check “Noise”: Adds turbulence for more realistic fire
Fire Simulations for Beginners By The Morphic Studio
Step 3: Tweaking Simulation Settings
Fine-tuning your simulation settings can significantly improve quality and realism:
Essential Settings to Adjust
Vorticity: Increase to 2-3 for more swirling, energetic flames
Dissolve: Enable to make fire fade naturally over time
Time: How long before fire starts to dissolve
Rate: How quickly fire dissolves
Temperature:
Difference: Affects how fire rises (higher values = faster rise)
Smoke: Adjust for smoke buoyancy
Advanced Features
High Resolution:
Toggle on for more detailed fire
Set Division to 1-2 for good balance of detail and performance
Guides:
Can help direct fire movement
Useful for controlled effects like torch flames
Adding Movement
To make your fire more energetic:
Select your emitter
Add basicframes to animate its position (I basic)
Moving the emitter during the simulation creates trailing fire effects
Step 4: Baking the Simulation
Baking is the process where Blender calculates all physics for the simulation:
Select your domain object
In the Physics Properties panel, find the Cache section
Choose cache type:
Replay: Good for testing
Modular: Better for production (allows partial re-baking)
Set your frame range (e.g., 1-250 for a 10-second animation at 25fps)
Click “Bake All” to process the simulation
Baking Tips
Start with a short frame range for testing
Use lower resolution for preview bakes
Expect longer baking times with higher resolutions
Save your project before baking large simulations
Fire Simulations for Beginners By The Morphic Studio
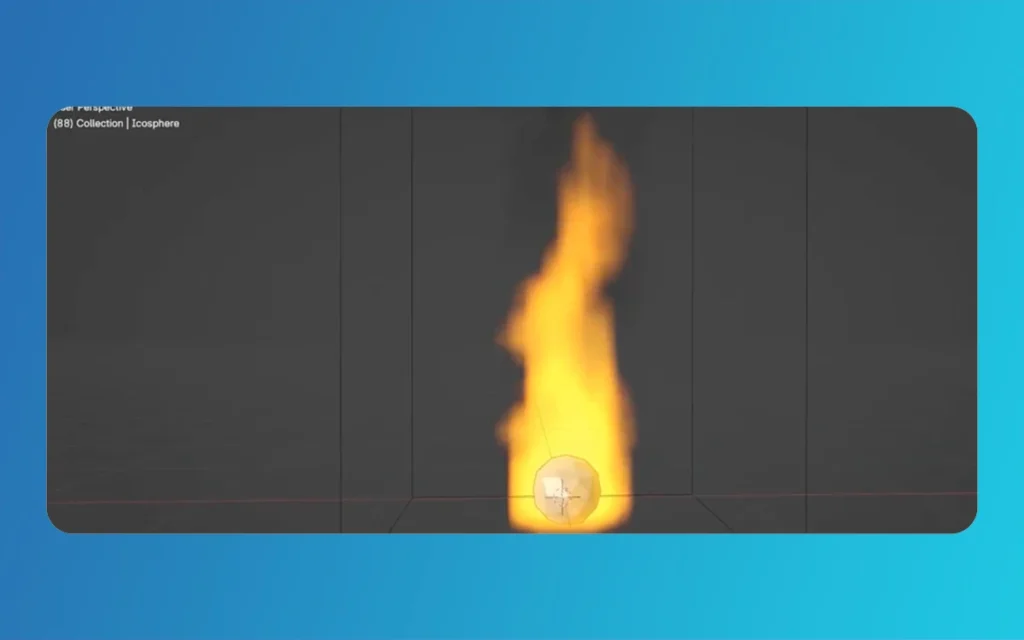
Step 5: Adding Materials and Shading
Creating realistic fire requires proper materials:
Select your domain object
Go to the Material Properties tab
Create a new material or use the default one
Switch to the Shader Editor
Create a basic fire material:
Add a Principled Volume shader
Connect a Color Ramp to the Color input
Use the flame attribute as the factor for the Color Ramp
Creating Realistic Fire Colors
Configure your Color Ramp with:
Black (Alpha 0) at position 0.0
Deep red at position 0.2
Bright orange at position 0.4
Yellow at position 0.7
White at center of flame (position 0.9)
Adding Emission
Connect flame attribute to a Math node (Multiply by 5-10)
Connect to the Emission Color and Emission Strength
Adjust values for a balance between brightness and realism
Step 6: Rendering Your Fire
To achieve the best visual results:
Set your render engine to Cycles for physically accurate lighting
For faster previews, you can use Eevee
Configure render settings:
Samples: 128-256 for good quality (higher for final renders)
Light paths: Important for volume rendering
Set up camera and lighting:
Dramatic side lighting enhances fire’s visual depth
Dark environments make fire pop visually
Optimizing Render Times
Use Denoising for cleaner results with fewer samples
Consider rendering at lower resolution for tests
Adjust Volume Sampling Step Size for better performance
Fire Simulations for Beginners By The Morphic Studio
Step 7: Adding Final Touches
Enhance your fire simulation with these professional touches:
Motion Blur: Adds realism to fast-moving flames
Bloom/Glare: Creates a glow effect in post-processing
Sparks: Add particle systems for flying embers
Environment: Place your fire in context (torch, campfire, etc.)
Sound Effects: For animations, add crackling fire sounds
Troubleshooting Common Issues
Problem
Possible Cause
Solution
Fire disappears too quickly
Low fuel amount
Increase fuel value on emitter
Fire moves too fast/slow
Incorrect time scale
Adjust Time Scale in domain settings
Blocky, low-detail fire
Resolution too low
Increase Resolution Divisions
Simulation takes forever
Settings too high
Lower resolution, use Adaptive Domain
Fire doesn’t fill domain
Emission too low
Increase Surface Emission value
System crashes during bake
Not enough RAM
Reduce resolution or domain size
Fire looks flat/2D
Poor shading
Adjust Color Ramp and Volume shader settings
Fire doesn’t appear
Improper setup
Check emitter and domain are properly configured
Advanced Techniques to Take a look at
Once you’ve mastered the basics, you can experiment with:
Multiple Emitters: Create complex fire patterns
Force Fields: Add wind or vortex forces to control fire direction
Collision Objects: Make fire interact with obstacles
Texture-controlled Emission: Use textures to create patterns in your fire
Smoke Interaction: Create realistic smoke that follows your fire
Animation-driven Simulation: Animate parameters for energetic effects
Fire Simulations for Beginners By The Morphic Studio
Finally
Creating Fire Simulations for Beginners is a rewarding process that combines technical skills with artistic vision. While the learning curve might seem steep at first, following this structured approach allows even beginners to create impressive fire effects.
Think of that simulation work often involves experimentation—don’t be afraid to adjust settings, bake test simulations, and iterate until you achieve your desired result. With practice, you’ll develop an intuitive Follow of how each parameter affects your Fire Simulations for Beginners.
Fire effects can dramatically enhance your 3D projects, whether you’re creating animations, still renders, or game assets. The techniques you’ve learned here provide a solid foundation that you can build upon as you continue your ride with Blender.
For even more realistic results, consider studying reference footage of real fires and analyzing how they move, change color, and interact with their environment. The best statistical simulations are always informed by careful observation of the natural world.
Game Art Outsourcing: Top 7 Benefits for Studios & Developers
In the fast-paced world of game development, staying ahead of the curve isn’t just about having the best ideas; it’s about how fast and effectively you can bring those ideas to life. If you have spent any time in a dev studio lately, you know the pressure is real. Players in 2026 expect cinematic quality, […]
April 8, 2026
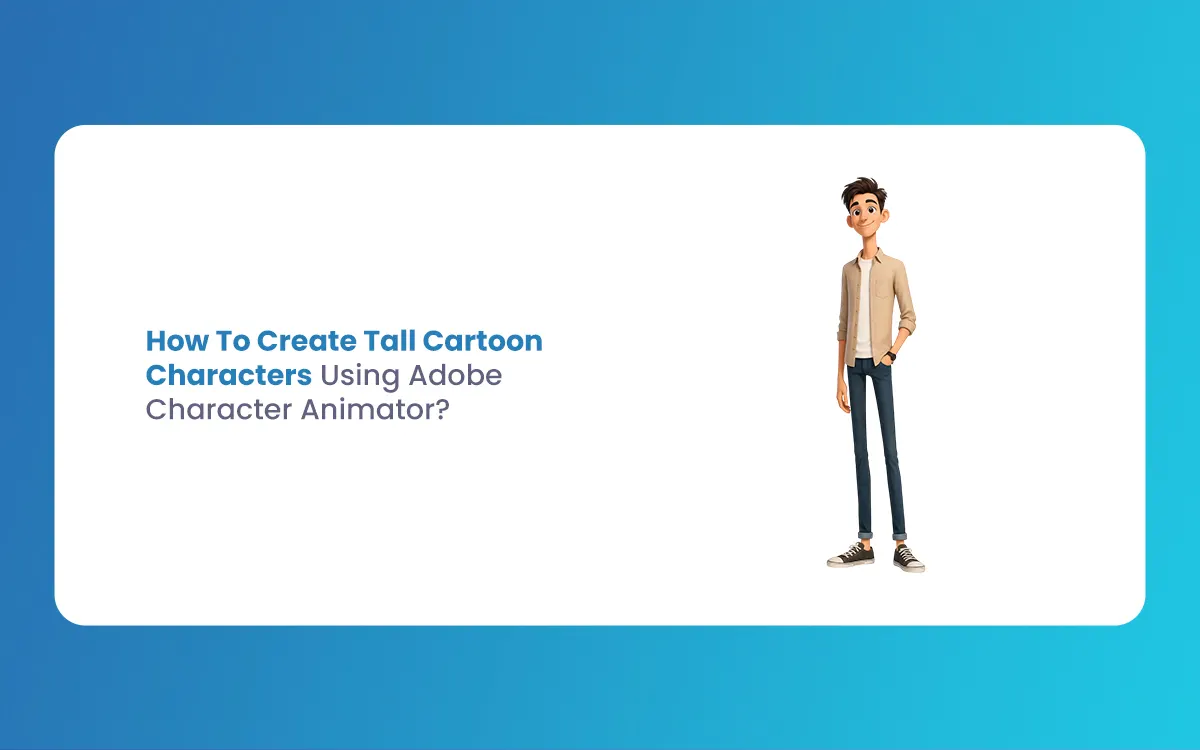
How To Create Tall Cartoon Characters Using Adobe Character Animator? (Education Guide)
Animation design combines art and logic, especially when it comes to your cast’s proportions. If you want to make a character stand out, literally, making them tall is a classic move. Whether it is a lanky basketball player, a towering giant, or a slender fashion icon, Tall Cartoon Characters bring a unique dynamic to any […]
April 7, 2026
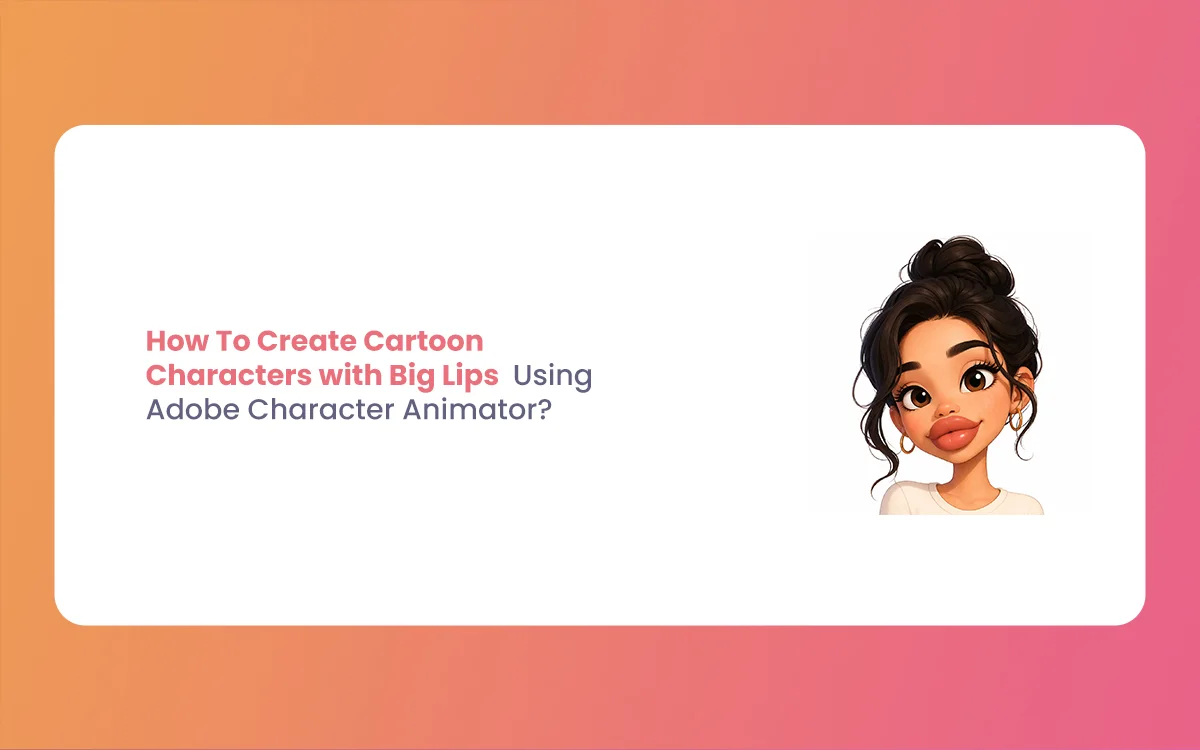
How To Create Cartoon Characters with Big Lips Using Adobe Character Animator? (Education Guide)
Welcome back to The Morphic Studio! Ever wondered why some cartoon faces “pop” more than others? Designing unique features is what makes a character memorable. Today, we are diving deep into a specific attractive choice that adds tons of personality and expression: Cartoon Characters with Big Lips. In 2D animation, the mouth is the window […]